laserengraver:procedures:rundesign
Procedure
Follow the steps below to run the laser engraver to create your design
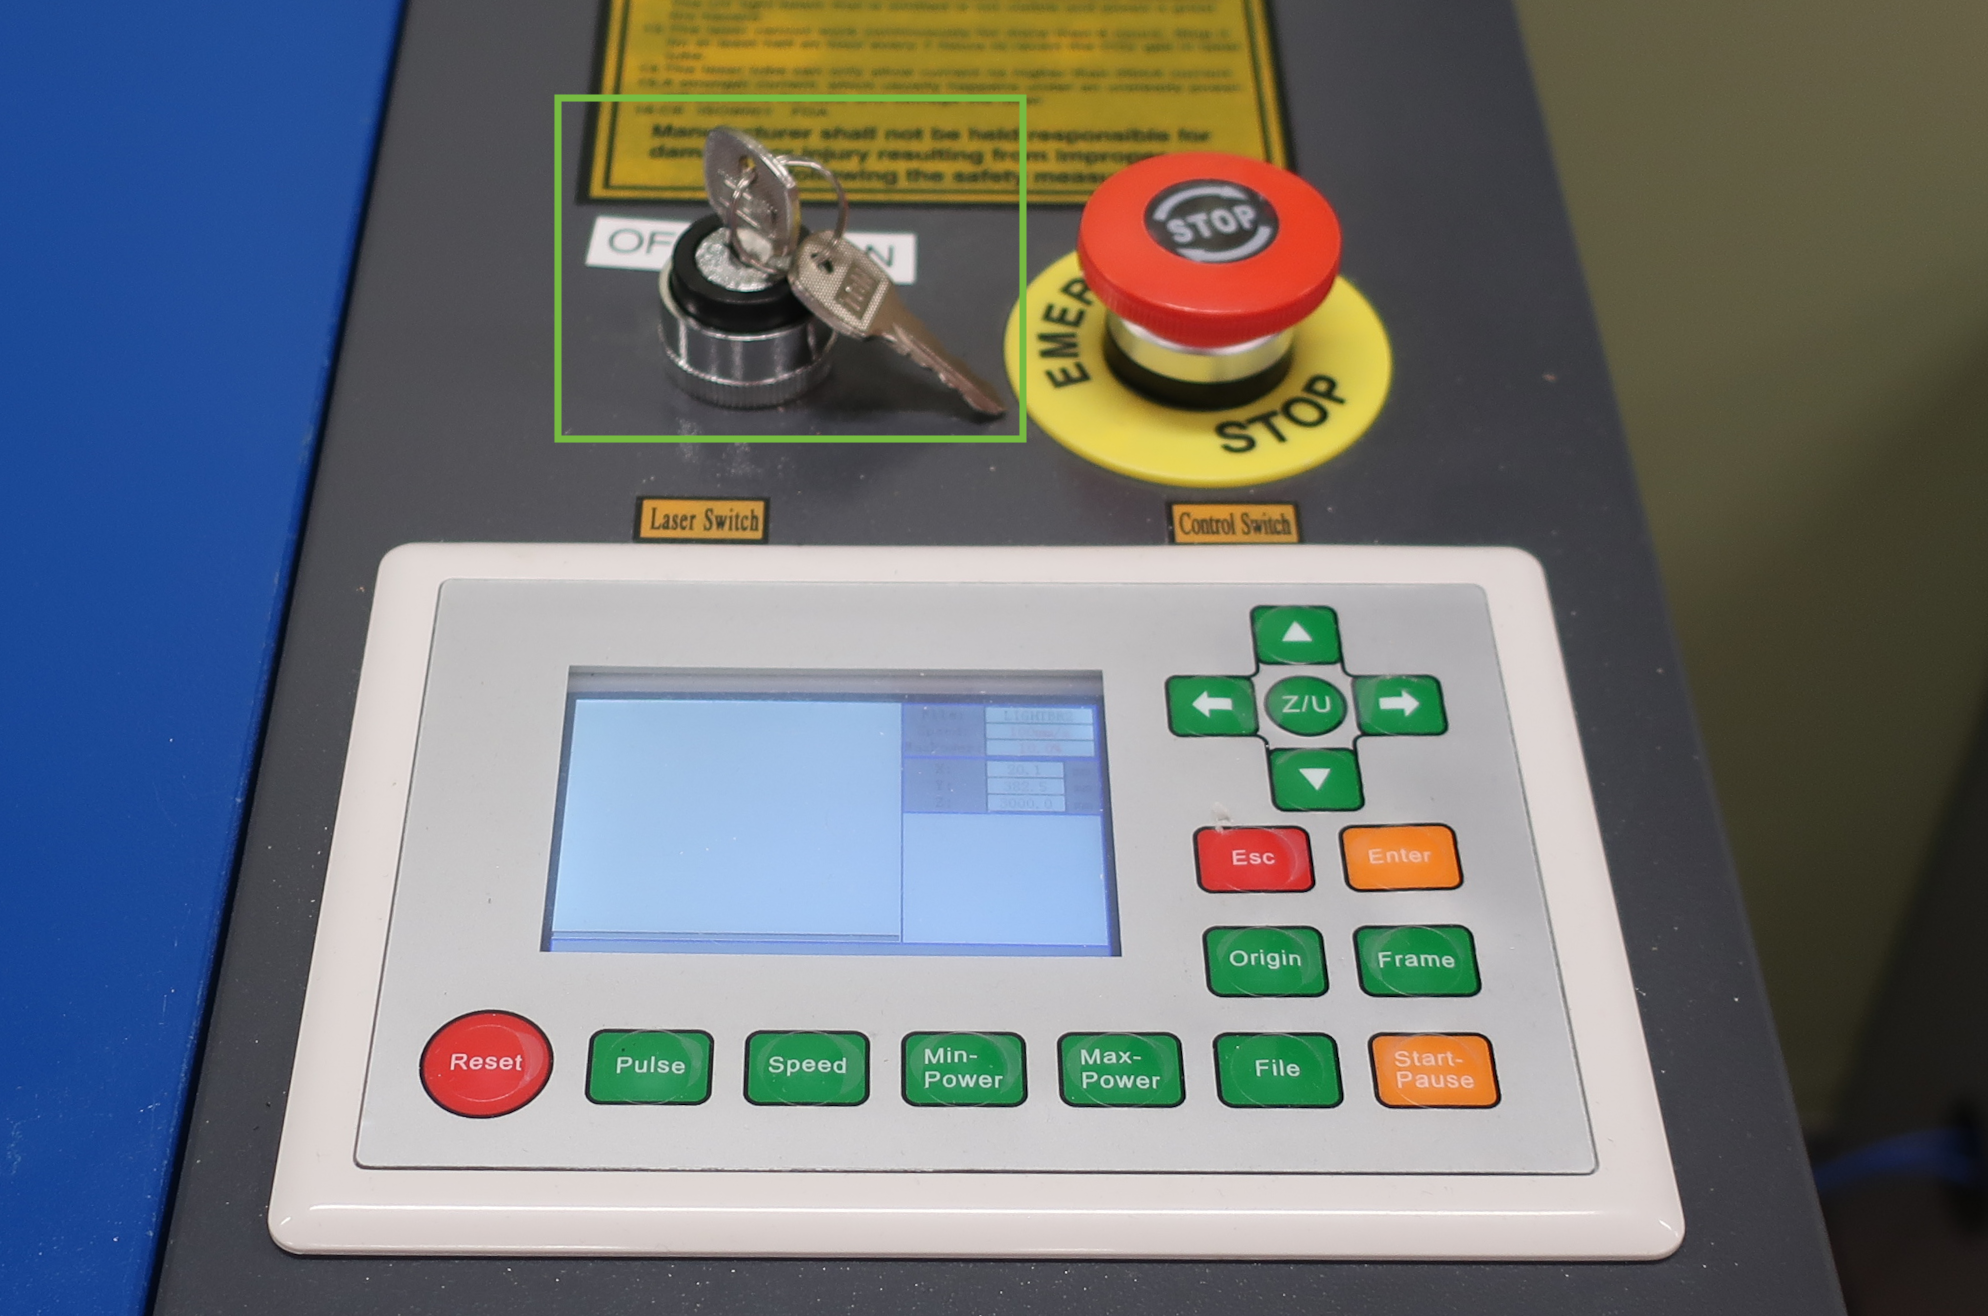
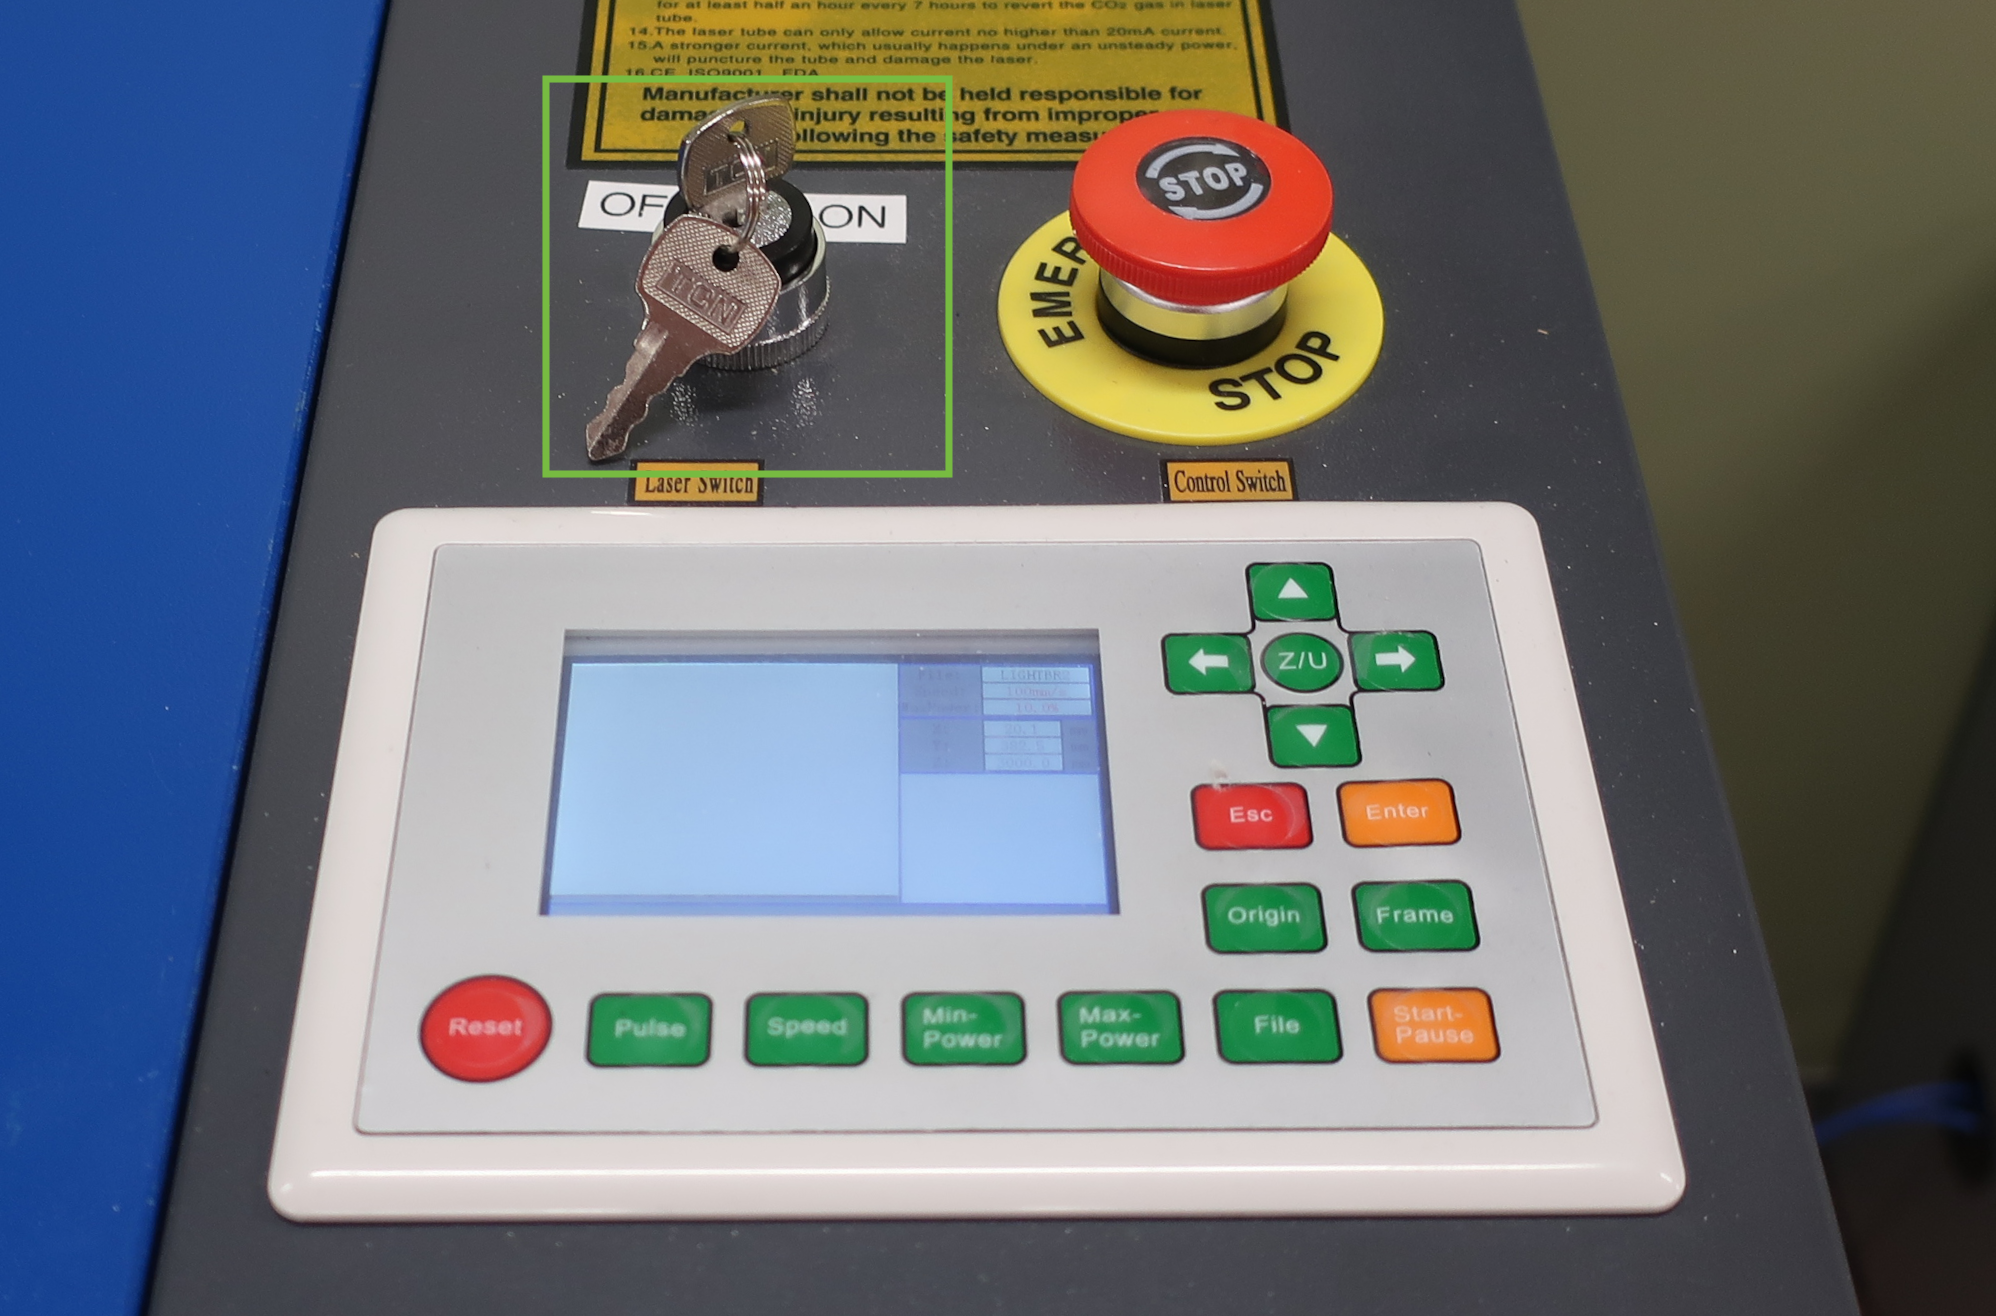
- If the laser engraver is not already on, turn on the machine
- Open the Lightburn app on the computer
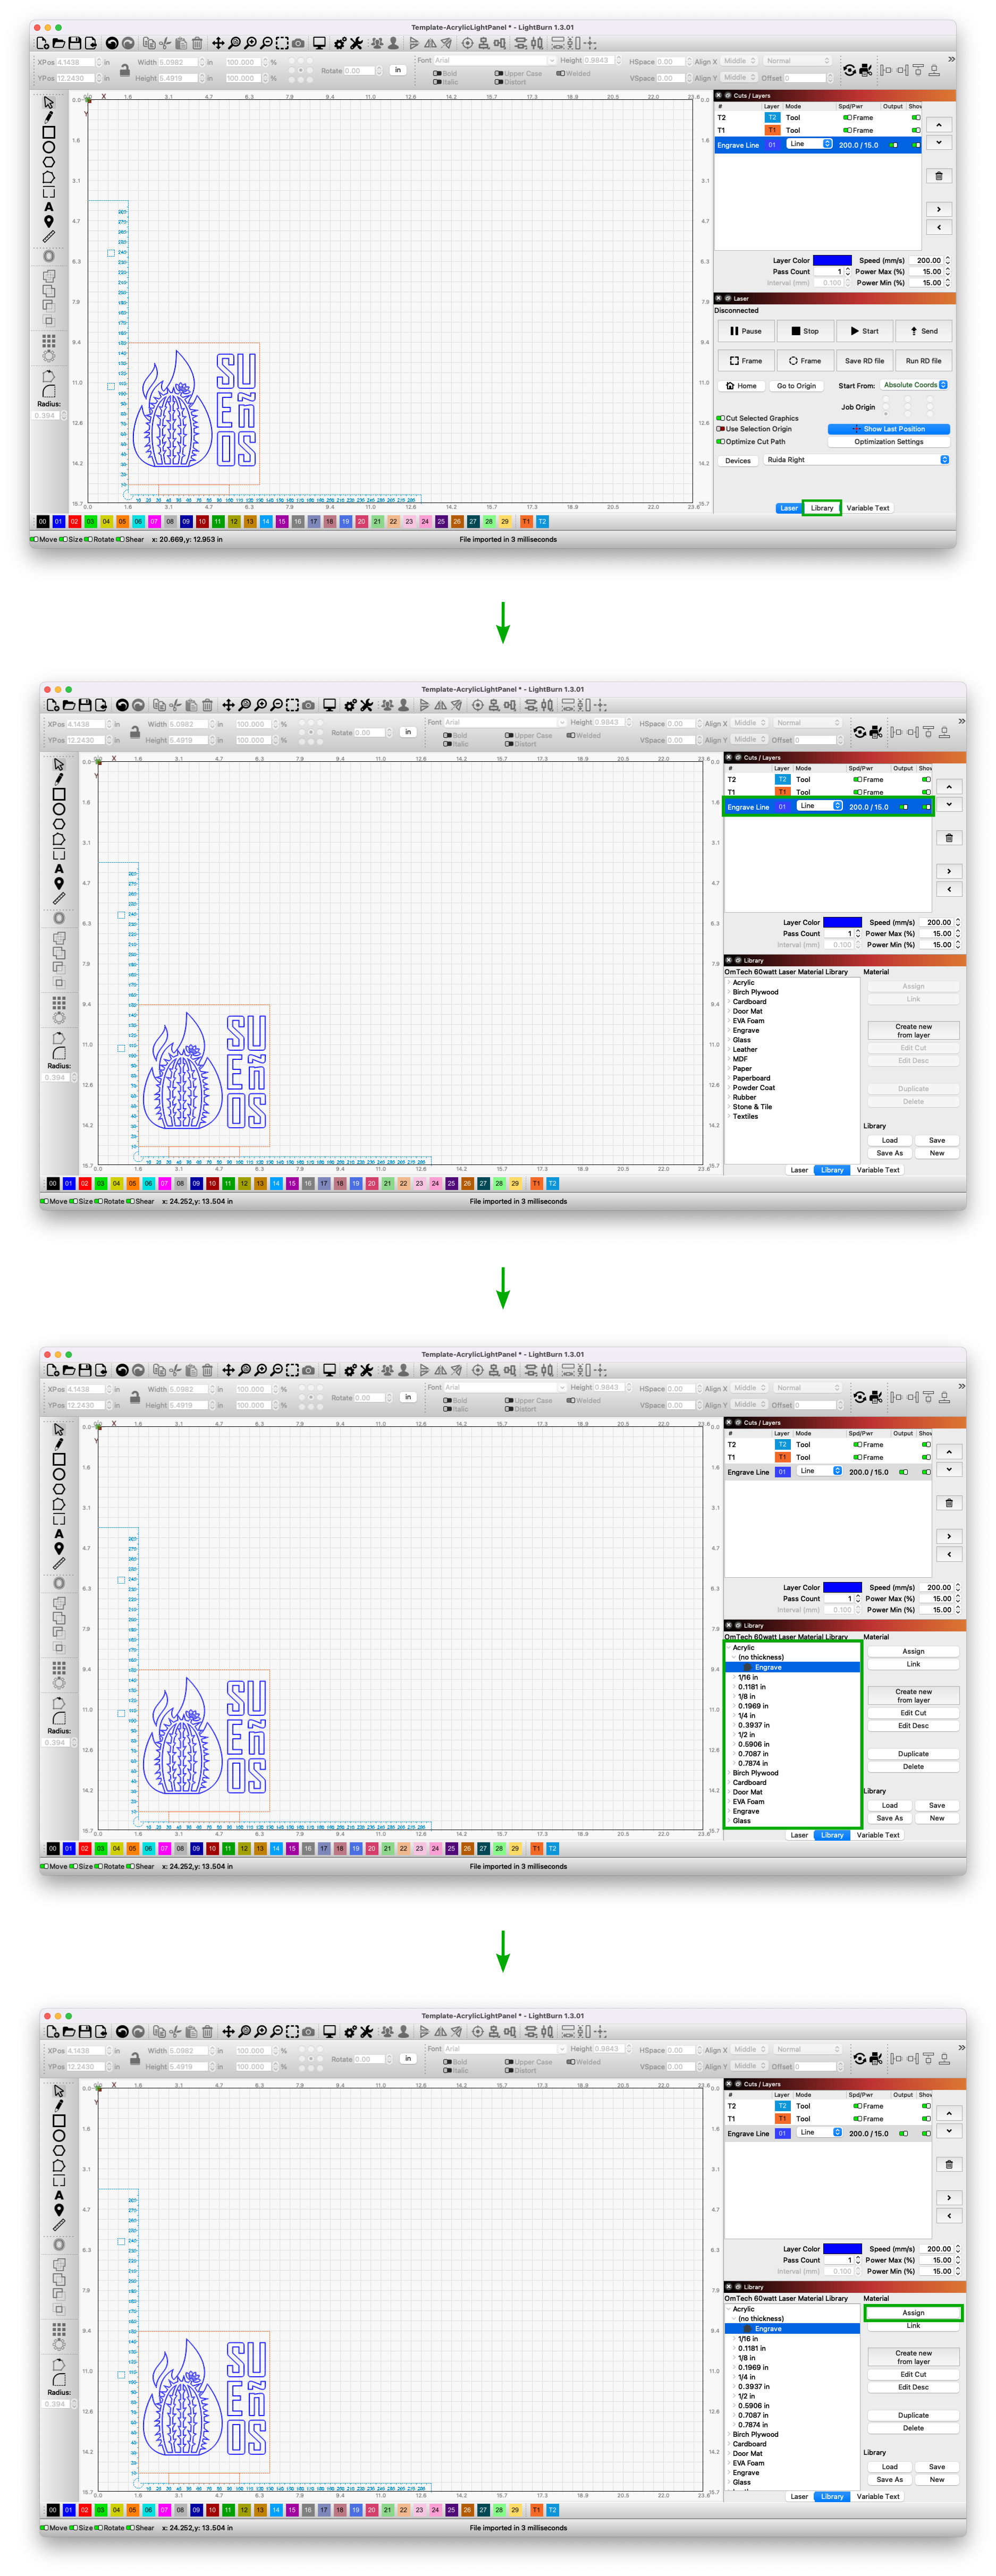
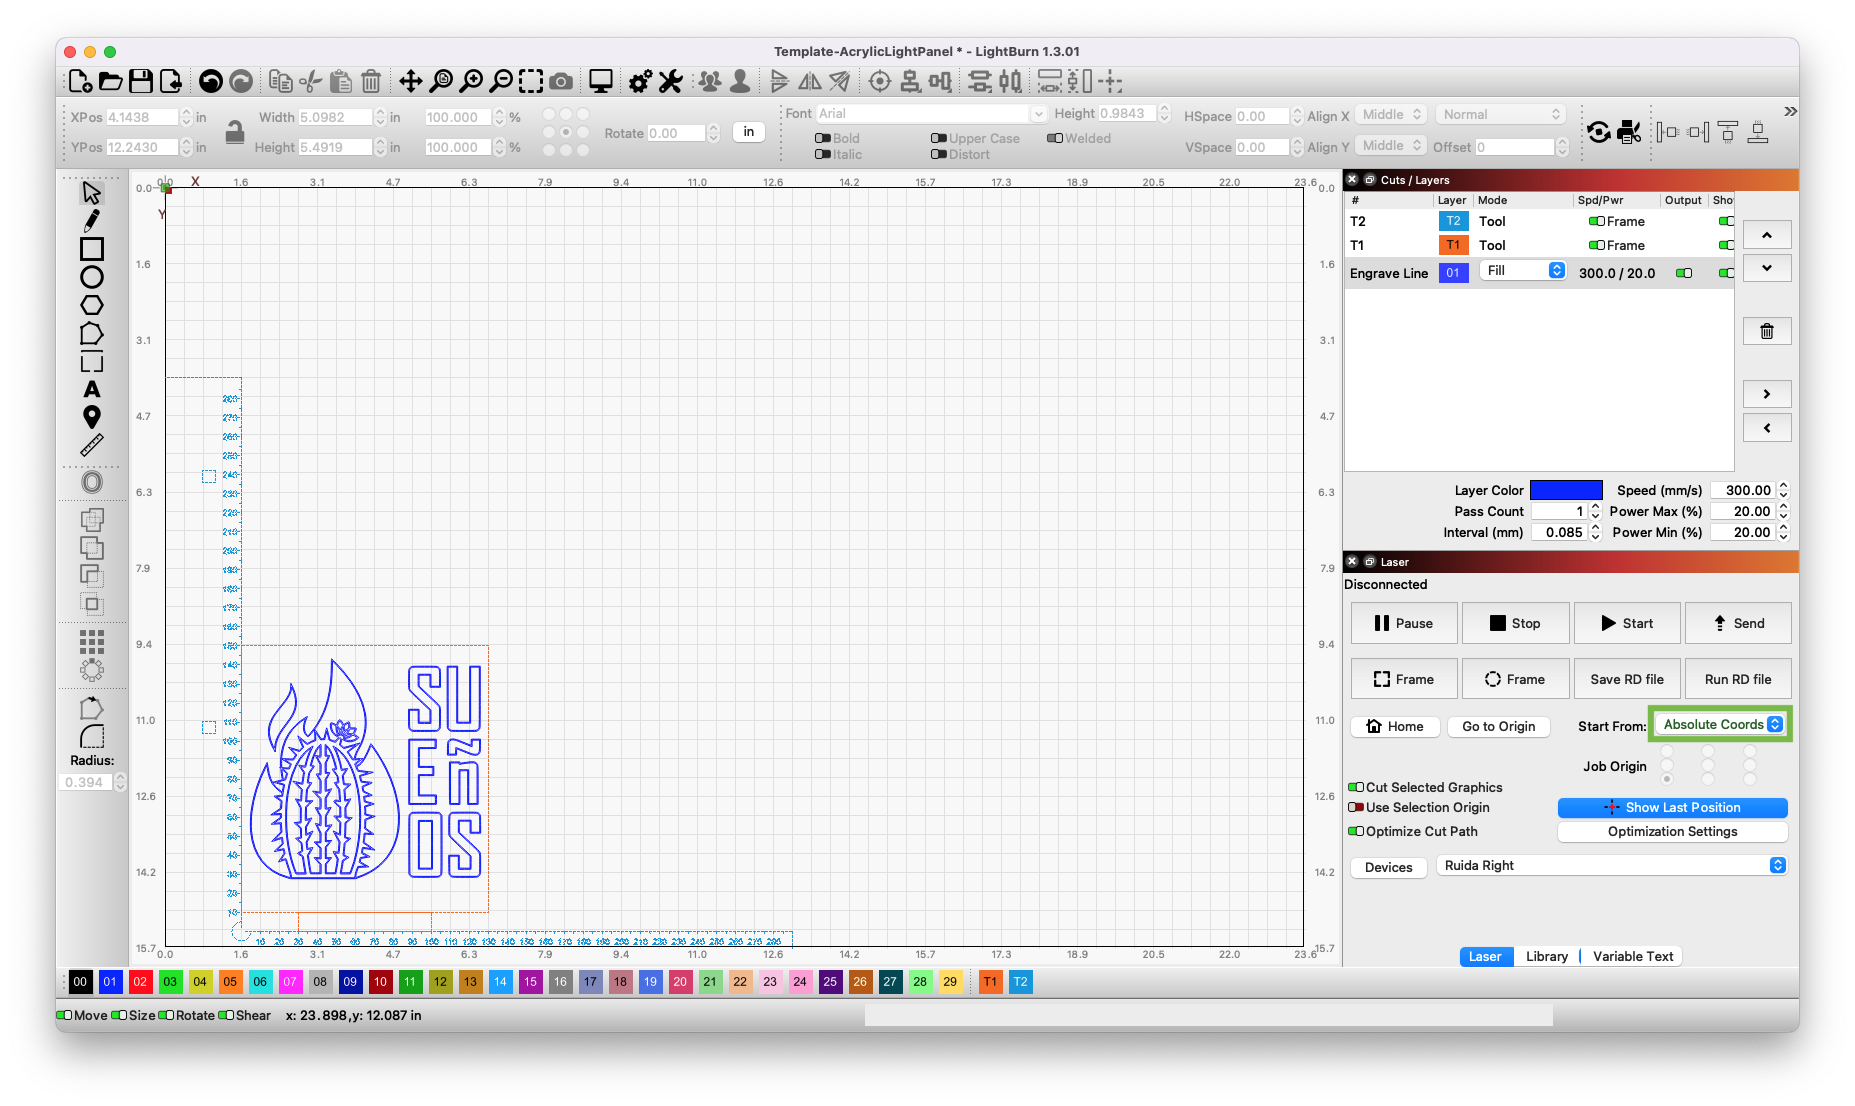
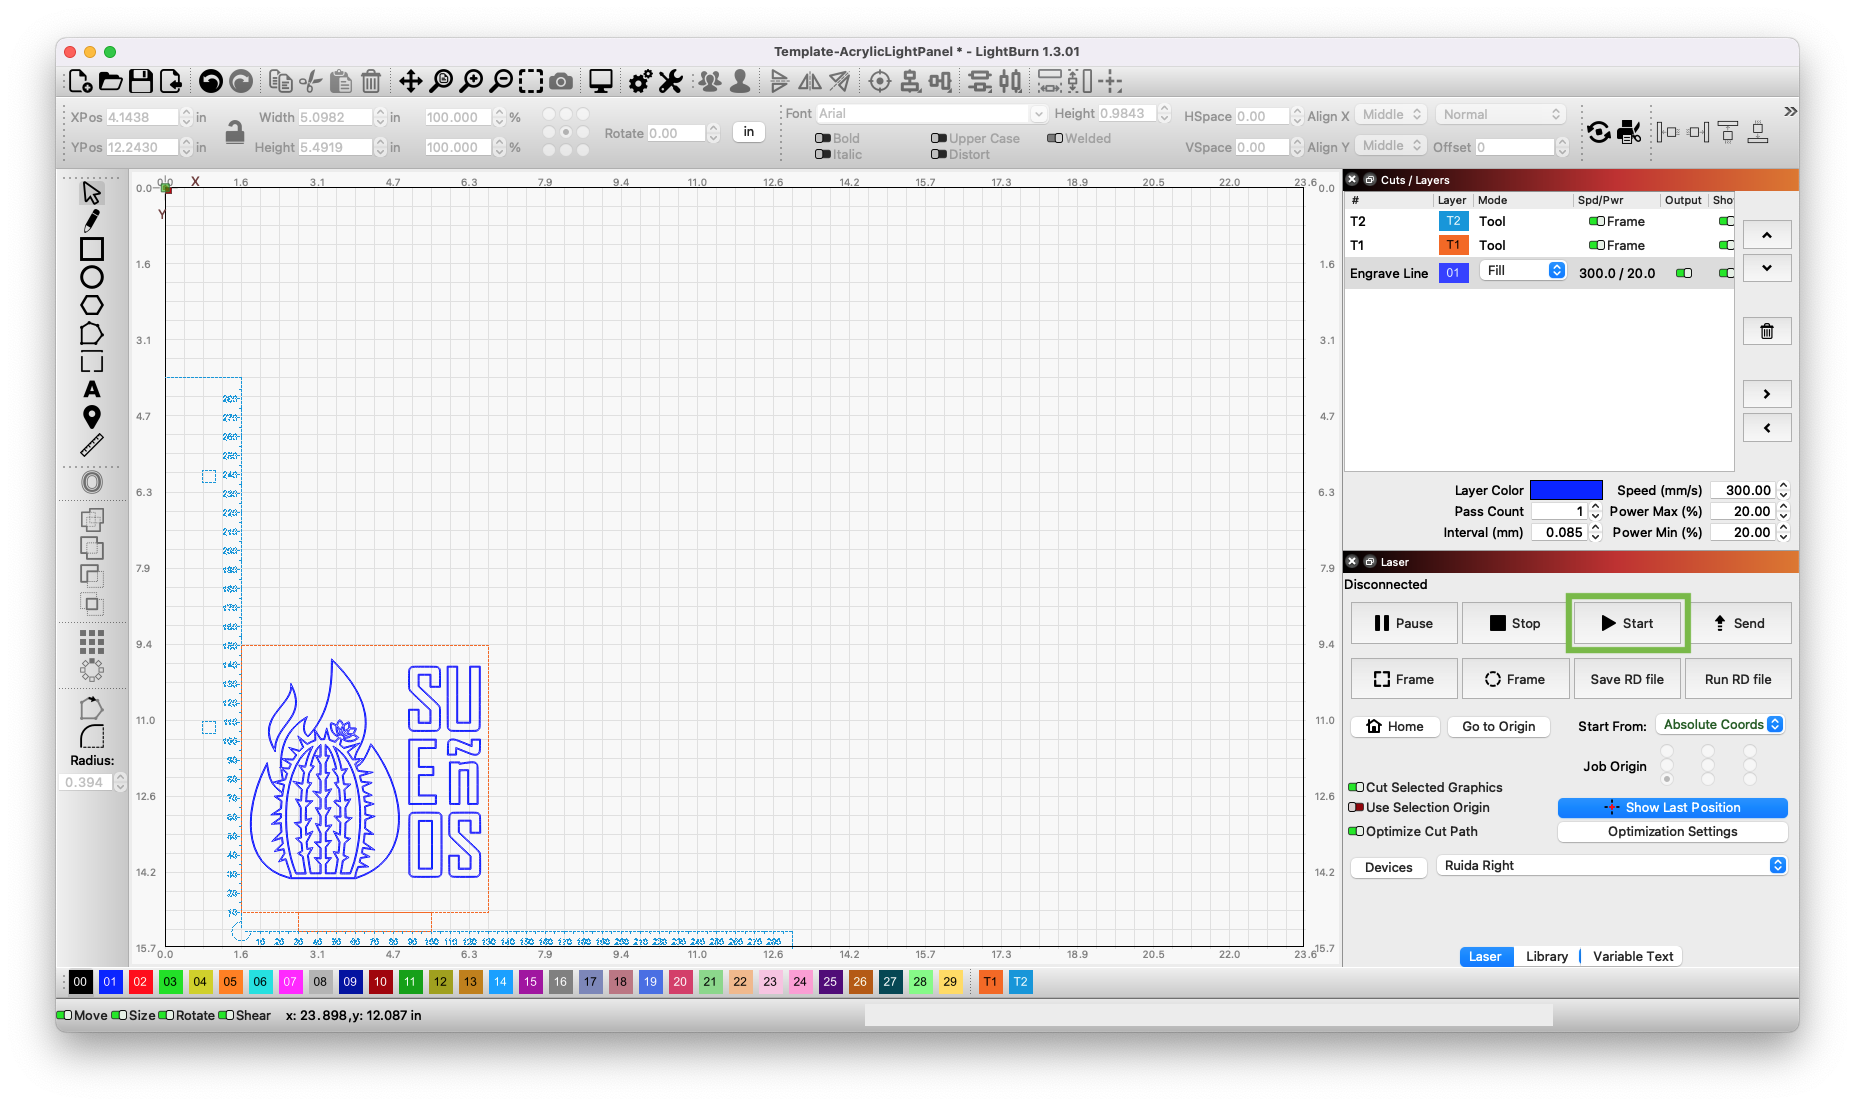
- Load the correct template file for the size material you are using
- Align and scale it to fit within the the shape of your material
- Open the lid of the laser engraver and place your material on the platform inside the machine
- Set the height of your material to the laser head
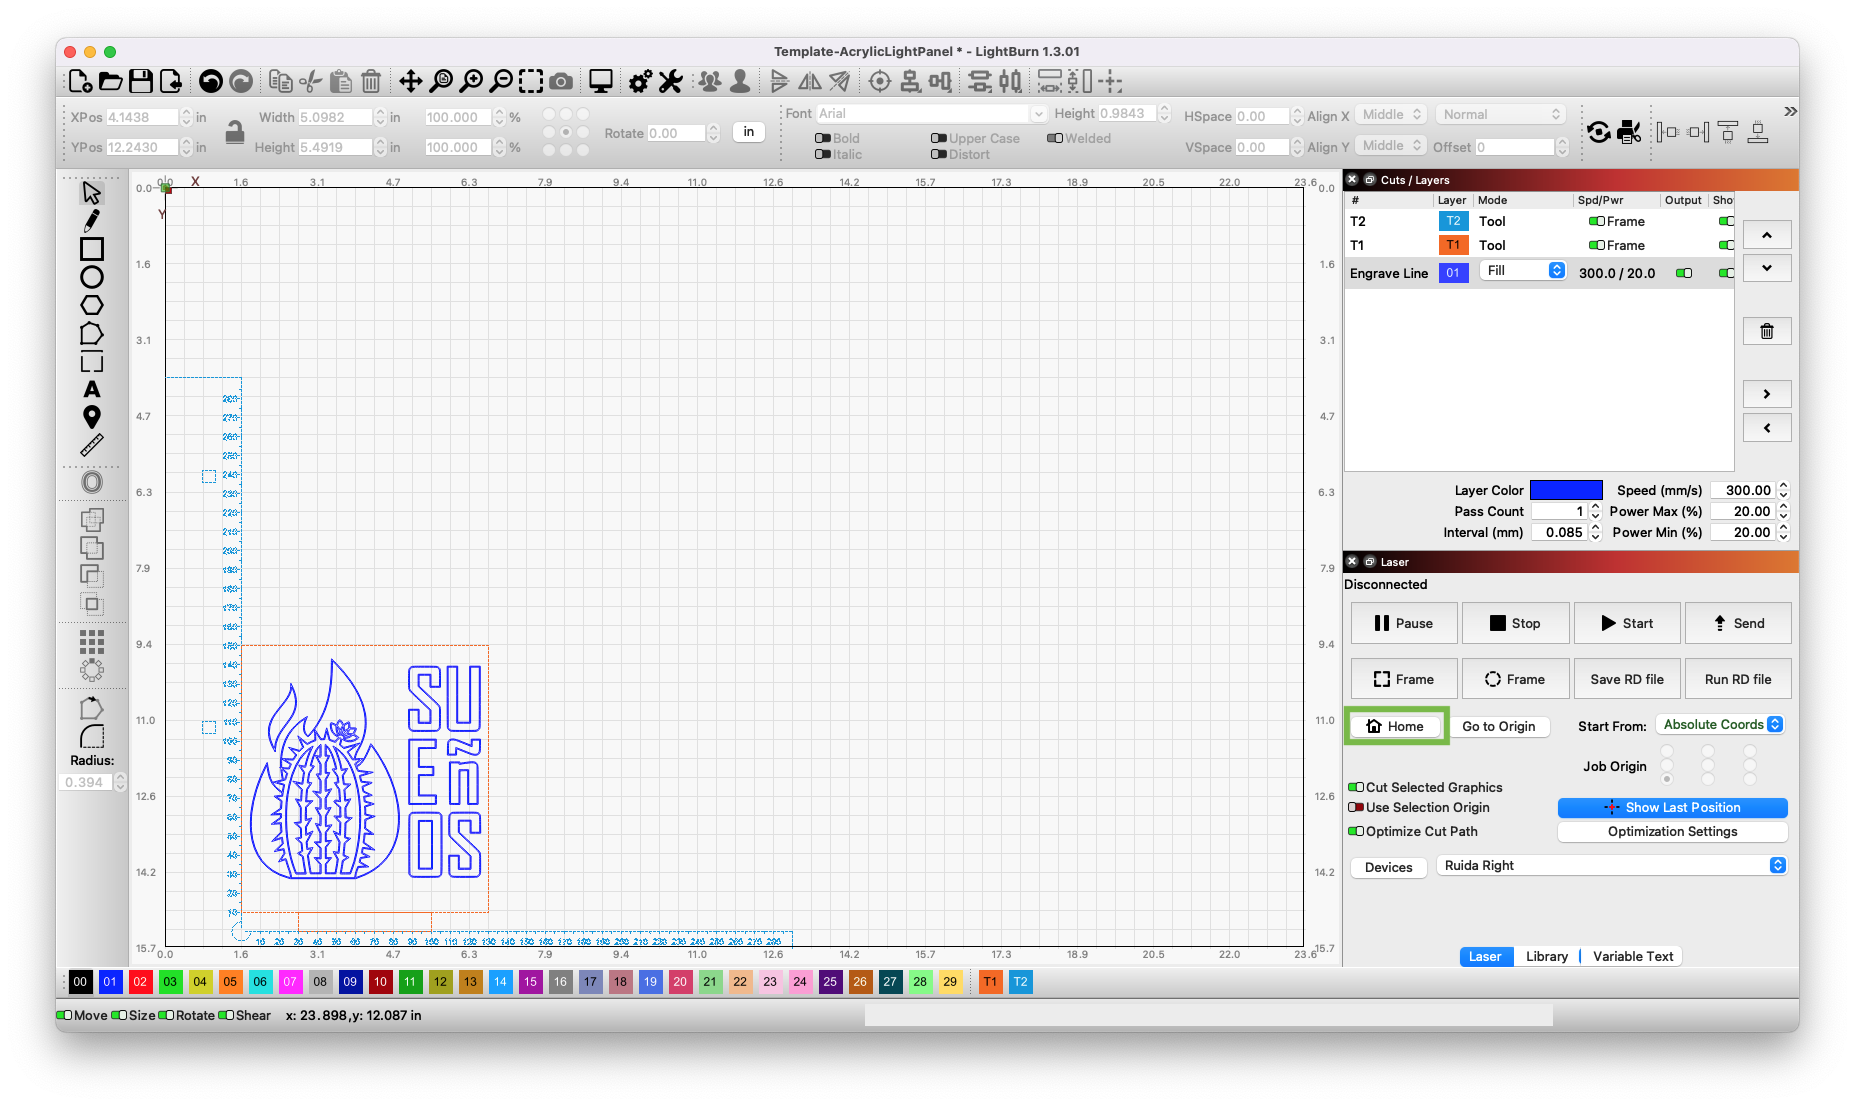
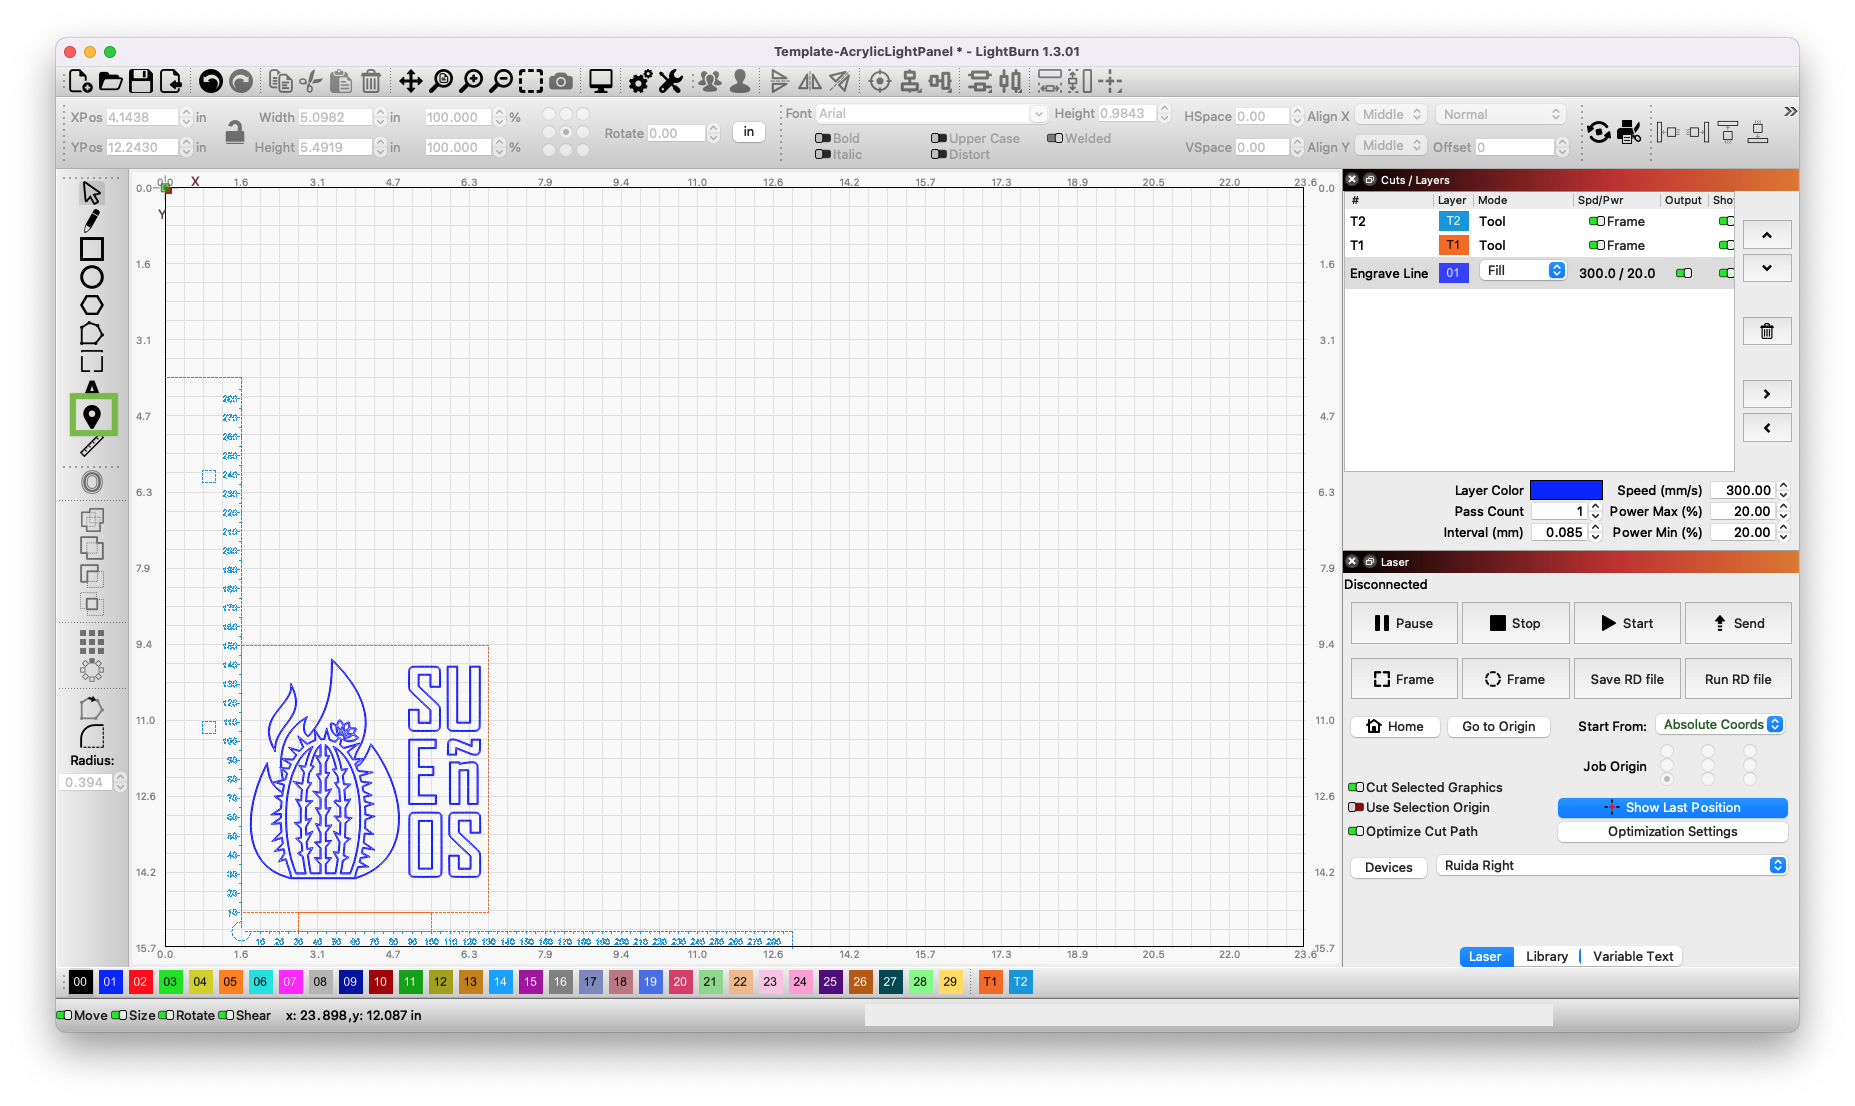
- Click somewhere over your design in Lightburn
- Wait for the laser head to stop moving
- Verify that the material is large enough for your design using the following steps
- Verify that the laser head stays over the material as it moves
- If the laser head moves off of the material then resize the design to make it smaller
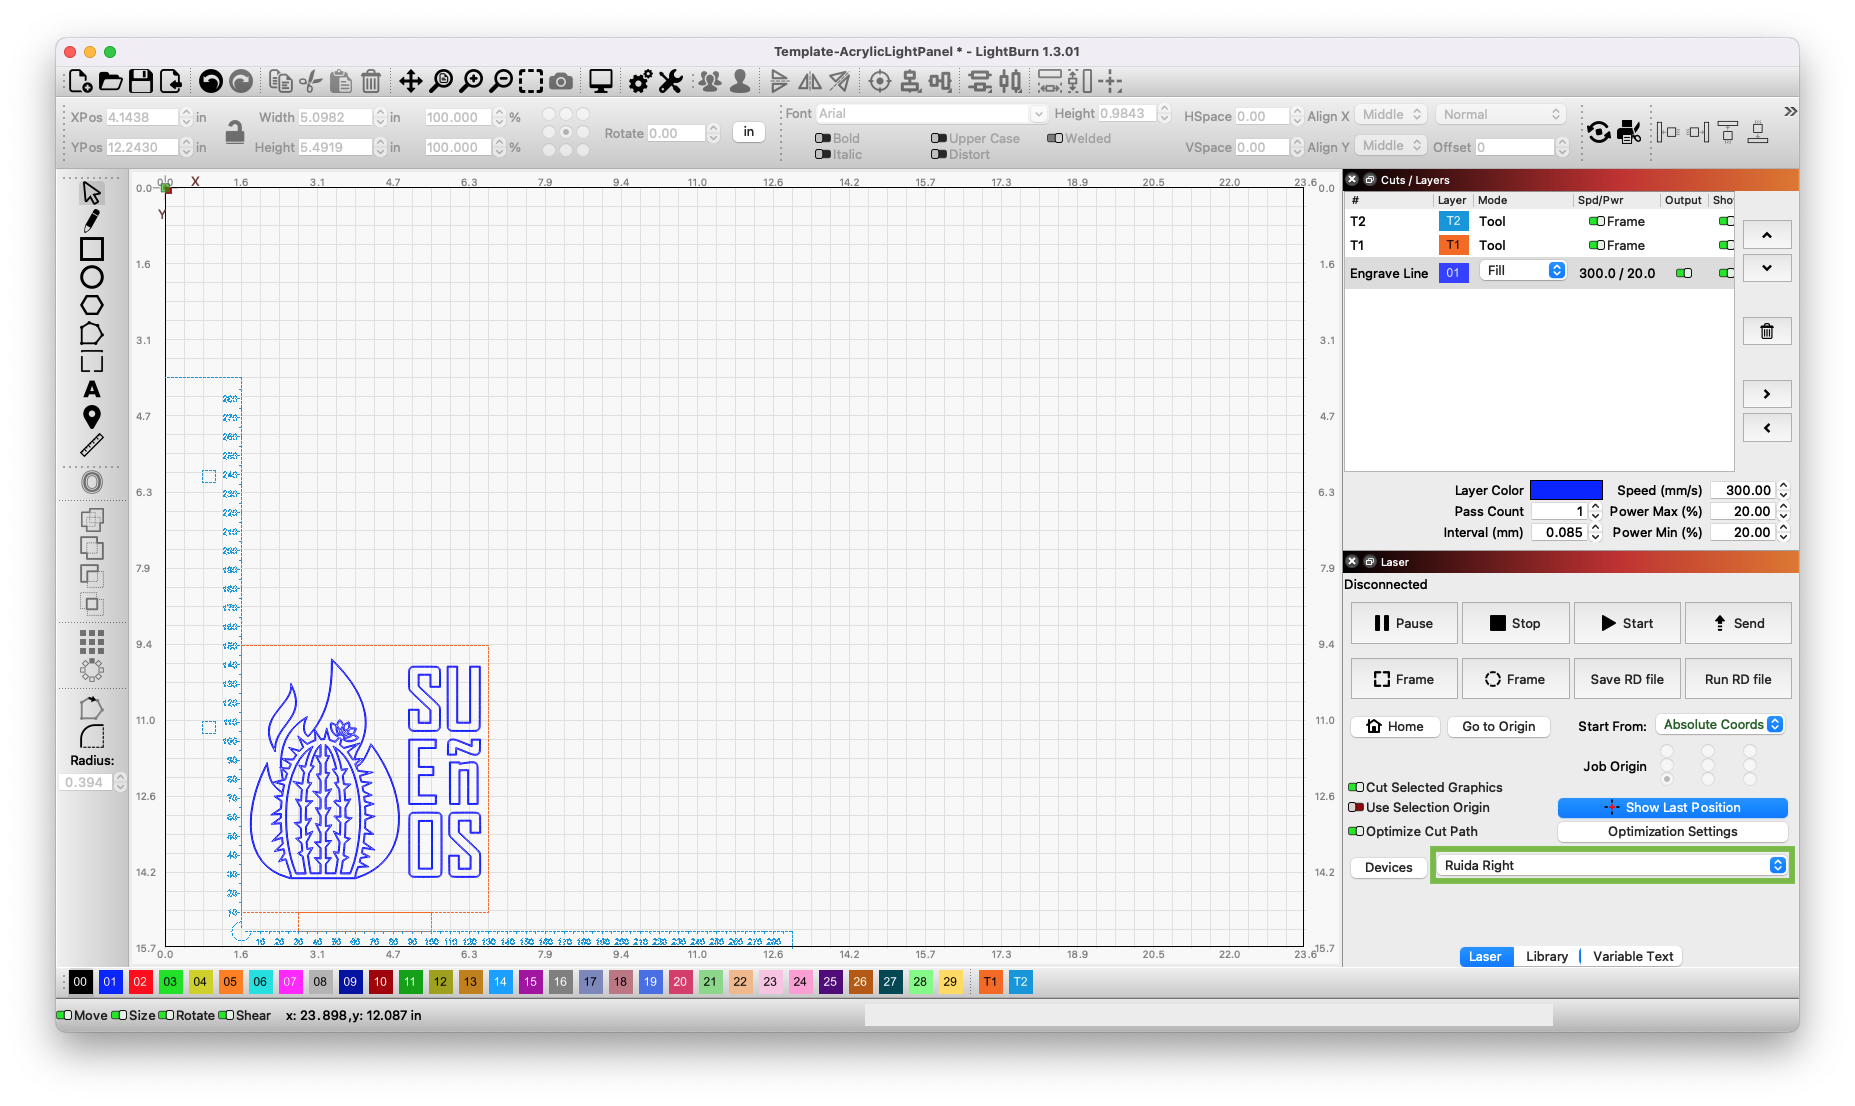
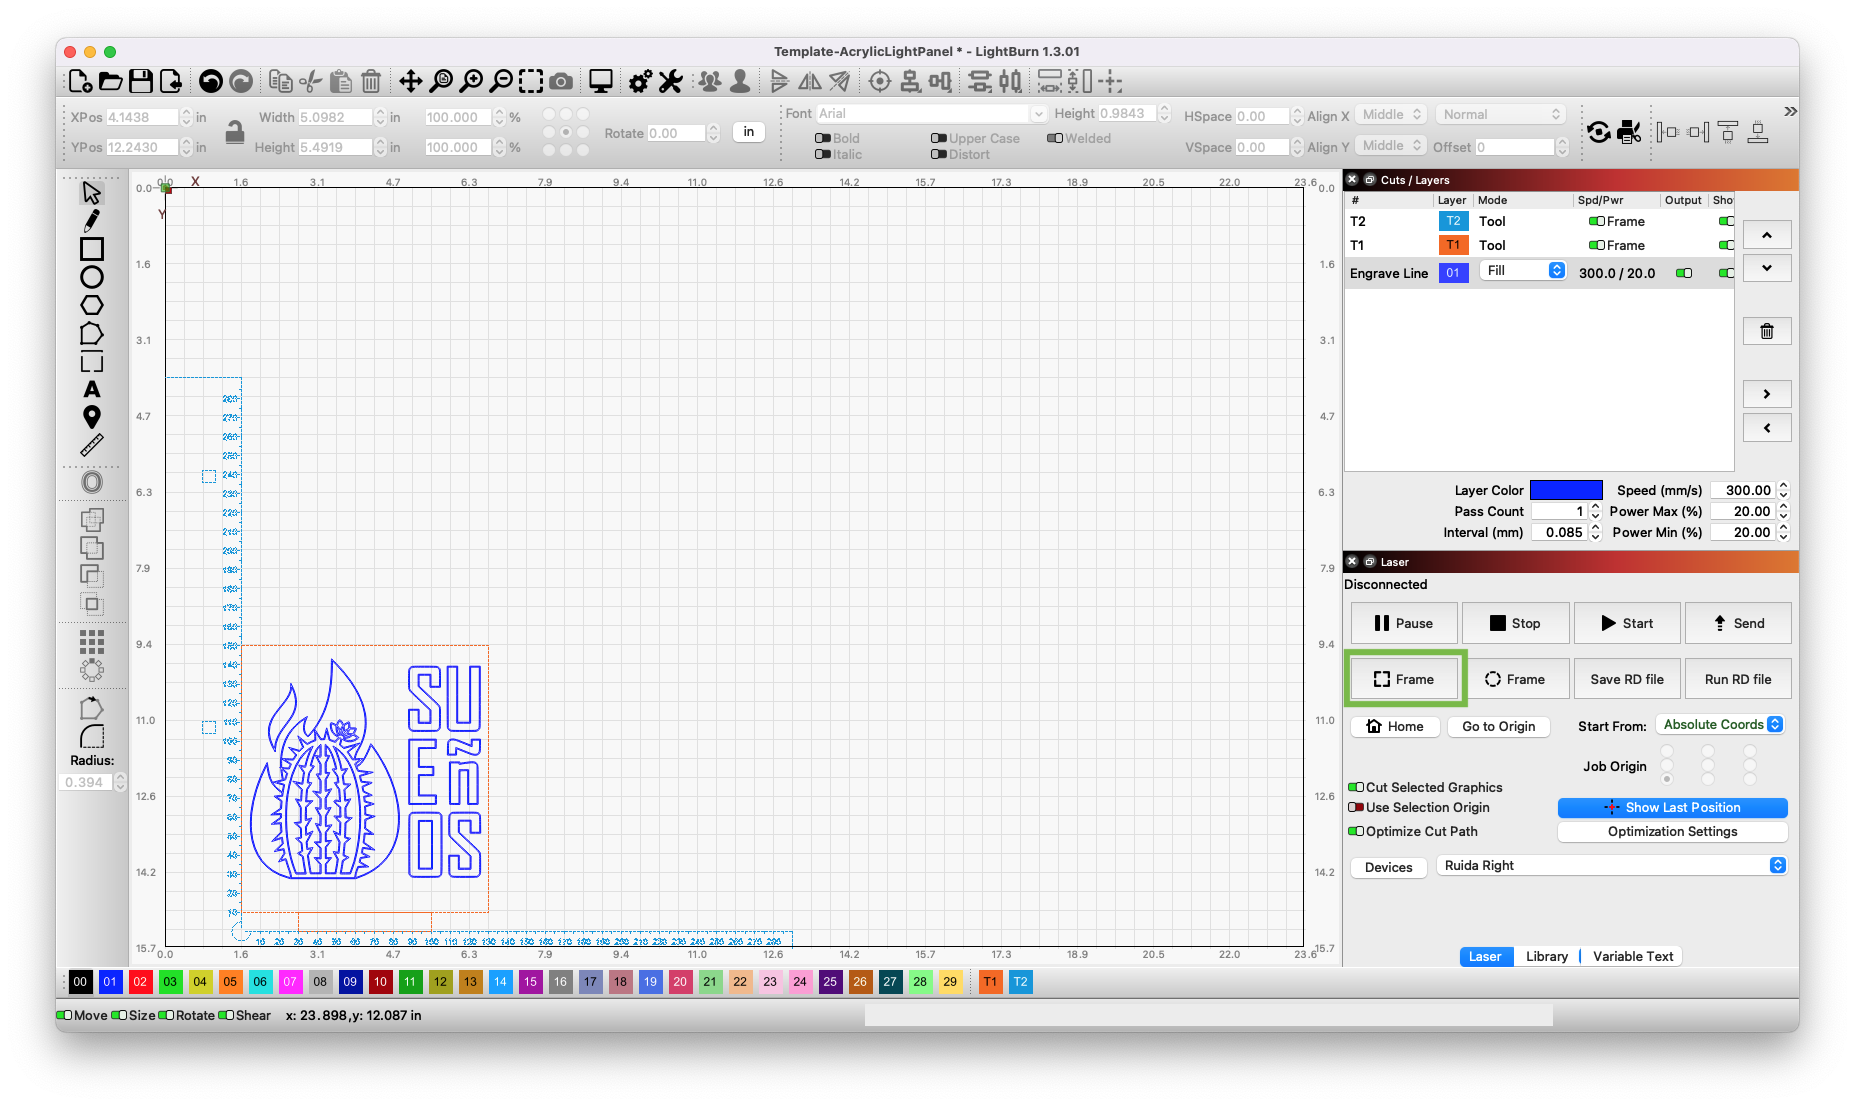
- Click the Frame button in the Laser window to check the new size
- Wait for the laser head to stop moving
- Close the lid of the laser engraver machine
- Monitor the machine for any errors or warnings while you wait for it to finish your design
- Wait for the laser head to stop moving
- Open the lid of the laser engraver machine
- Remove all of the material from the machine
- Close the lid of the laser engraver machine
Once your design has been finished you can either run another design or turn off the machine
"Whatever you do, work heartily, as for the Lord and not for men, knowing that from the Lord you will receive the inheritance as your reward. You are serving the Lord Christ. - Colossians 3:23-24"
laserengraver/procedures/rundesign.txt · Last modified: by jstruebel


