User Tools

Site Tools


pibot:flashdrive

Prepare MacOS Flash Drive

The first step required is to format the USB Flash drive for the native OS. On MacOS follow the steps below.

  1. Insert the USB Flash drive into the computer
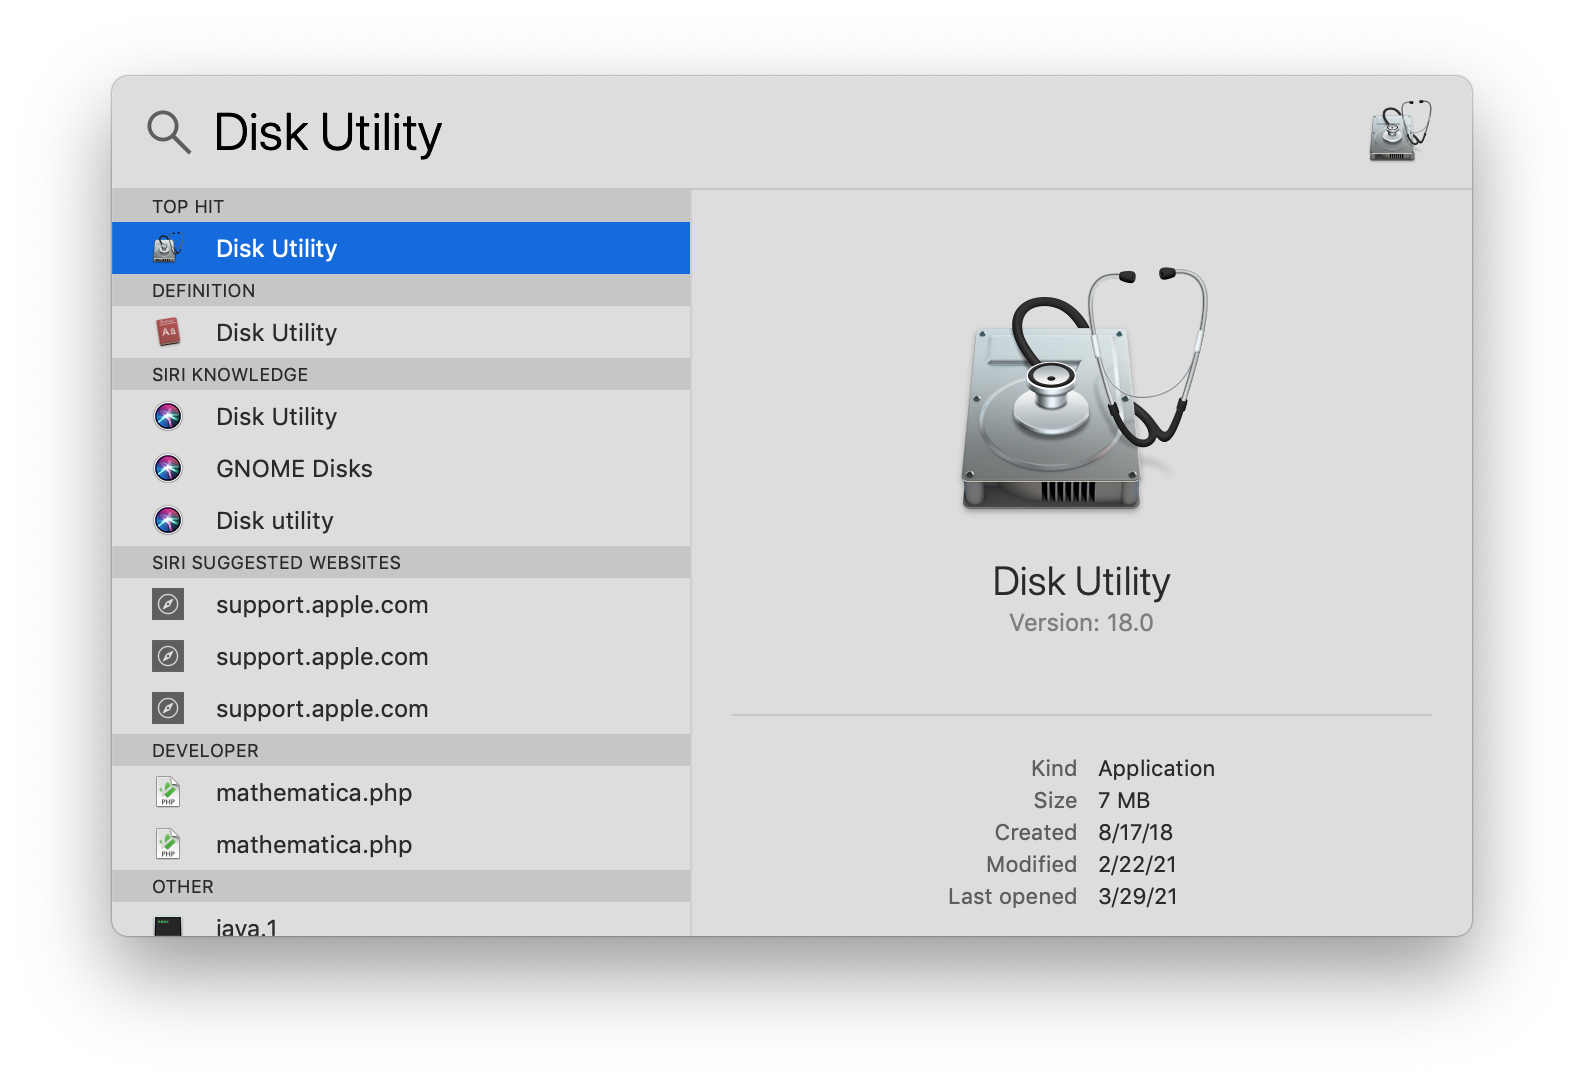
  2. Launch the Disk Utility app
    1. Select the search icon
    2. Type in “Disk Utility”
    3. Double click the Disk Utility result

      Find Disk Utility

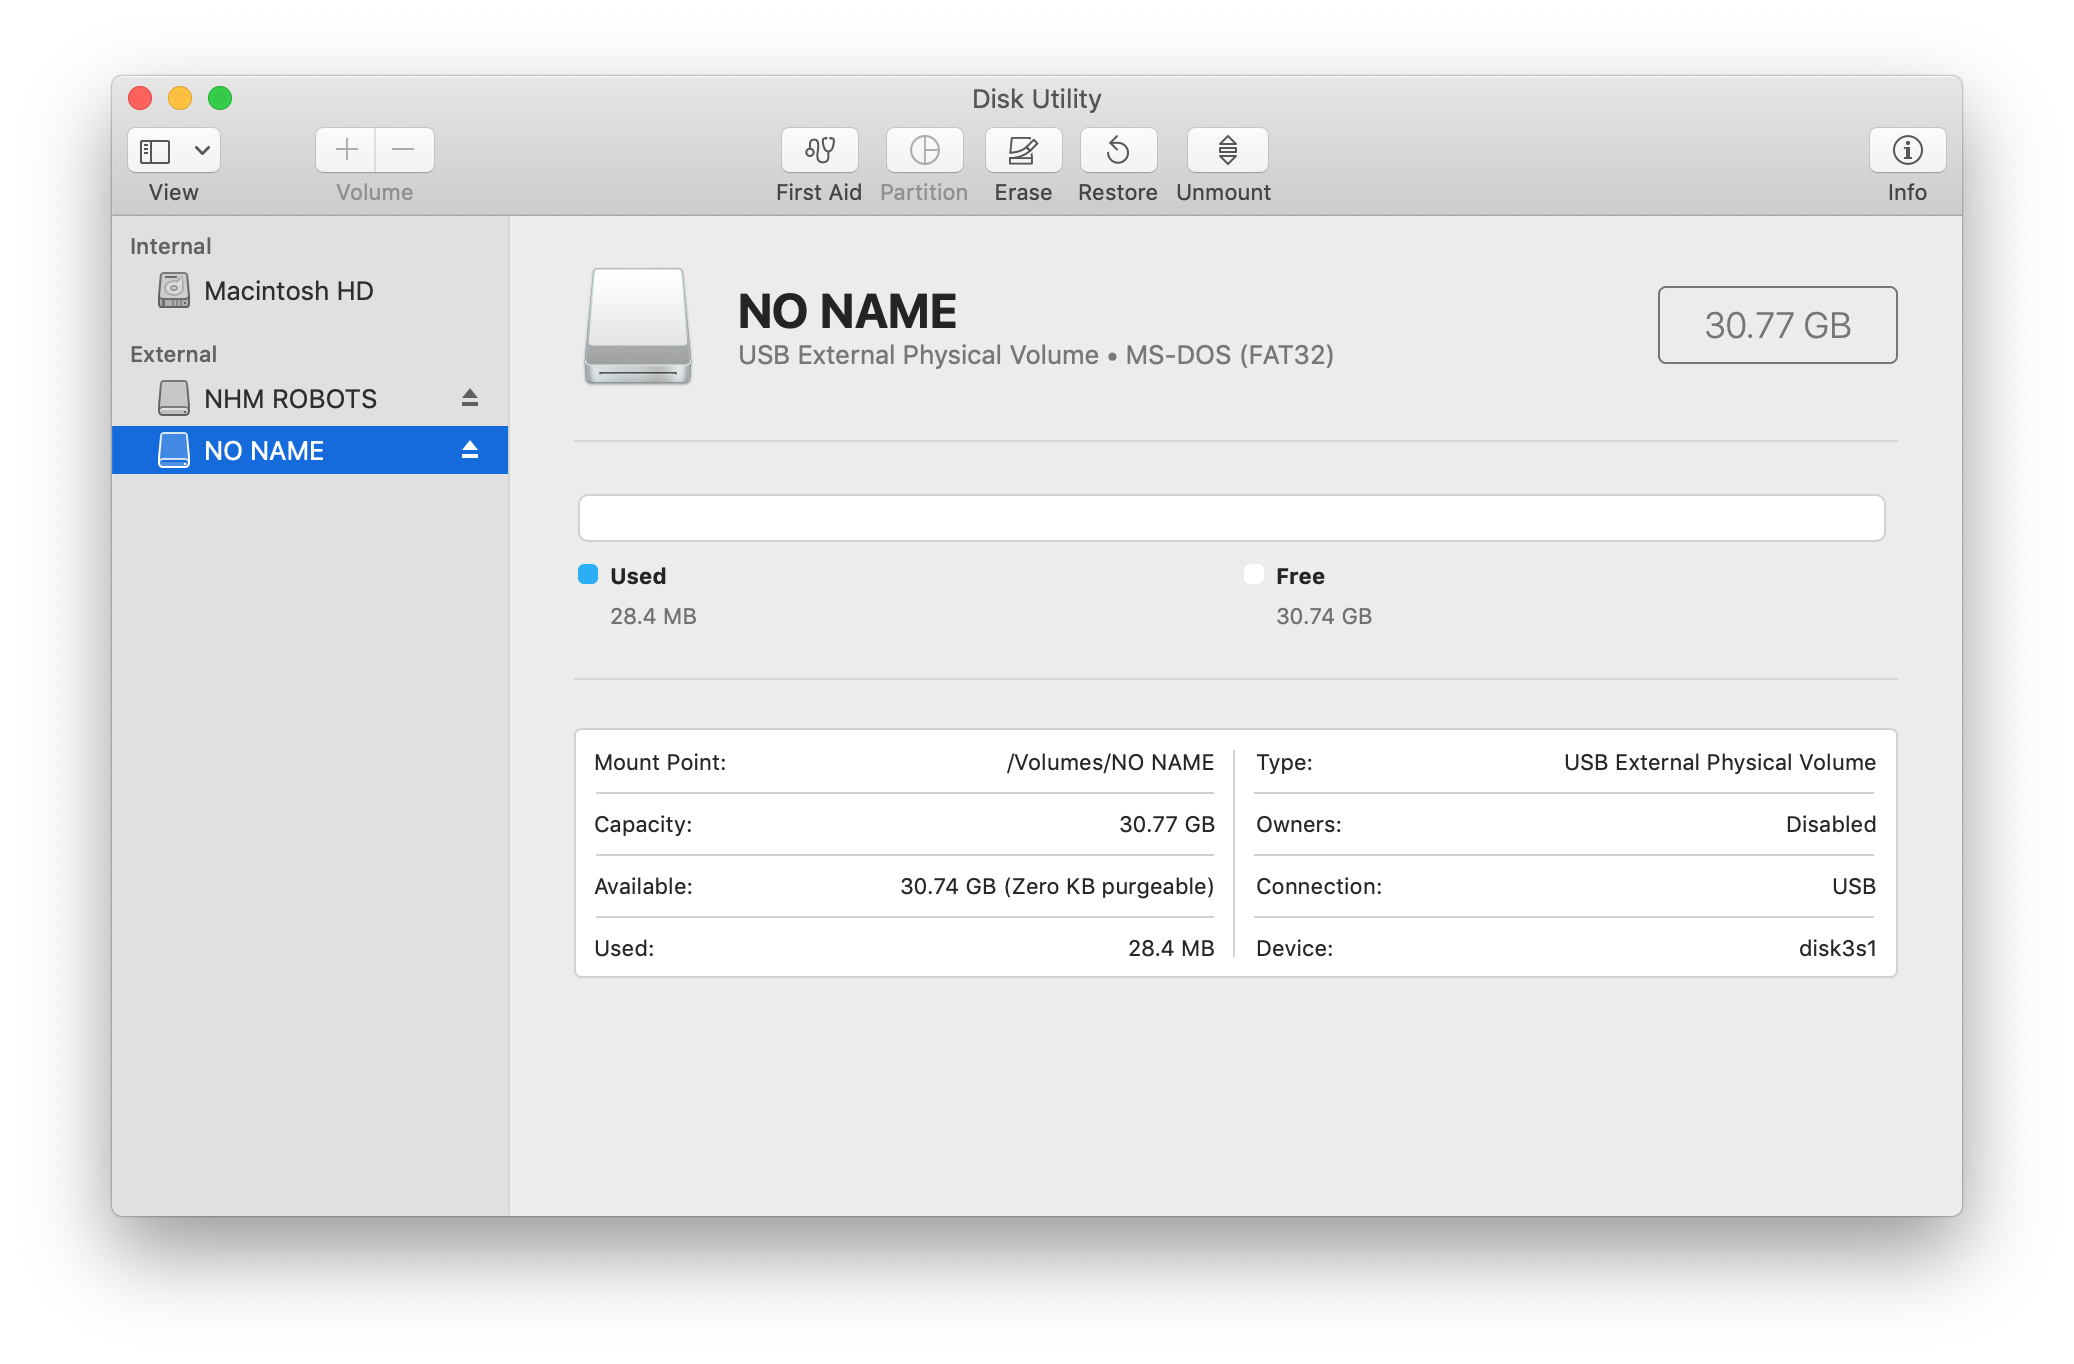
  3. Select the USB Flash drive in the list on the right

    Select drive

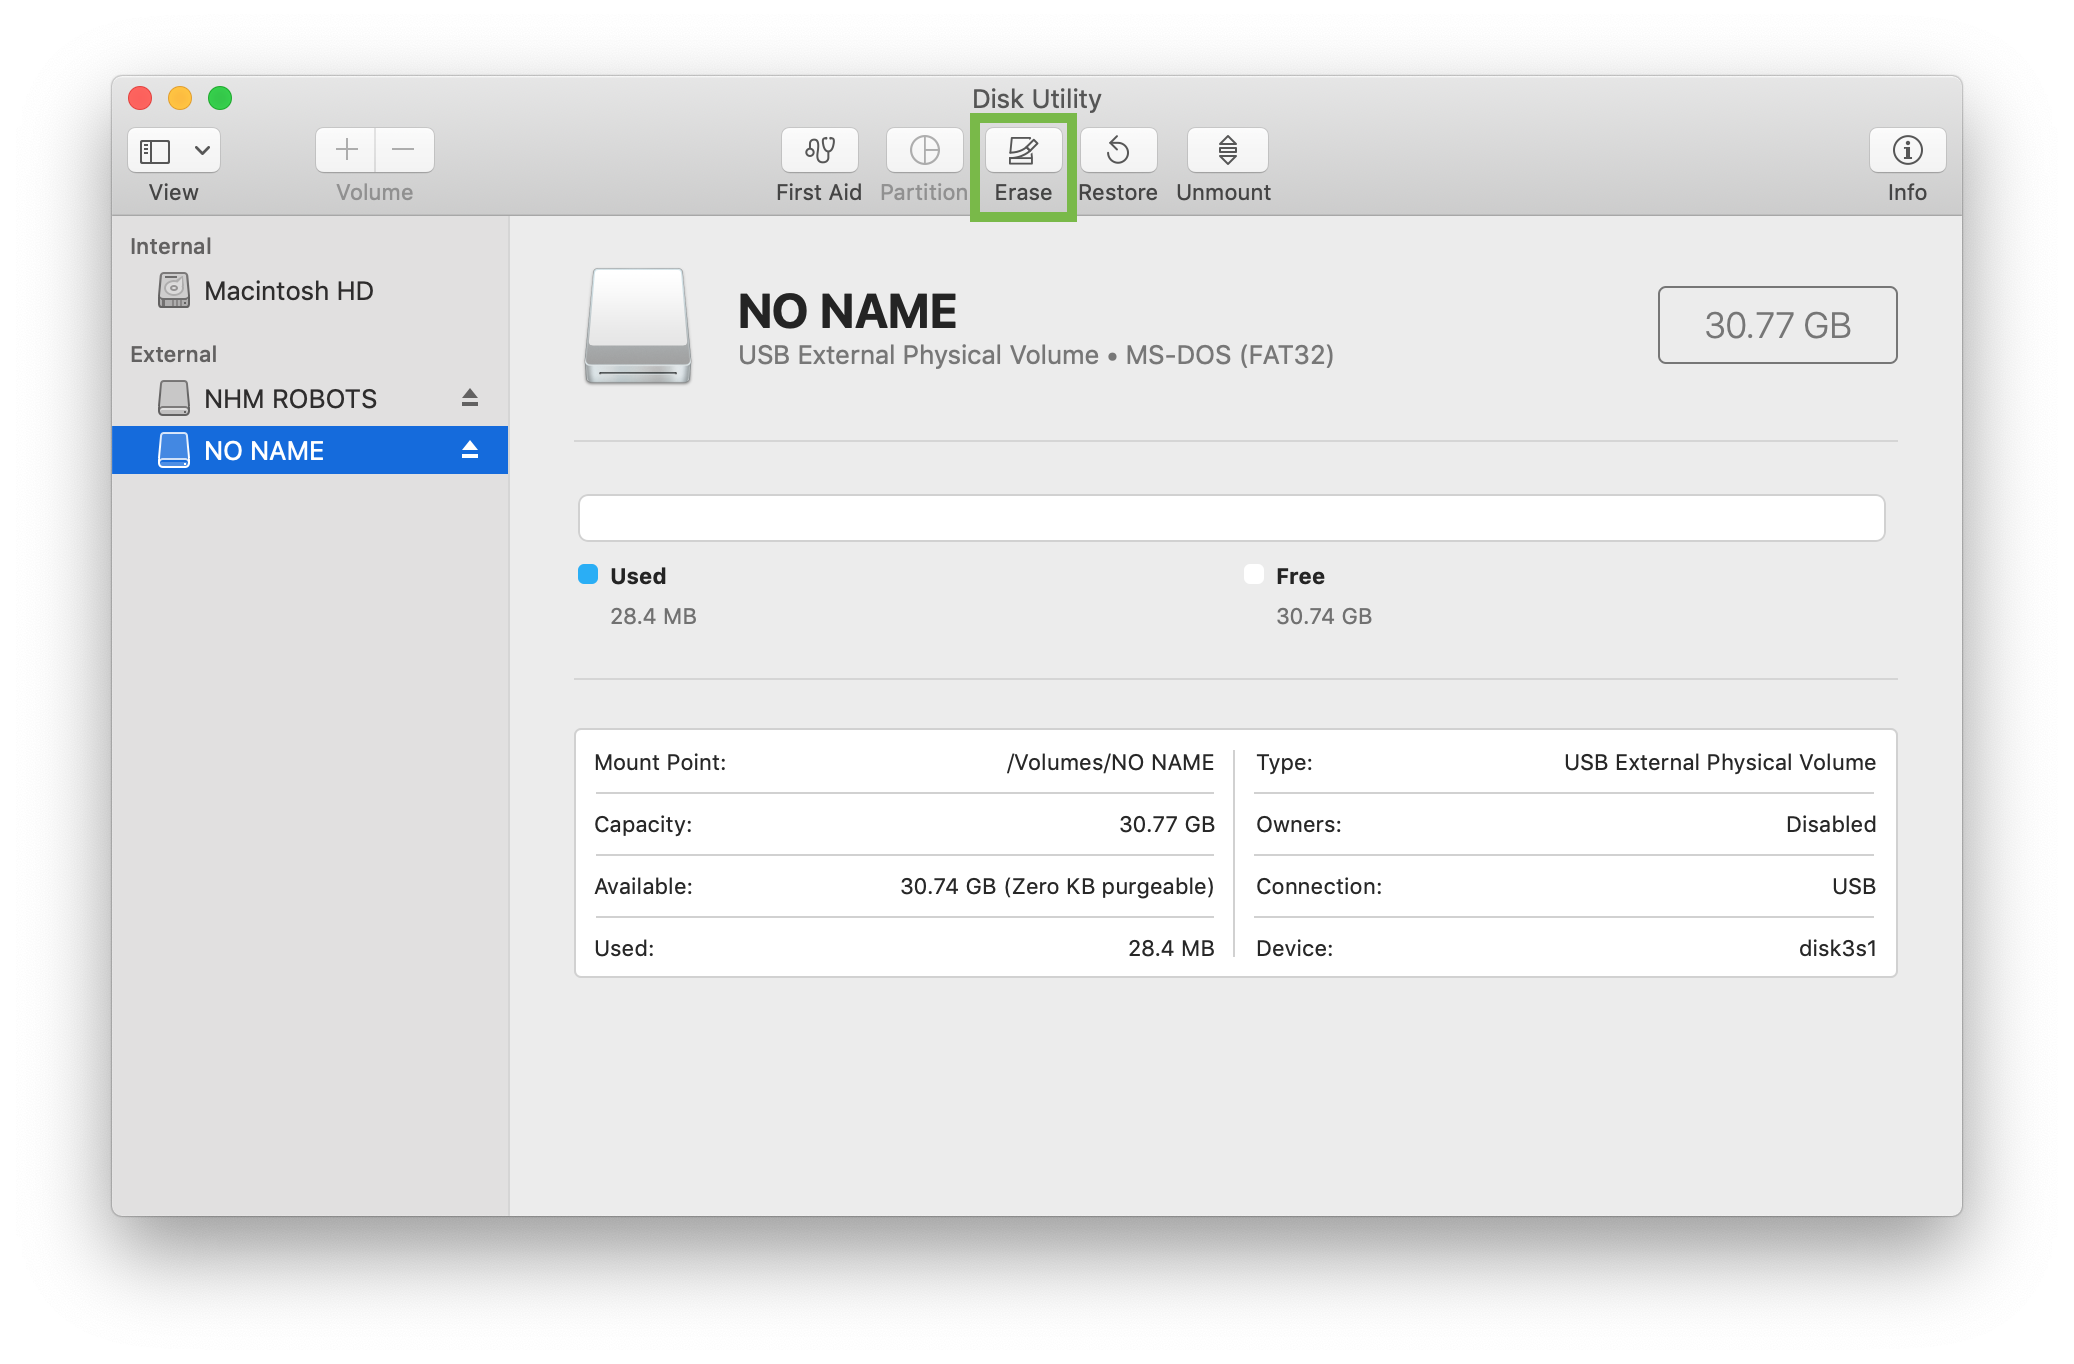
  4. Select the Erase icon at the top

    Select erase

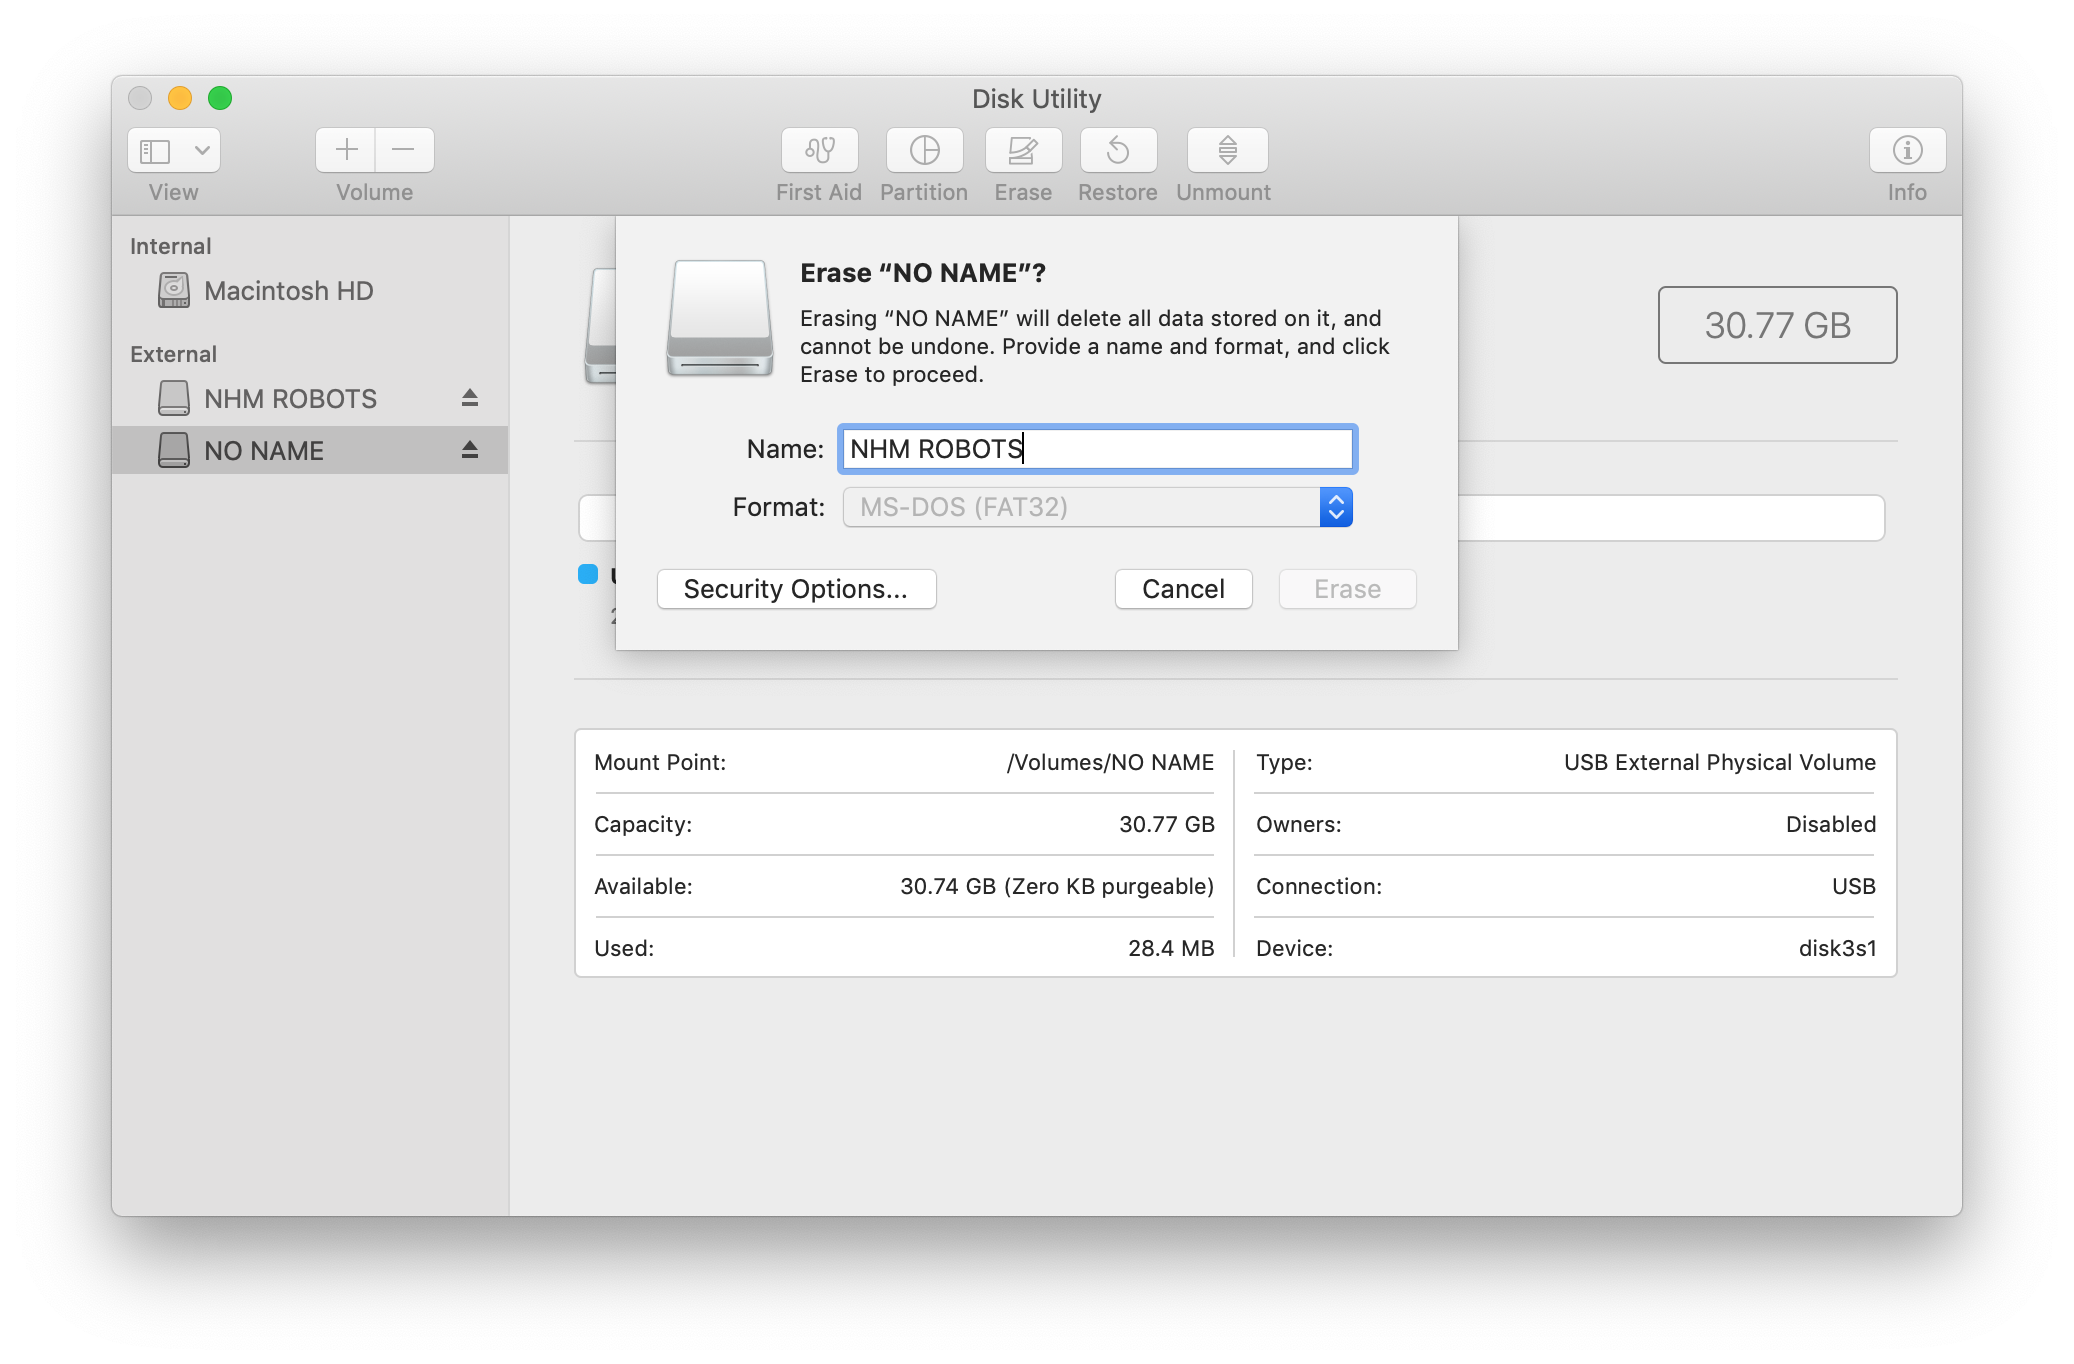
  5. Type in a name for the drive

    Name drive

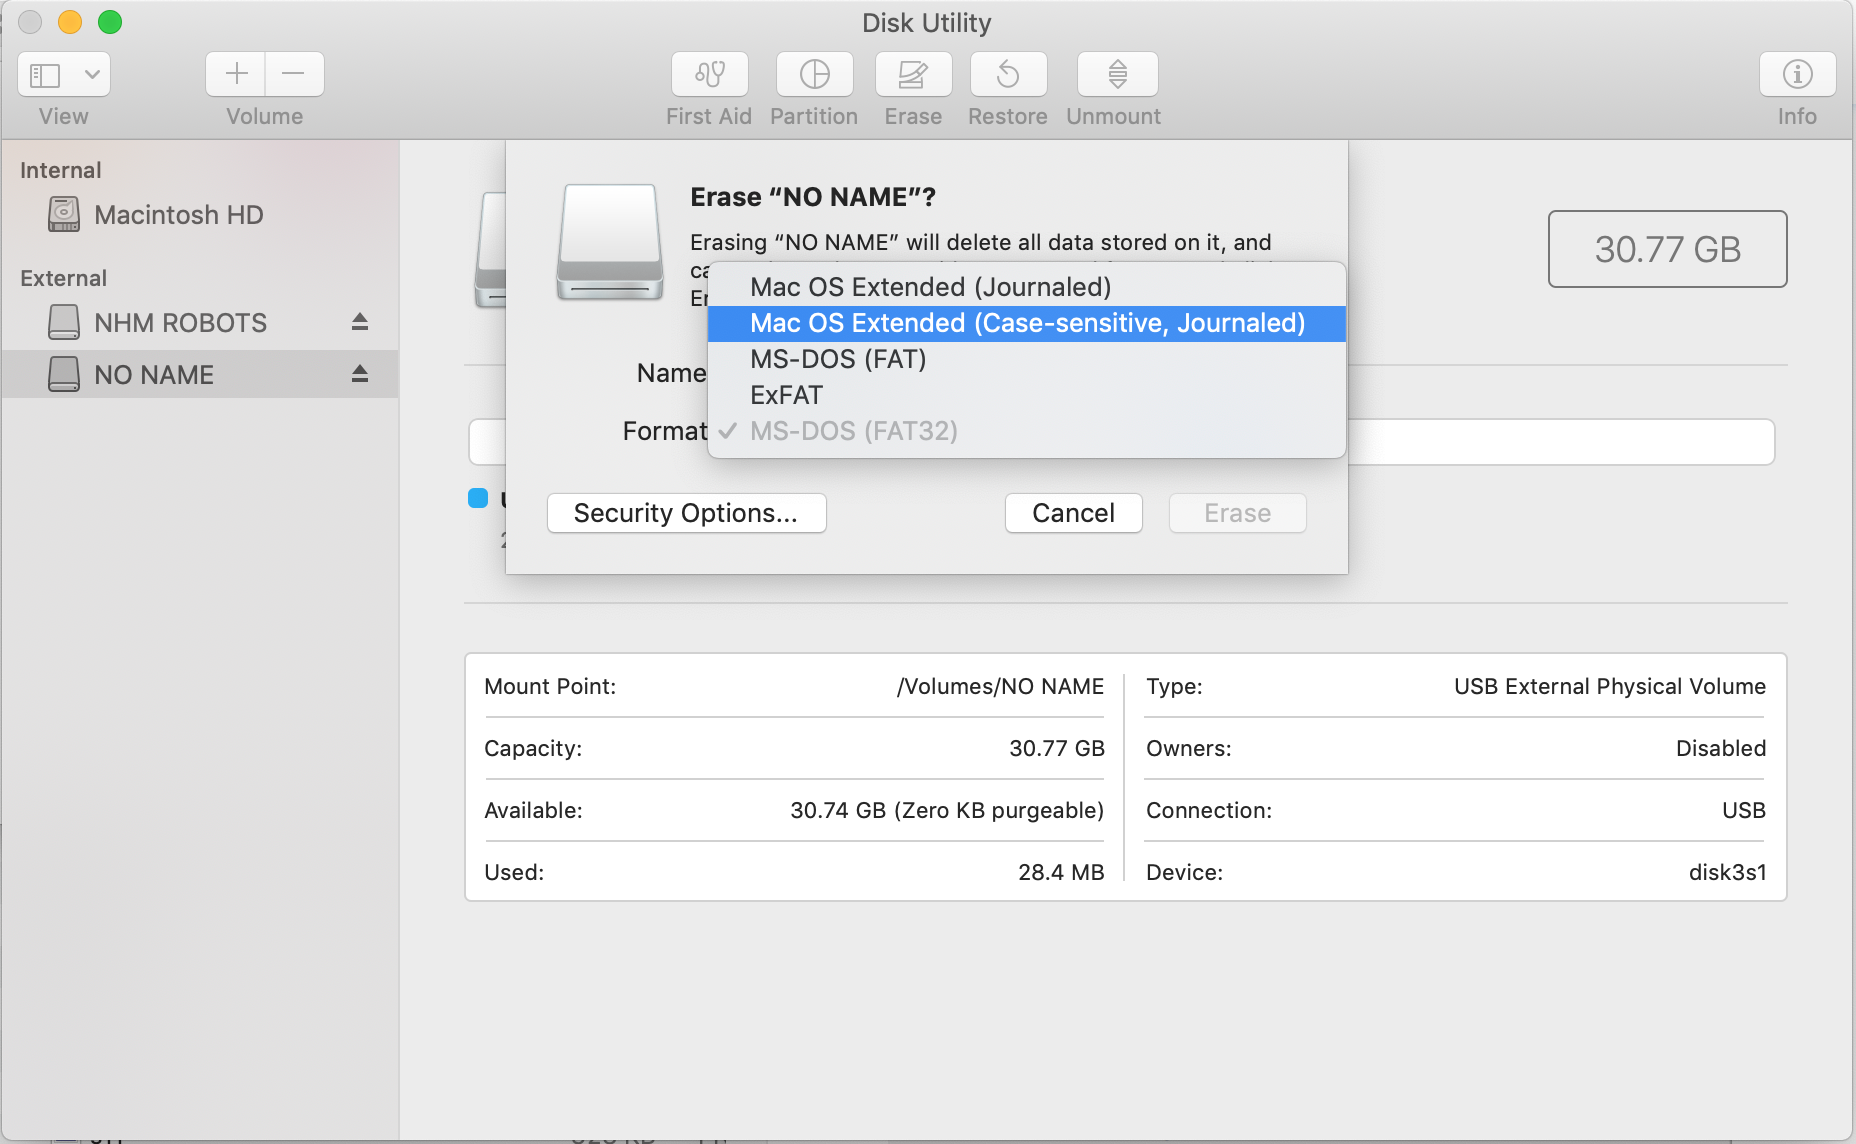
  6. Select the “Mac OS Extended (Case-sensitive, Journaled)” option for the Format

    Select drive

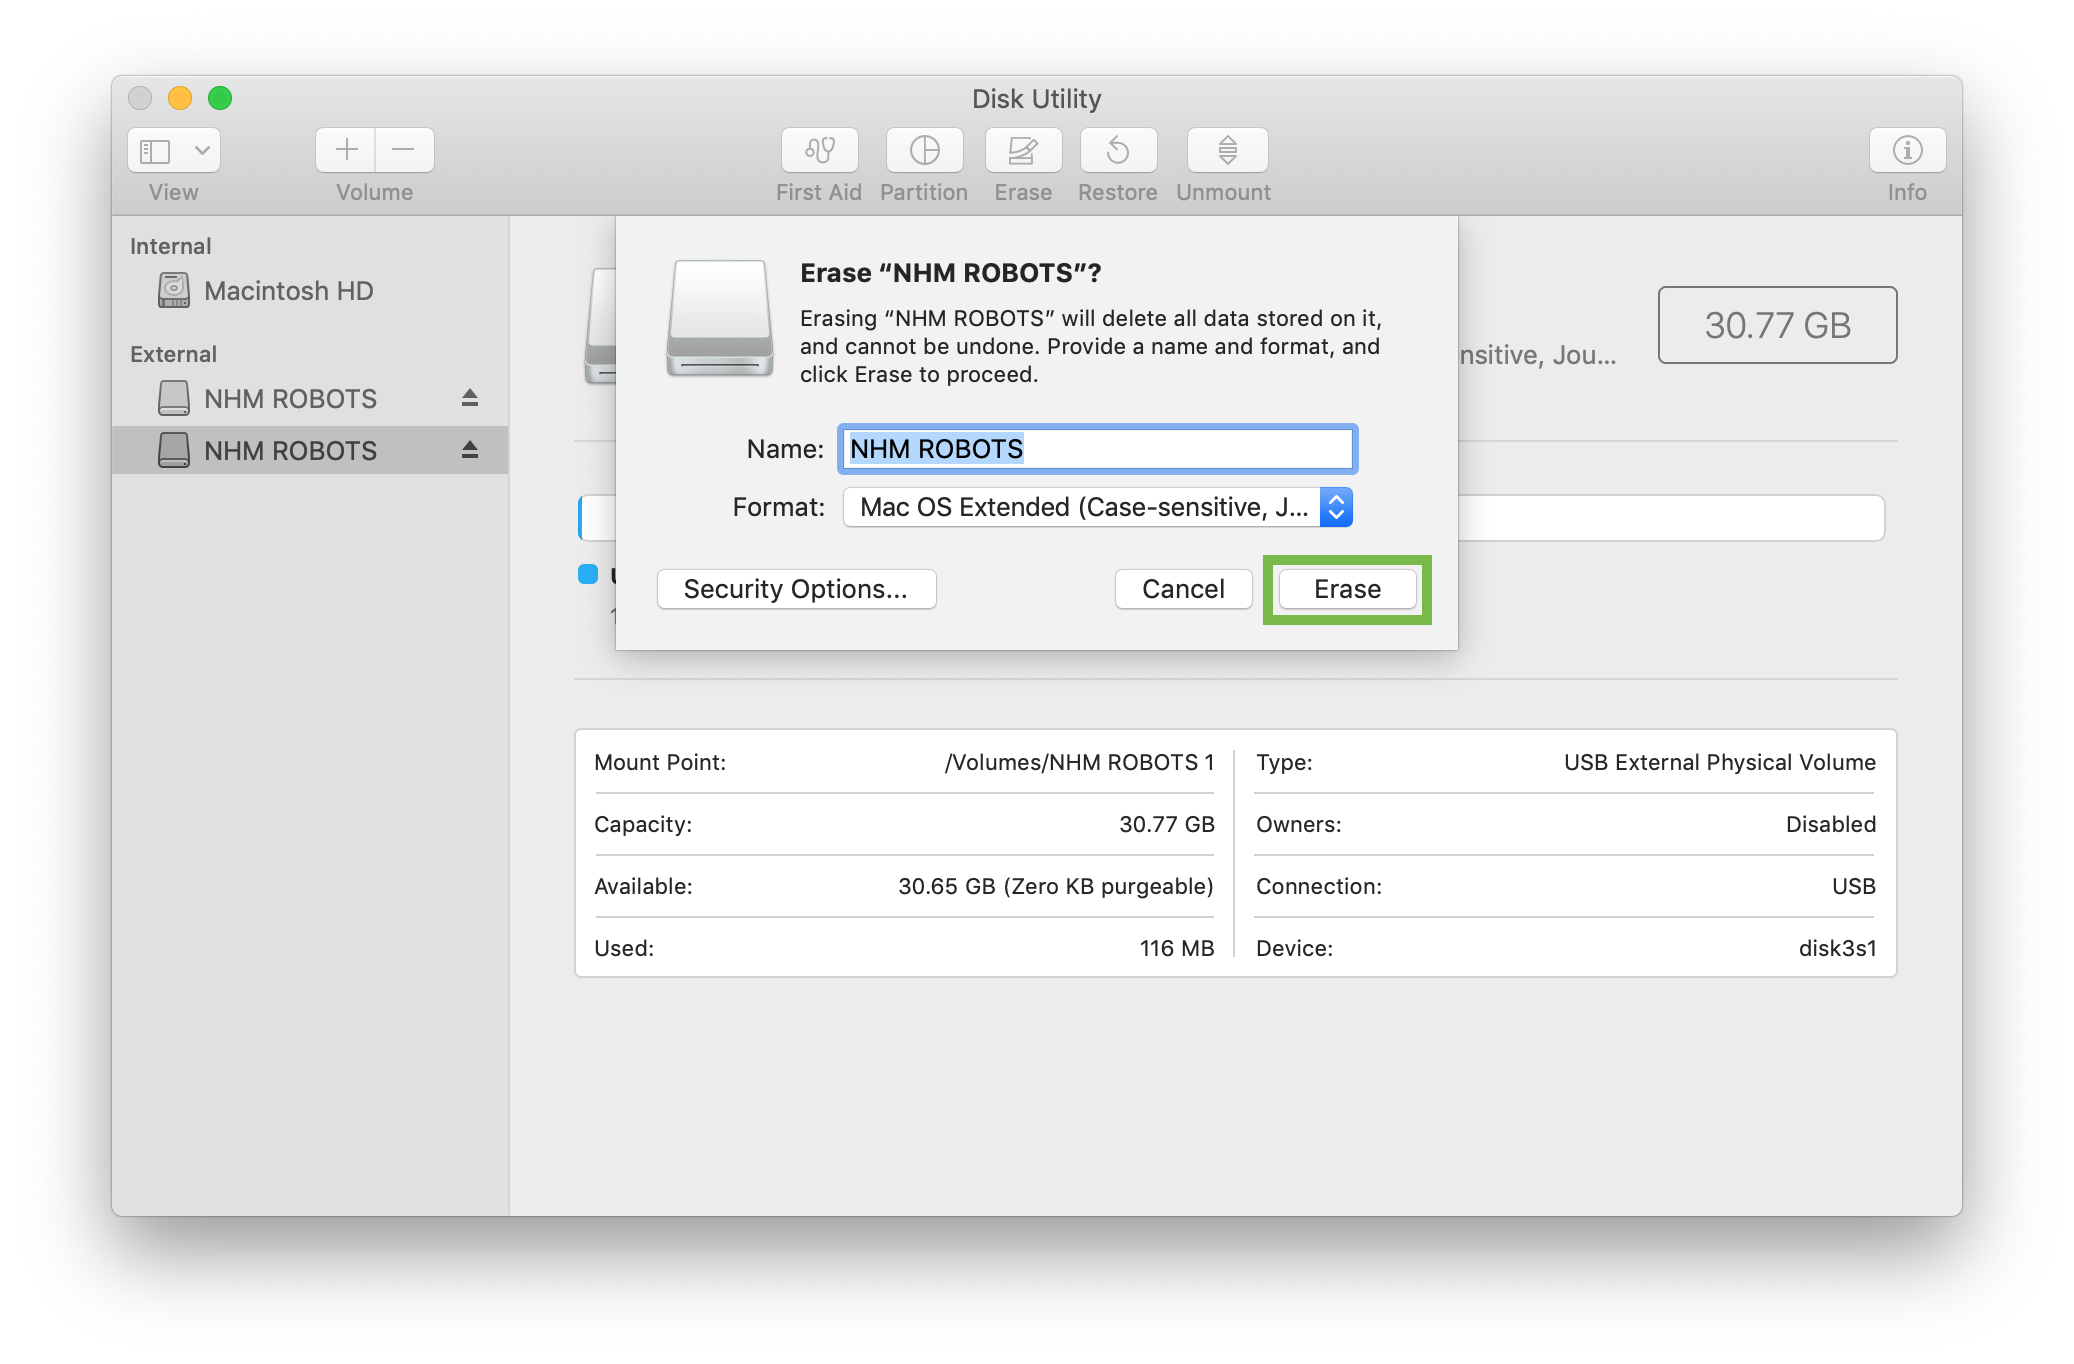
  7. Click the “Erase” button

    Select drive

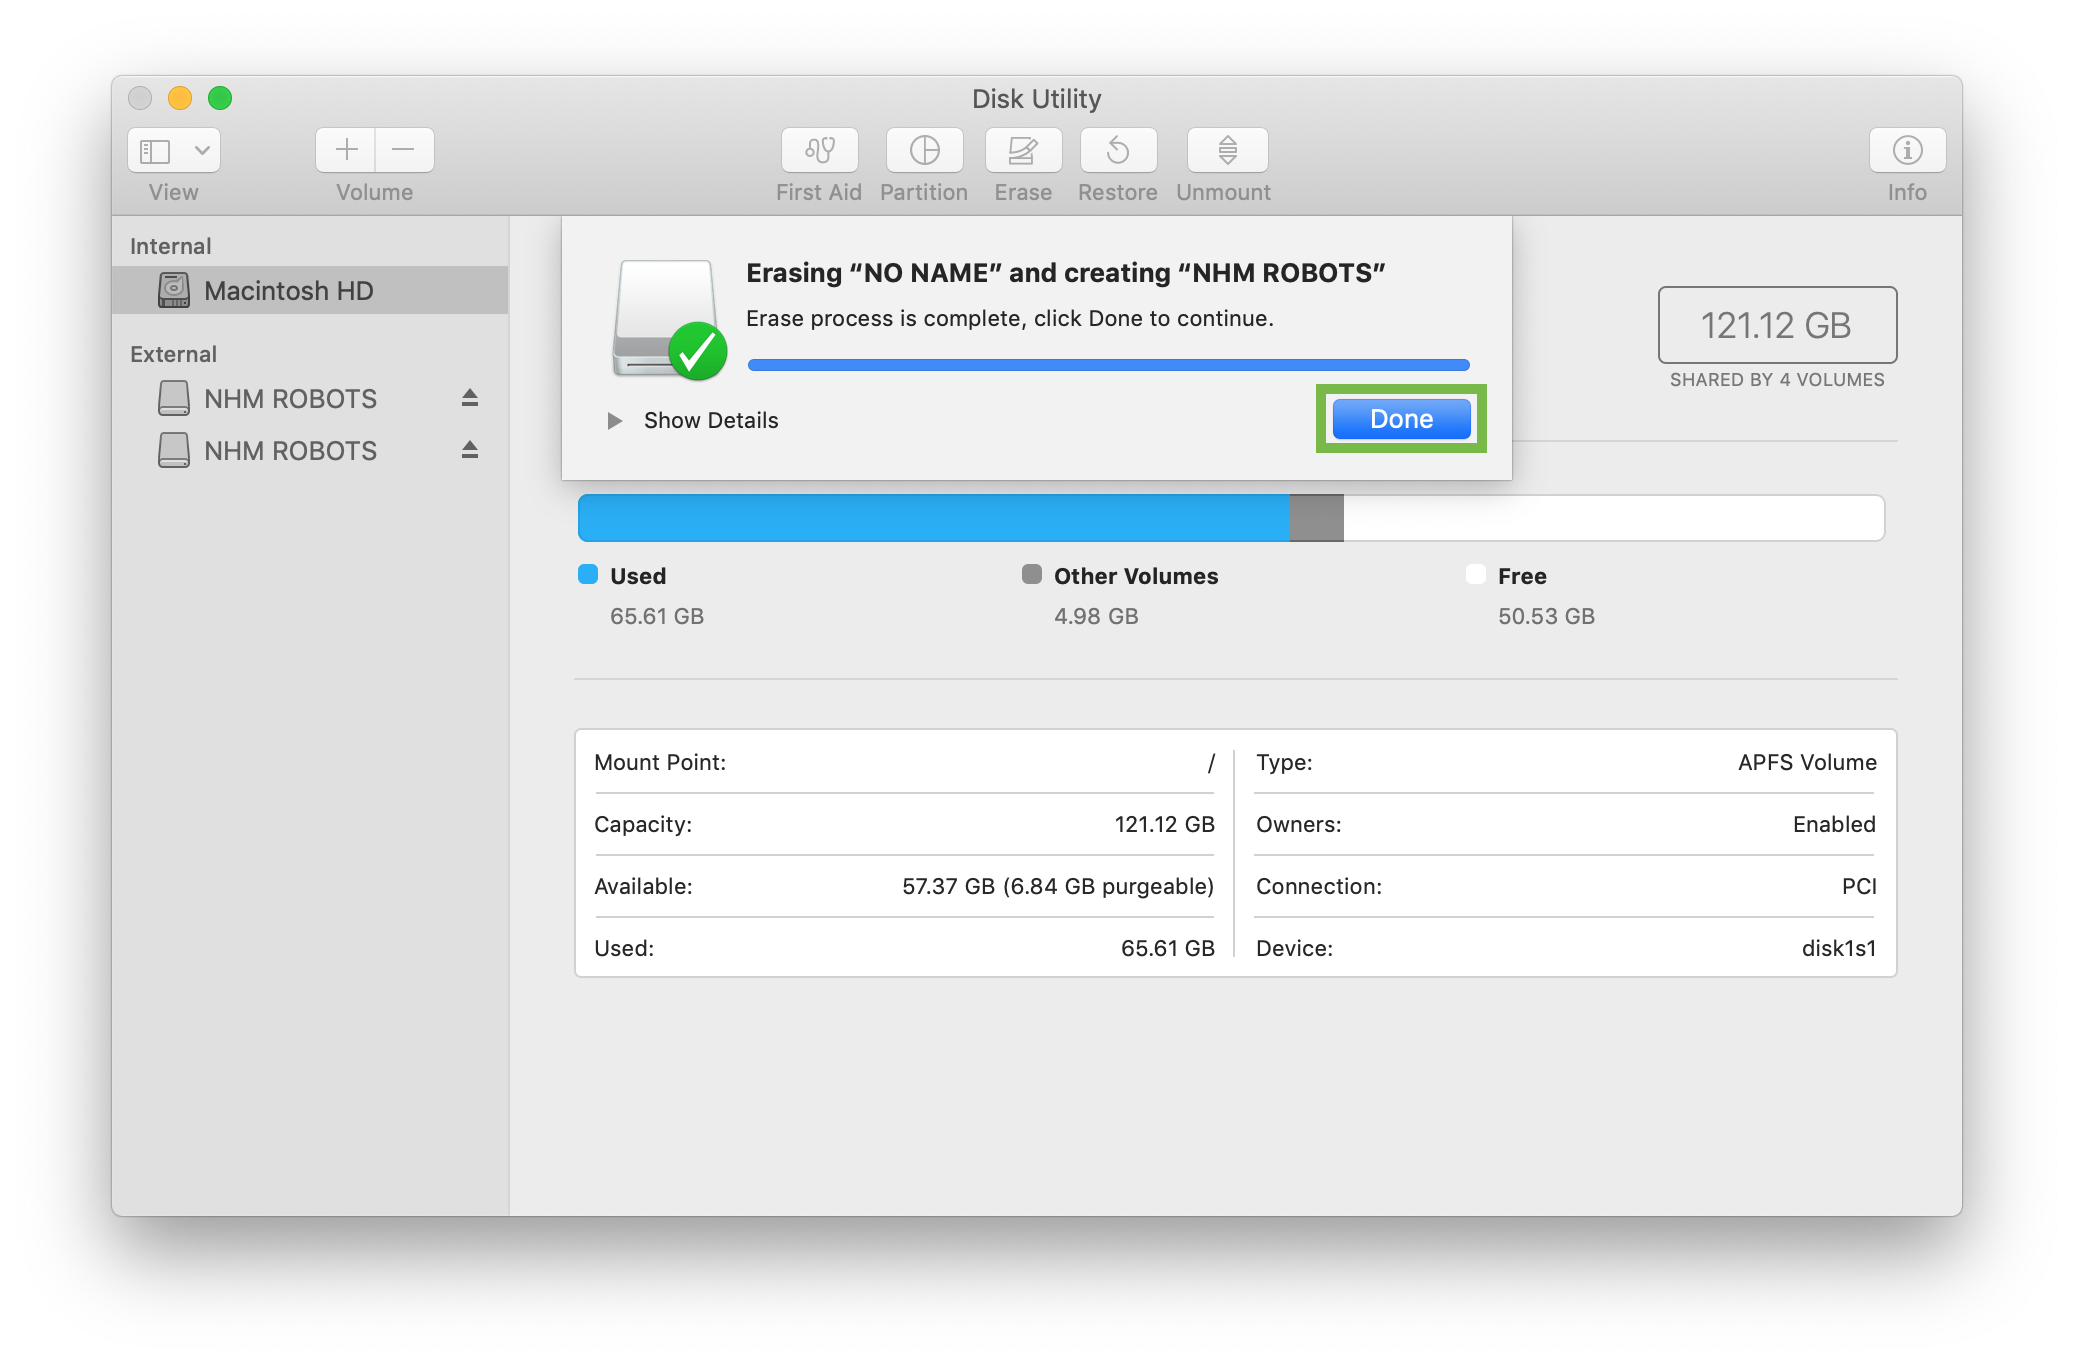
  8. When it's finished click the “Done” button and close the Disk Utility

    Select drive

Add MacOS Applications

The next step is to add the applications that are needed.

  1. Open a Finder window and select the USB Flash drive

    Select drive

  2. Create a folder called “Applications”

    New Applications Folder

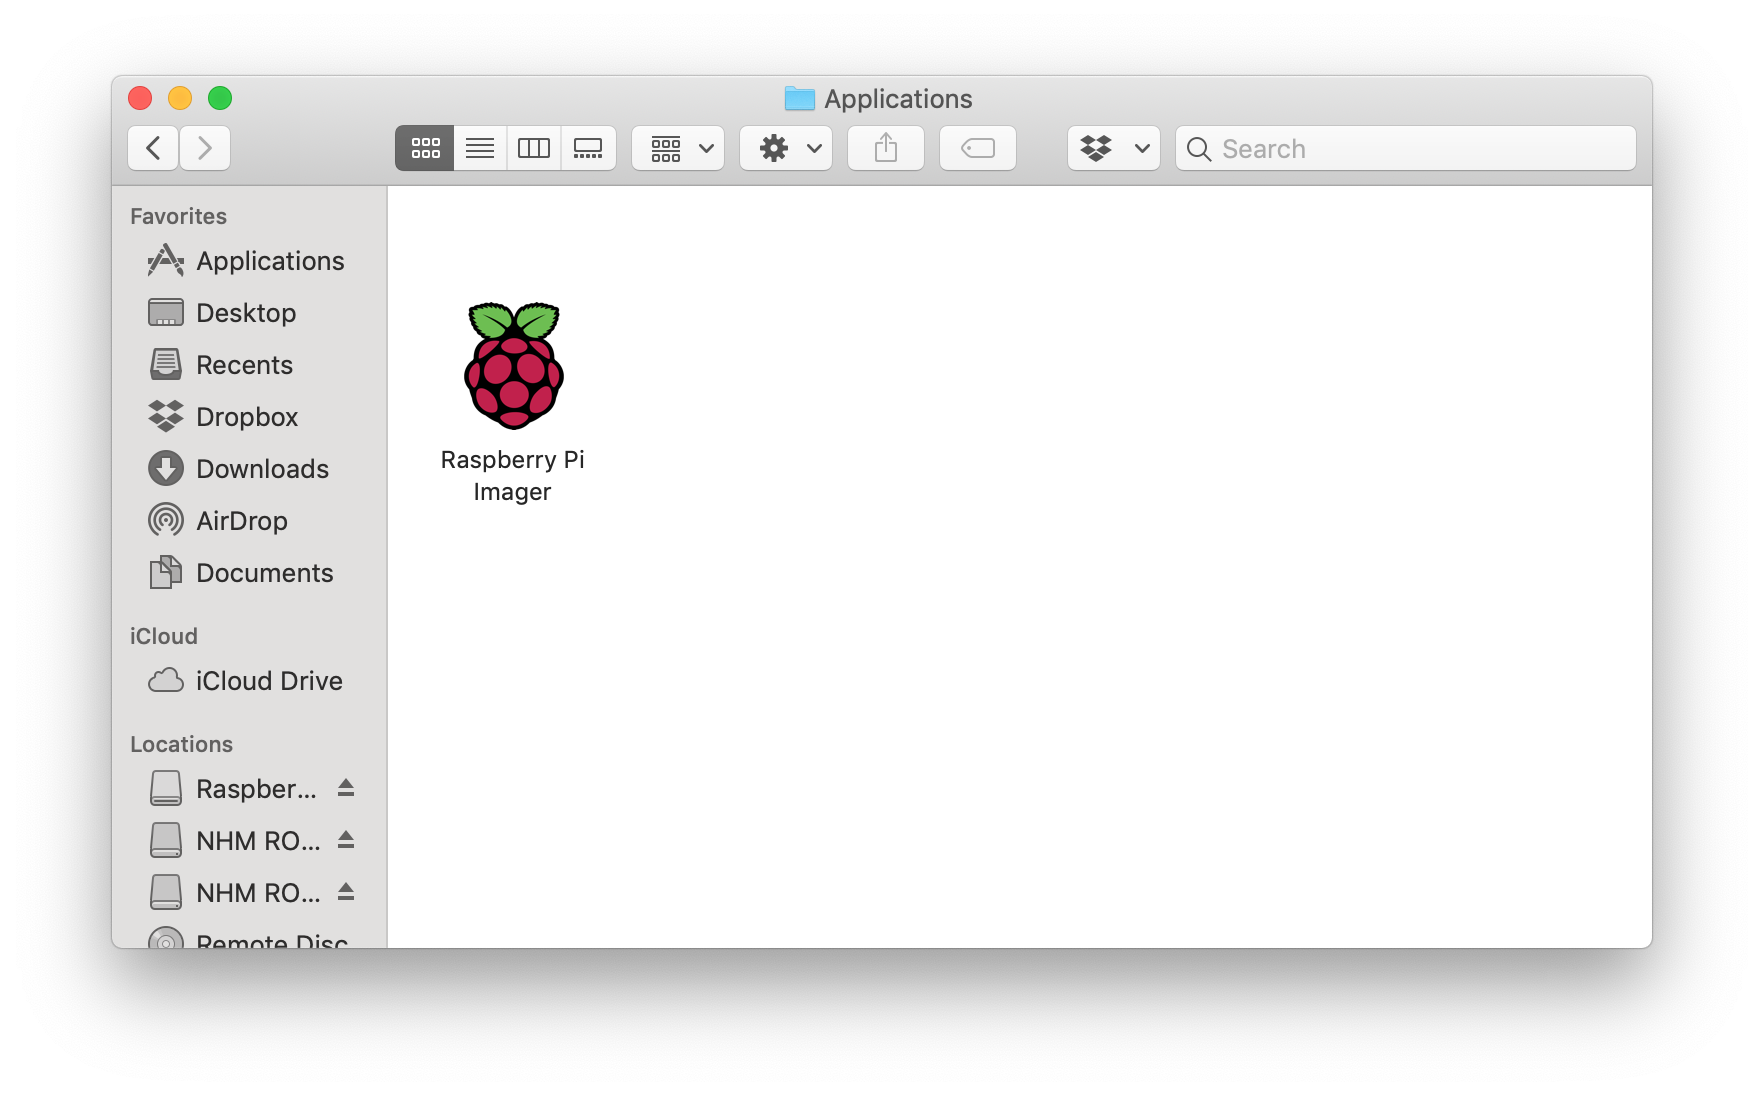
  3. Download and install the Raspberry Pi Imager app
    1. Browse to https://www.raspberrypi.org/software/ and download the latest version
    2. Open the downloaded image

      Raspberry Pi Imager DMG

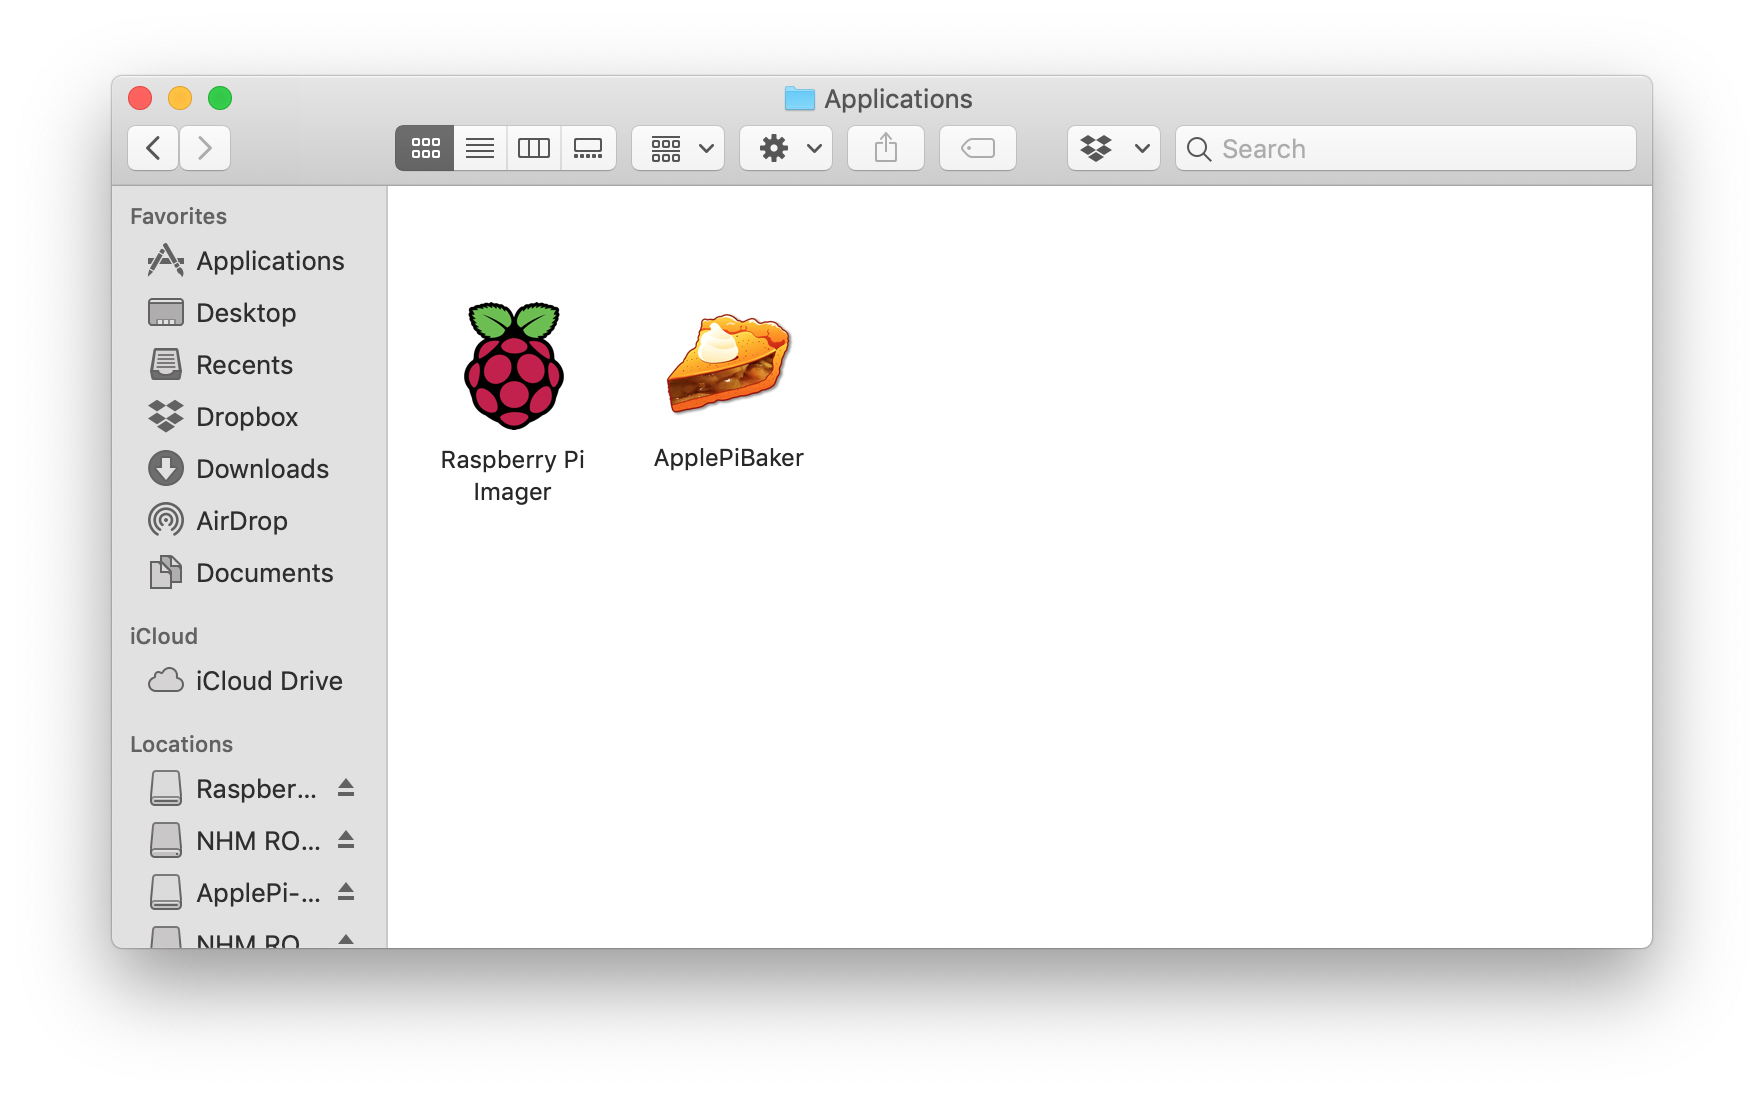
    3. Drag the Raspberry Pi Imager icon to the Applications folder on the USB Flash drive

      Raspberry Pi Imager Installed

  4. Download and install the ApplePiBaker app
    1. Browse to https://www.tweaking4all.com/software/macosx-software/applepi-baker-v2/ and download the latest version at the bottom of the page
    2. Open the downloaded image

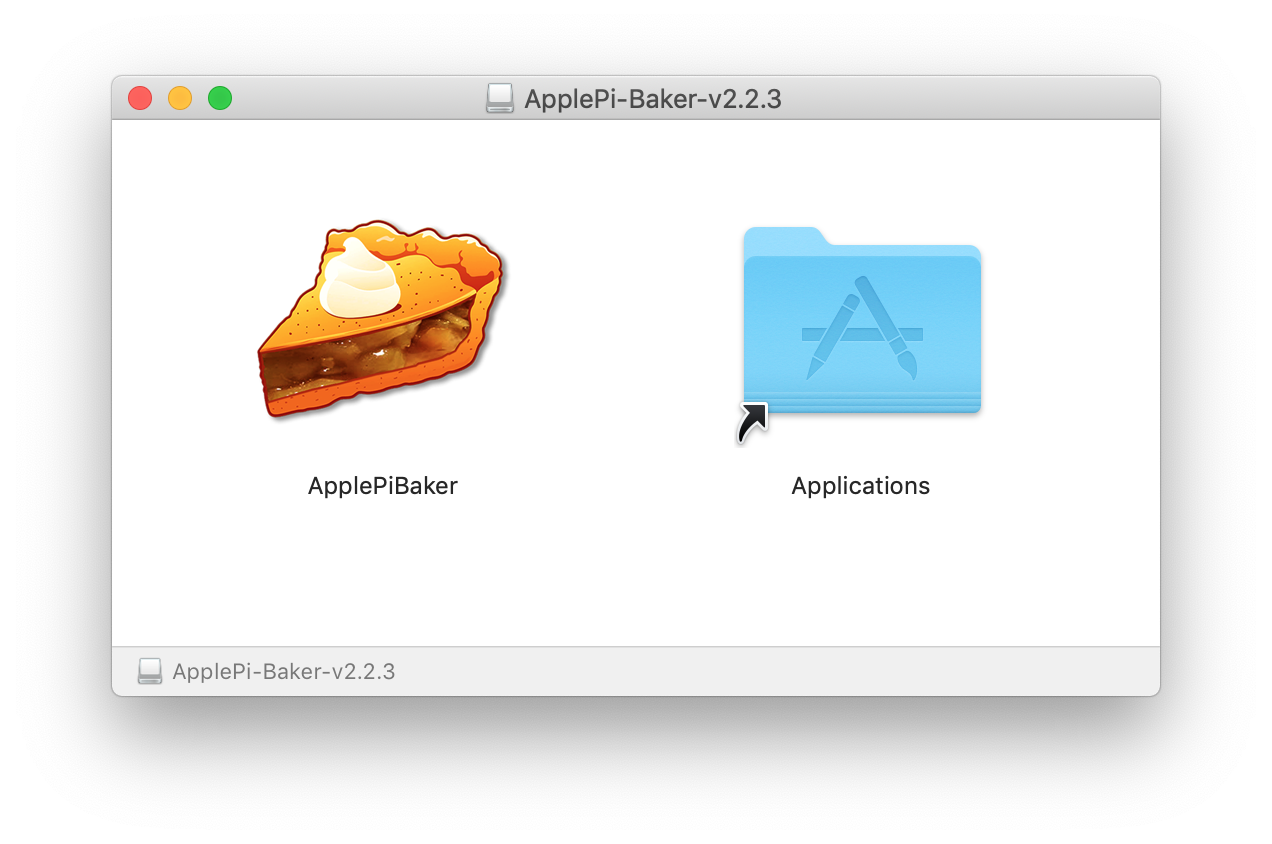
      ApplePiBaker DMG

    3. Drag the ApplePiBaker icon to the Applications folder on the USB Flash drive

      ApplePiBaker Installed

  5. Download and install the Visual Studio Code app
    1. Browse to https://code.visualstudio.com and download the latest version
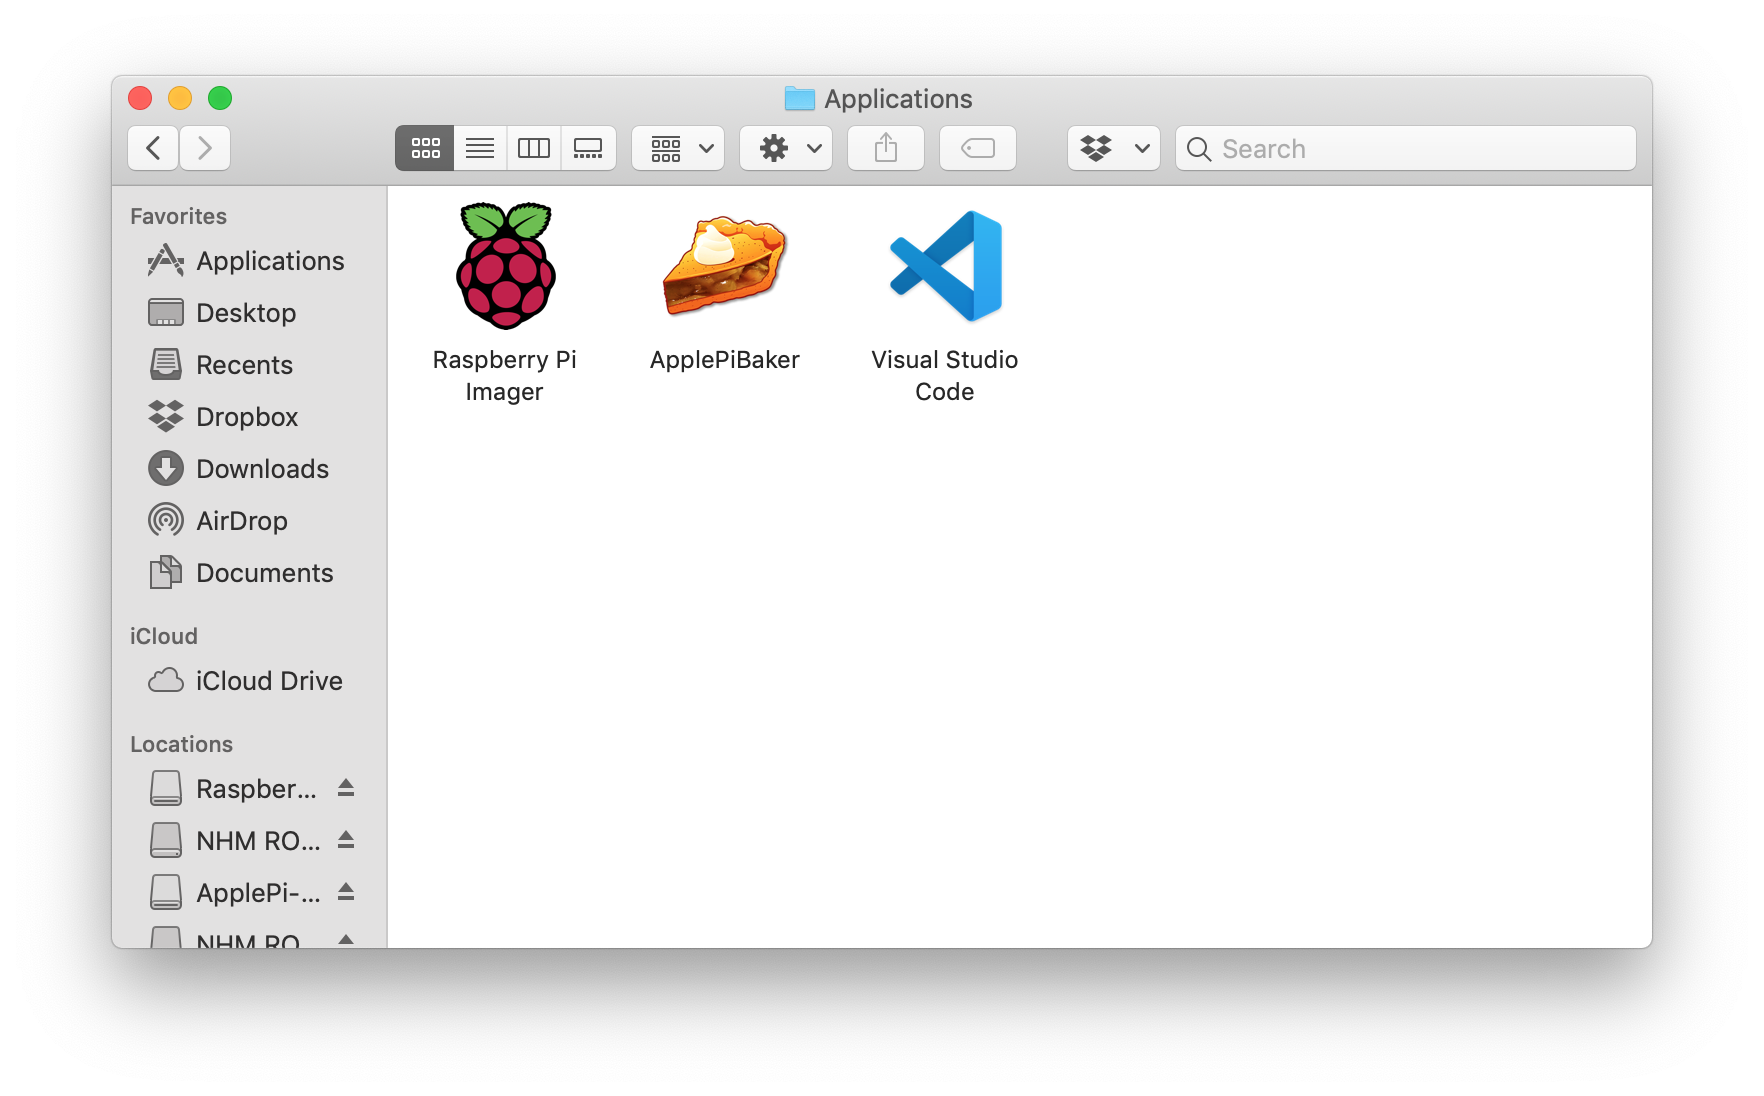
    2. Drag the downloaded file to the Applications folder on the USB Flash drive

      Visual Studio Code Installed

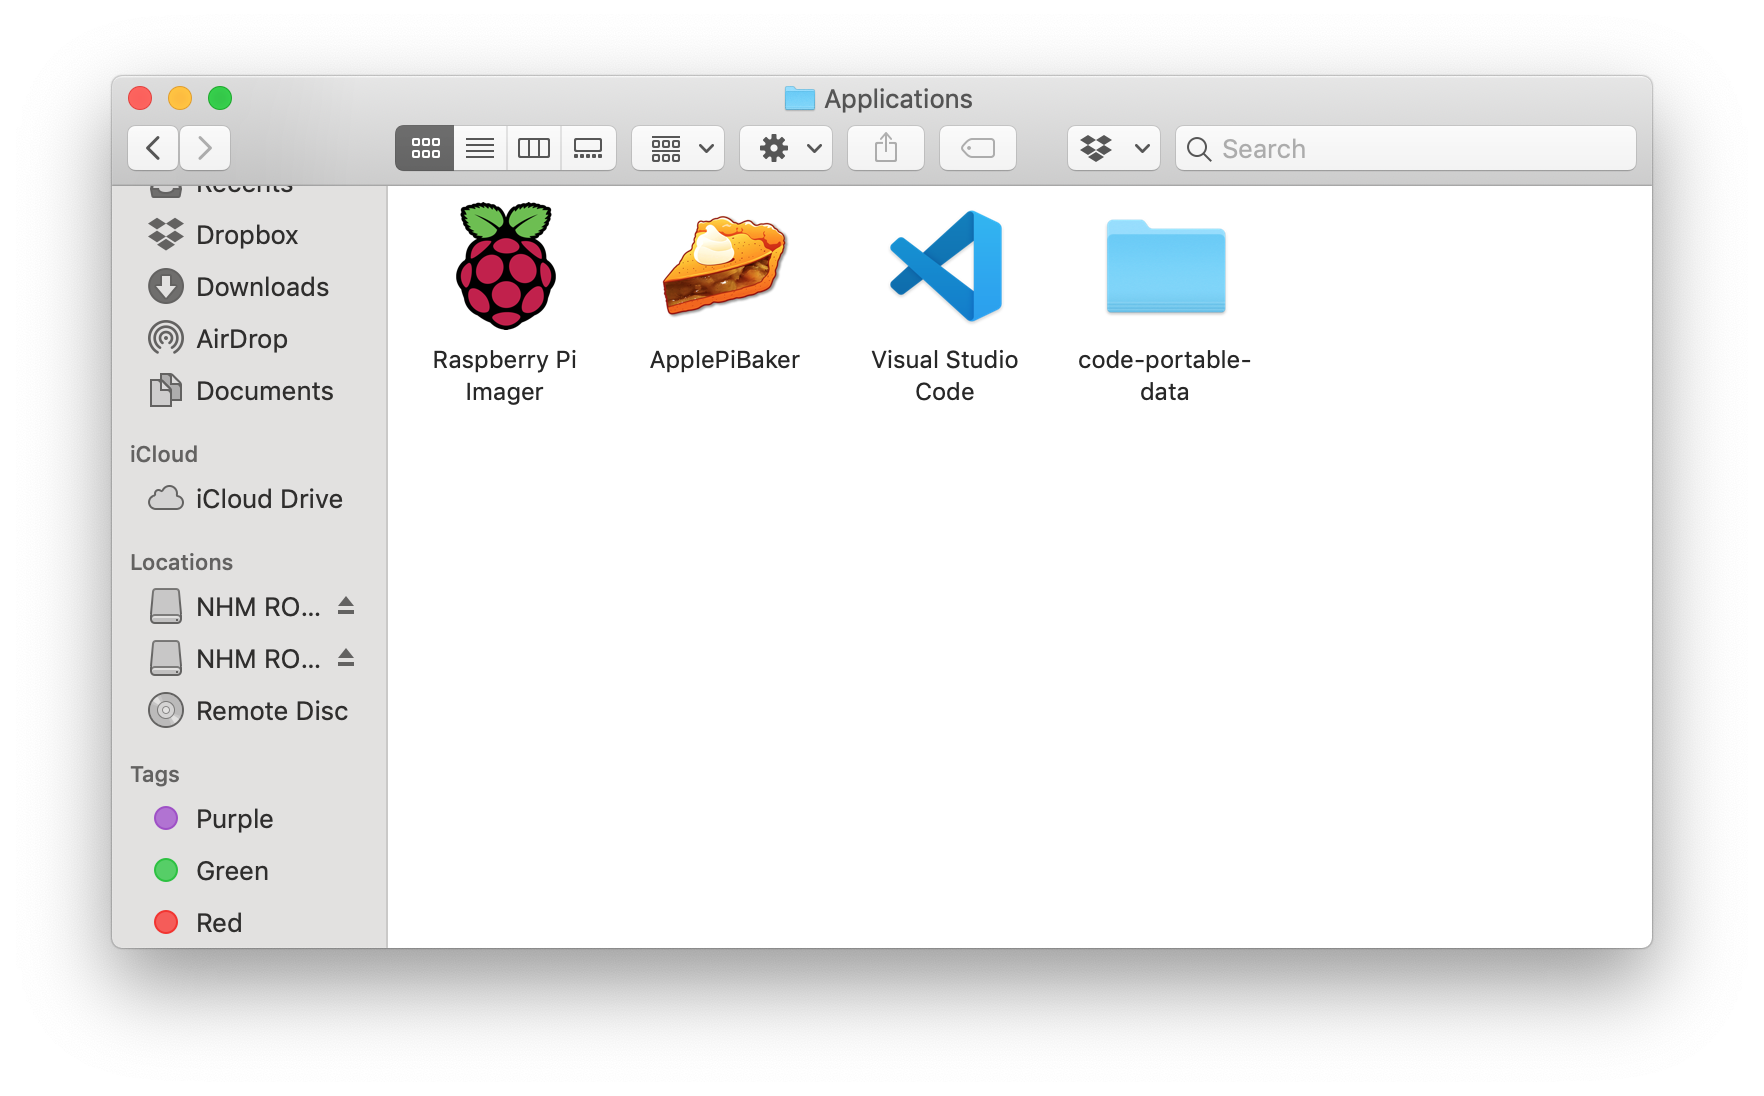
    3. Create a new folder named “code-portable-data” next to the Visual Studio Code icon on the USB Flash drive

      Visual Studio Code Data Folder

  6. Install required extensions in Visual Studio Code
    1. Open the Visual Studio Code app from the USB Flash drive
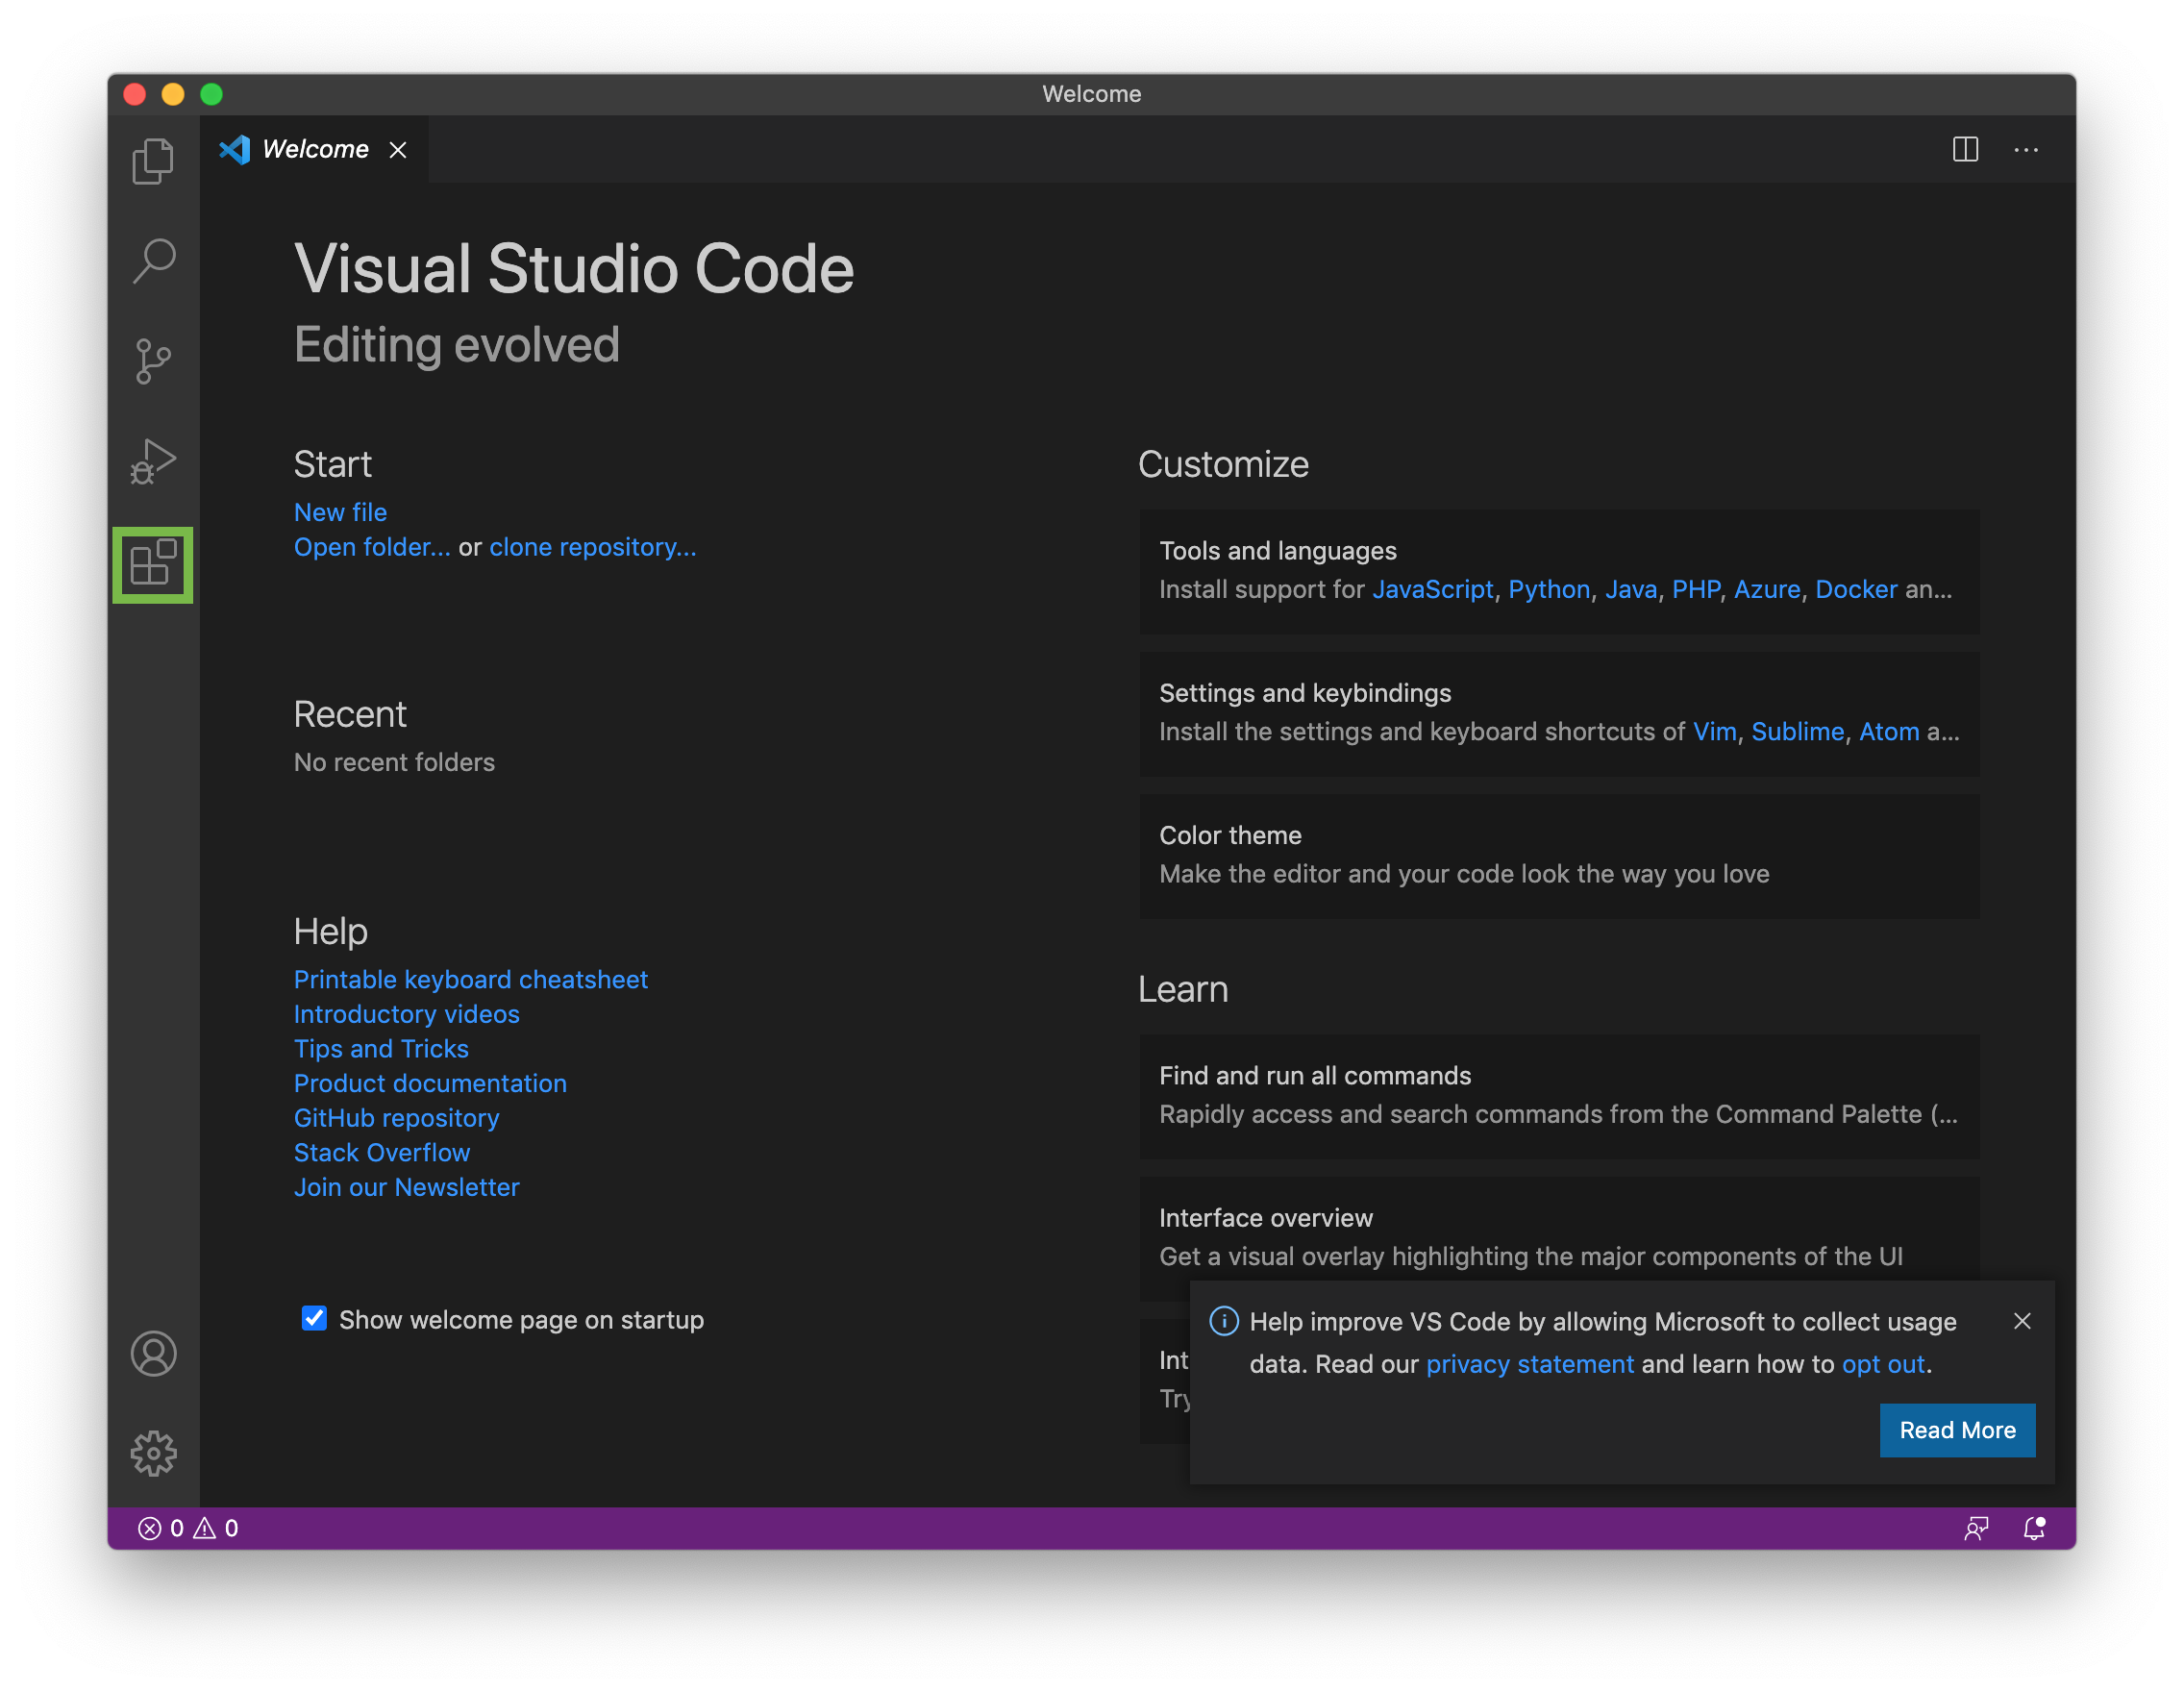
    2. Click on the extensions icon

      VSCode Extensions

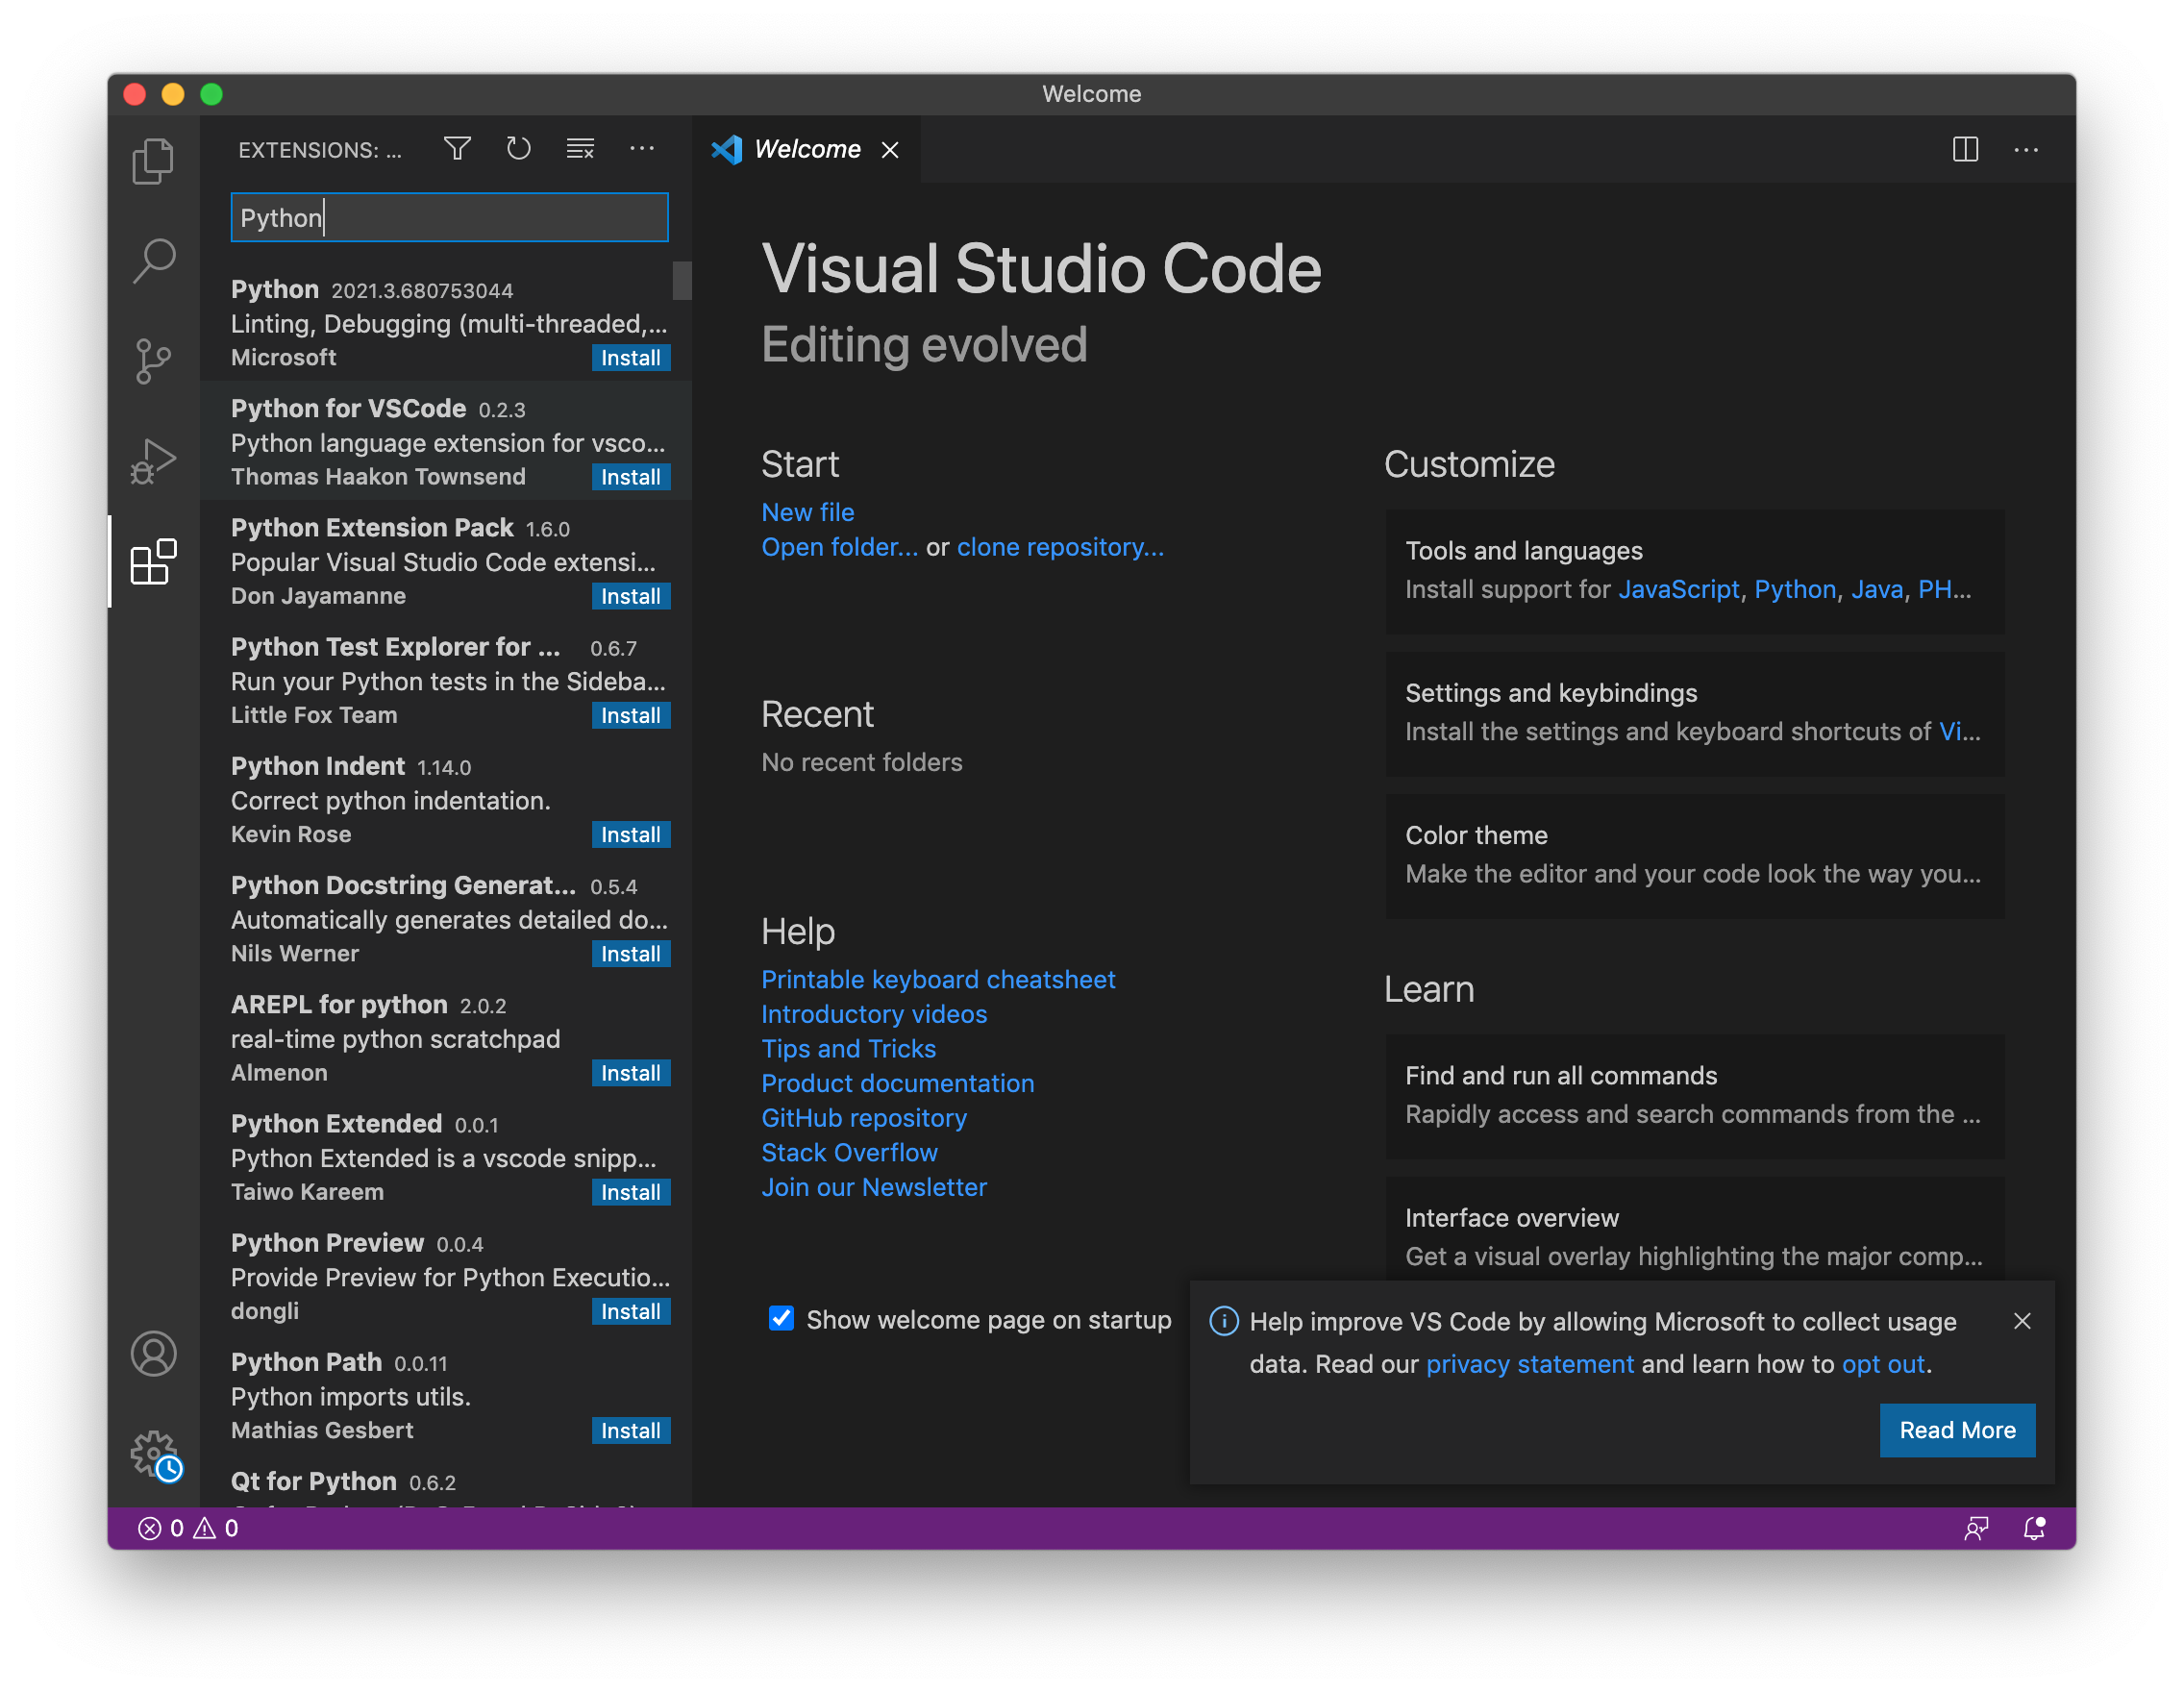
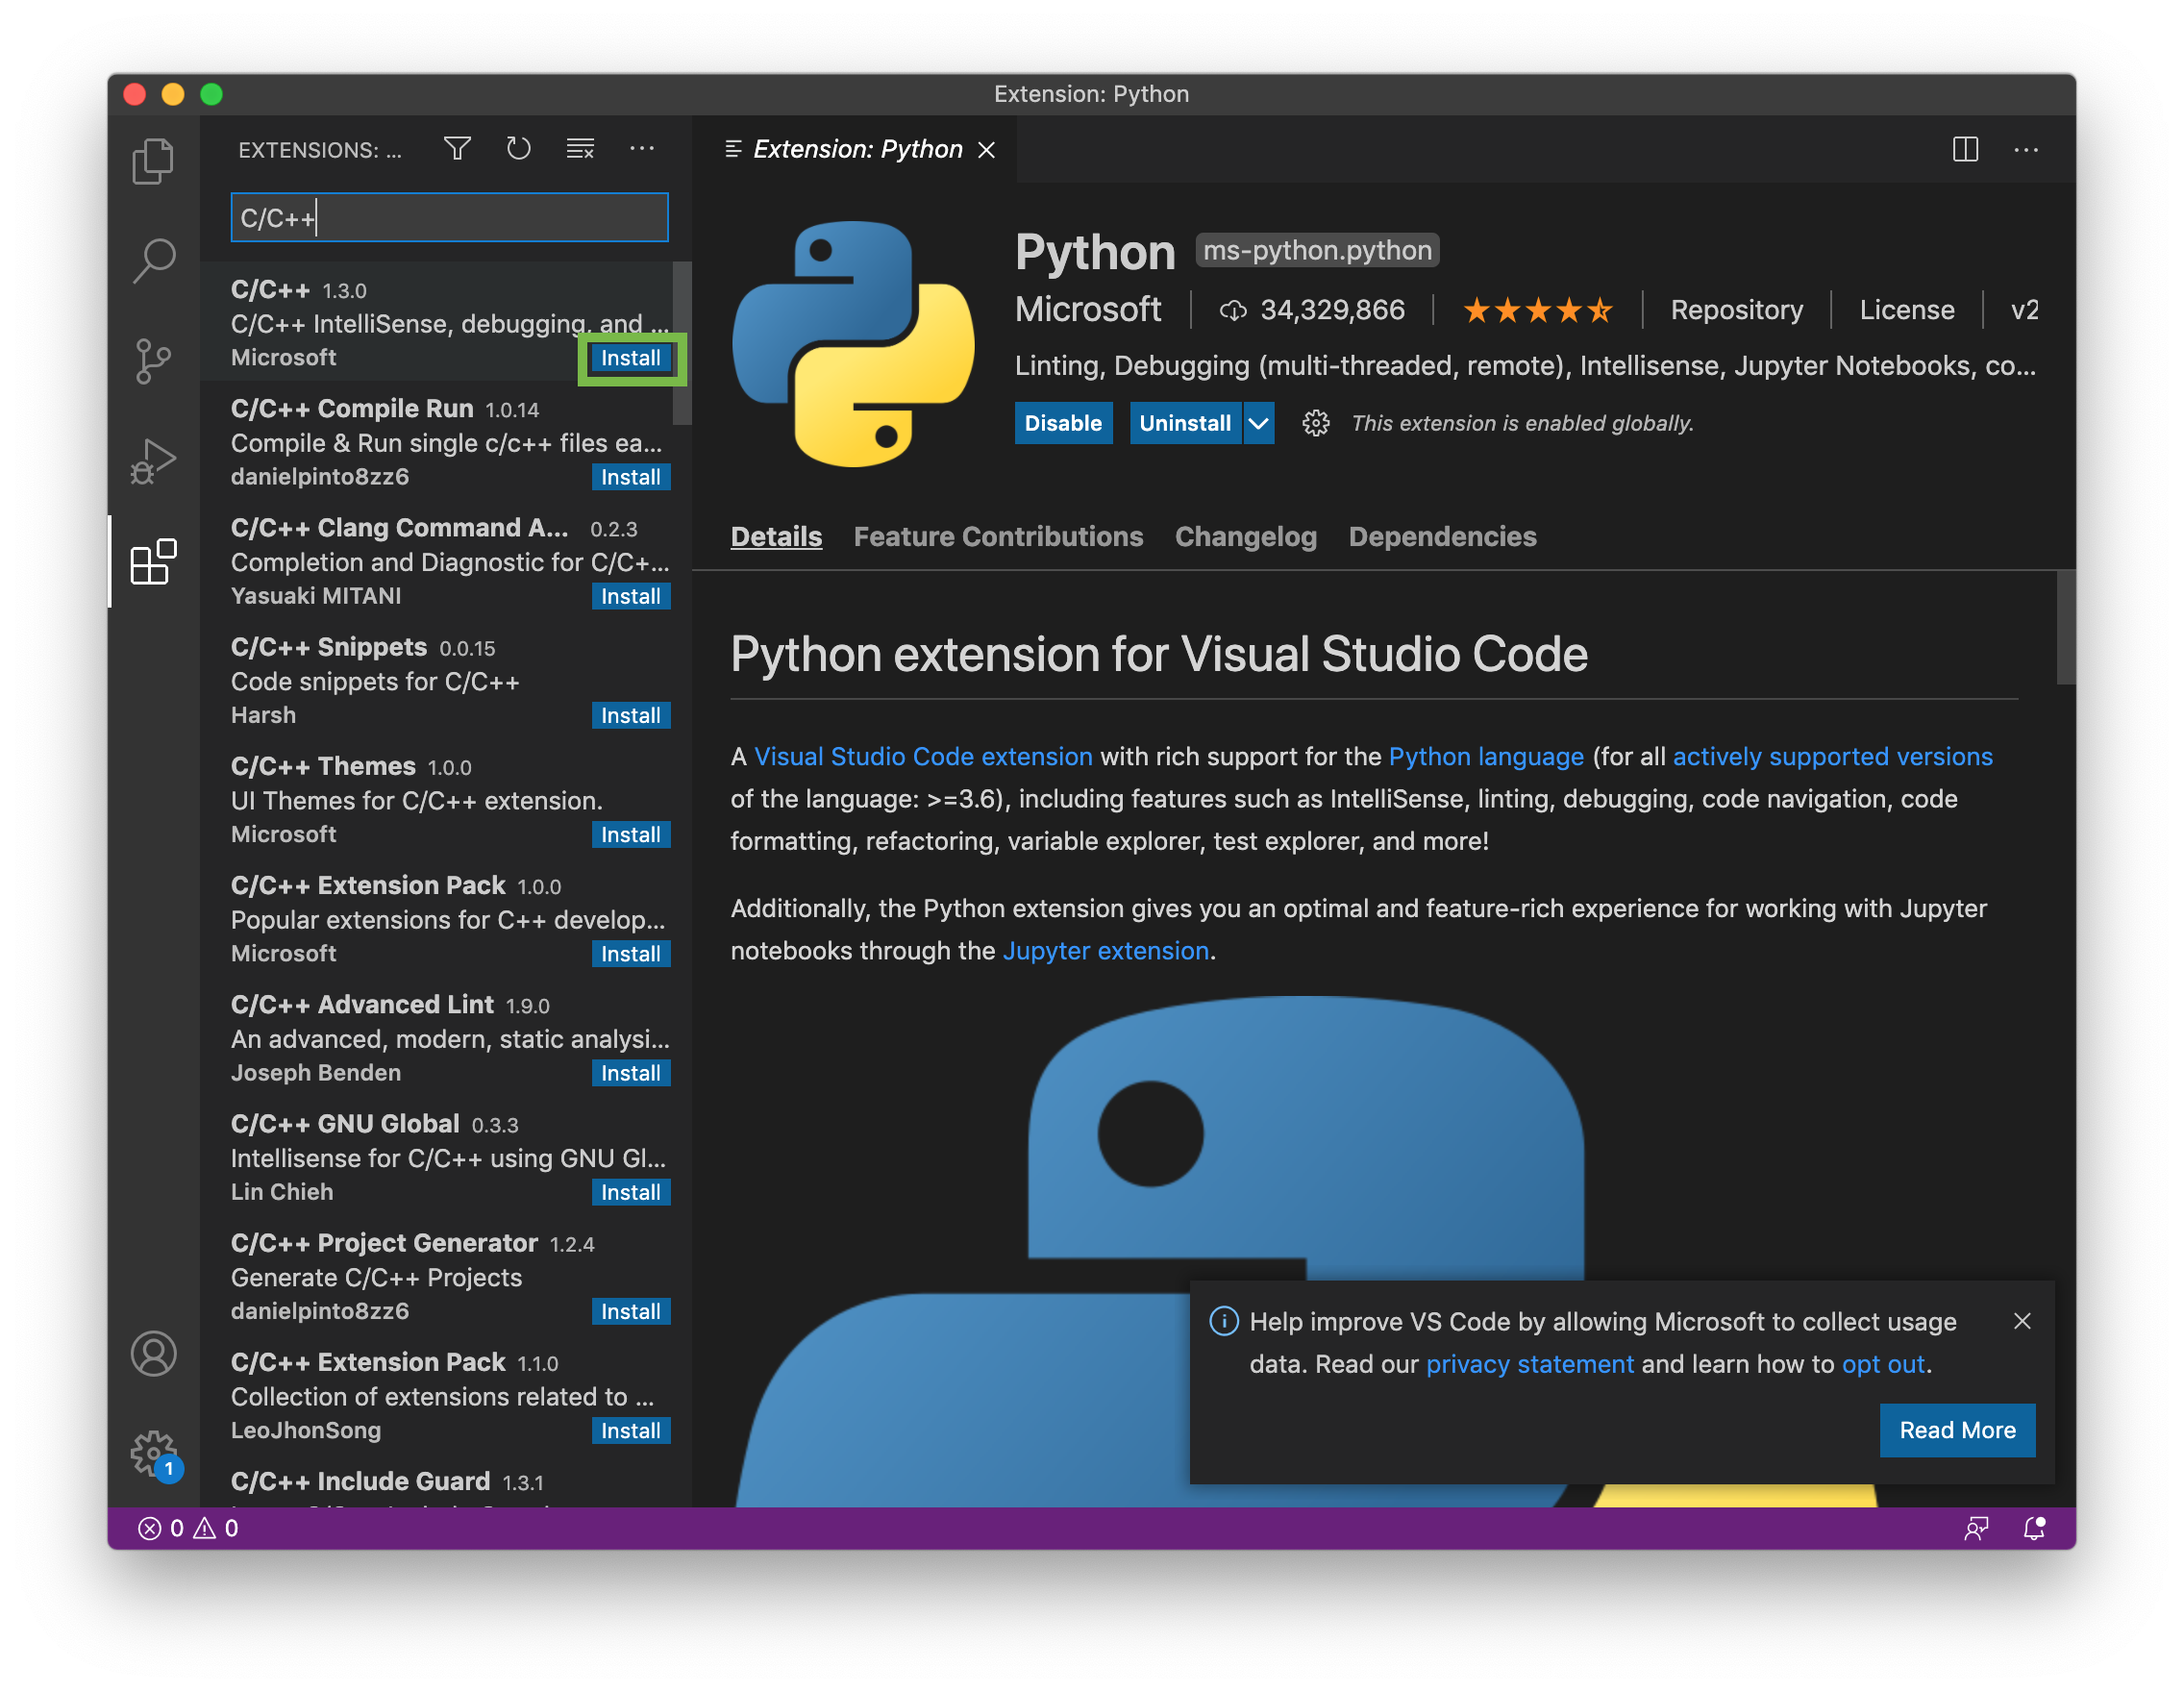
    3. Type “Python” in the search field

      VSCode Extensions - Python

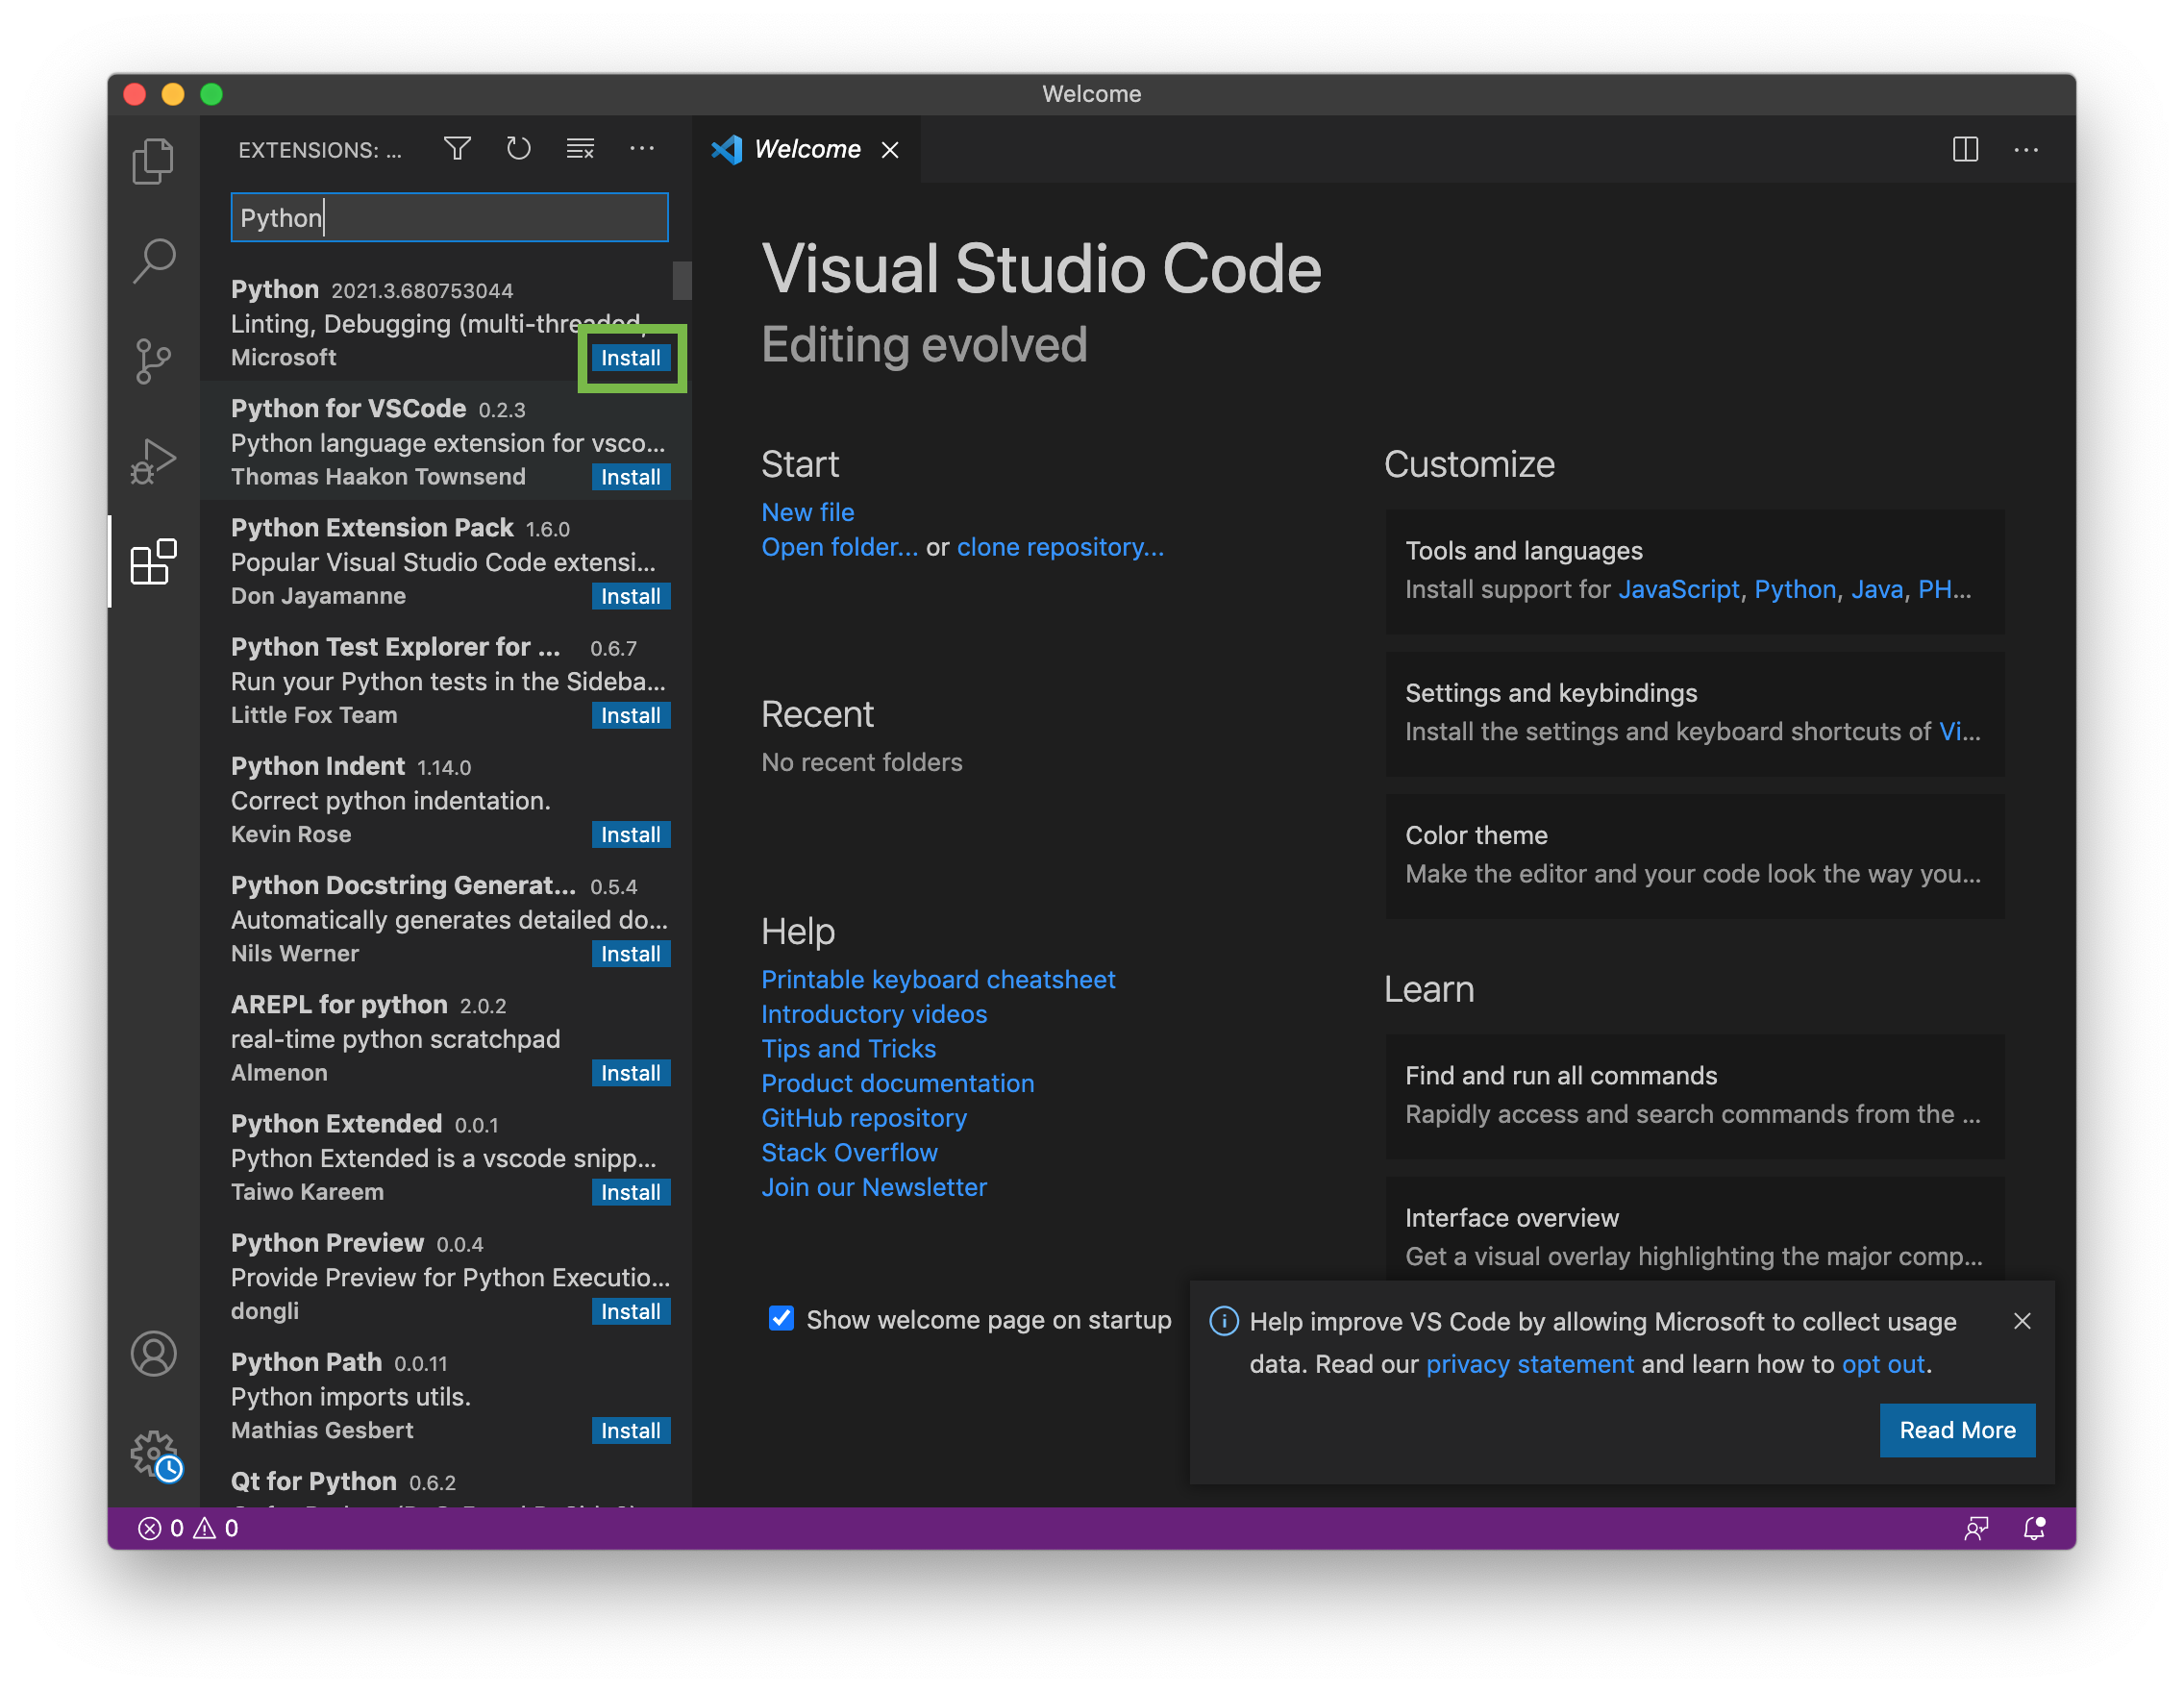
    4. Click the “Install” button for the Python extension

      VSCode Extensions Python Install

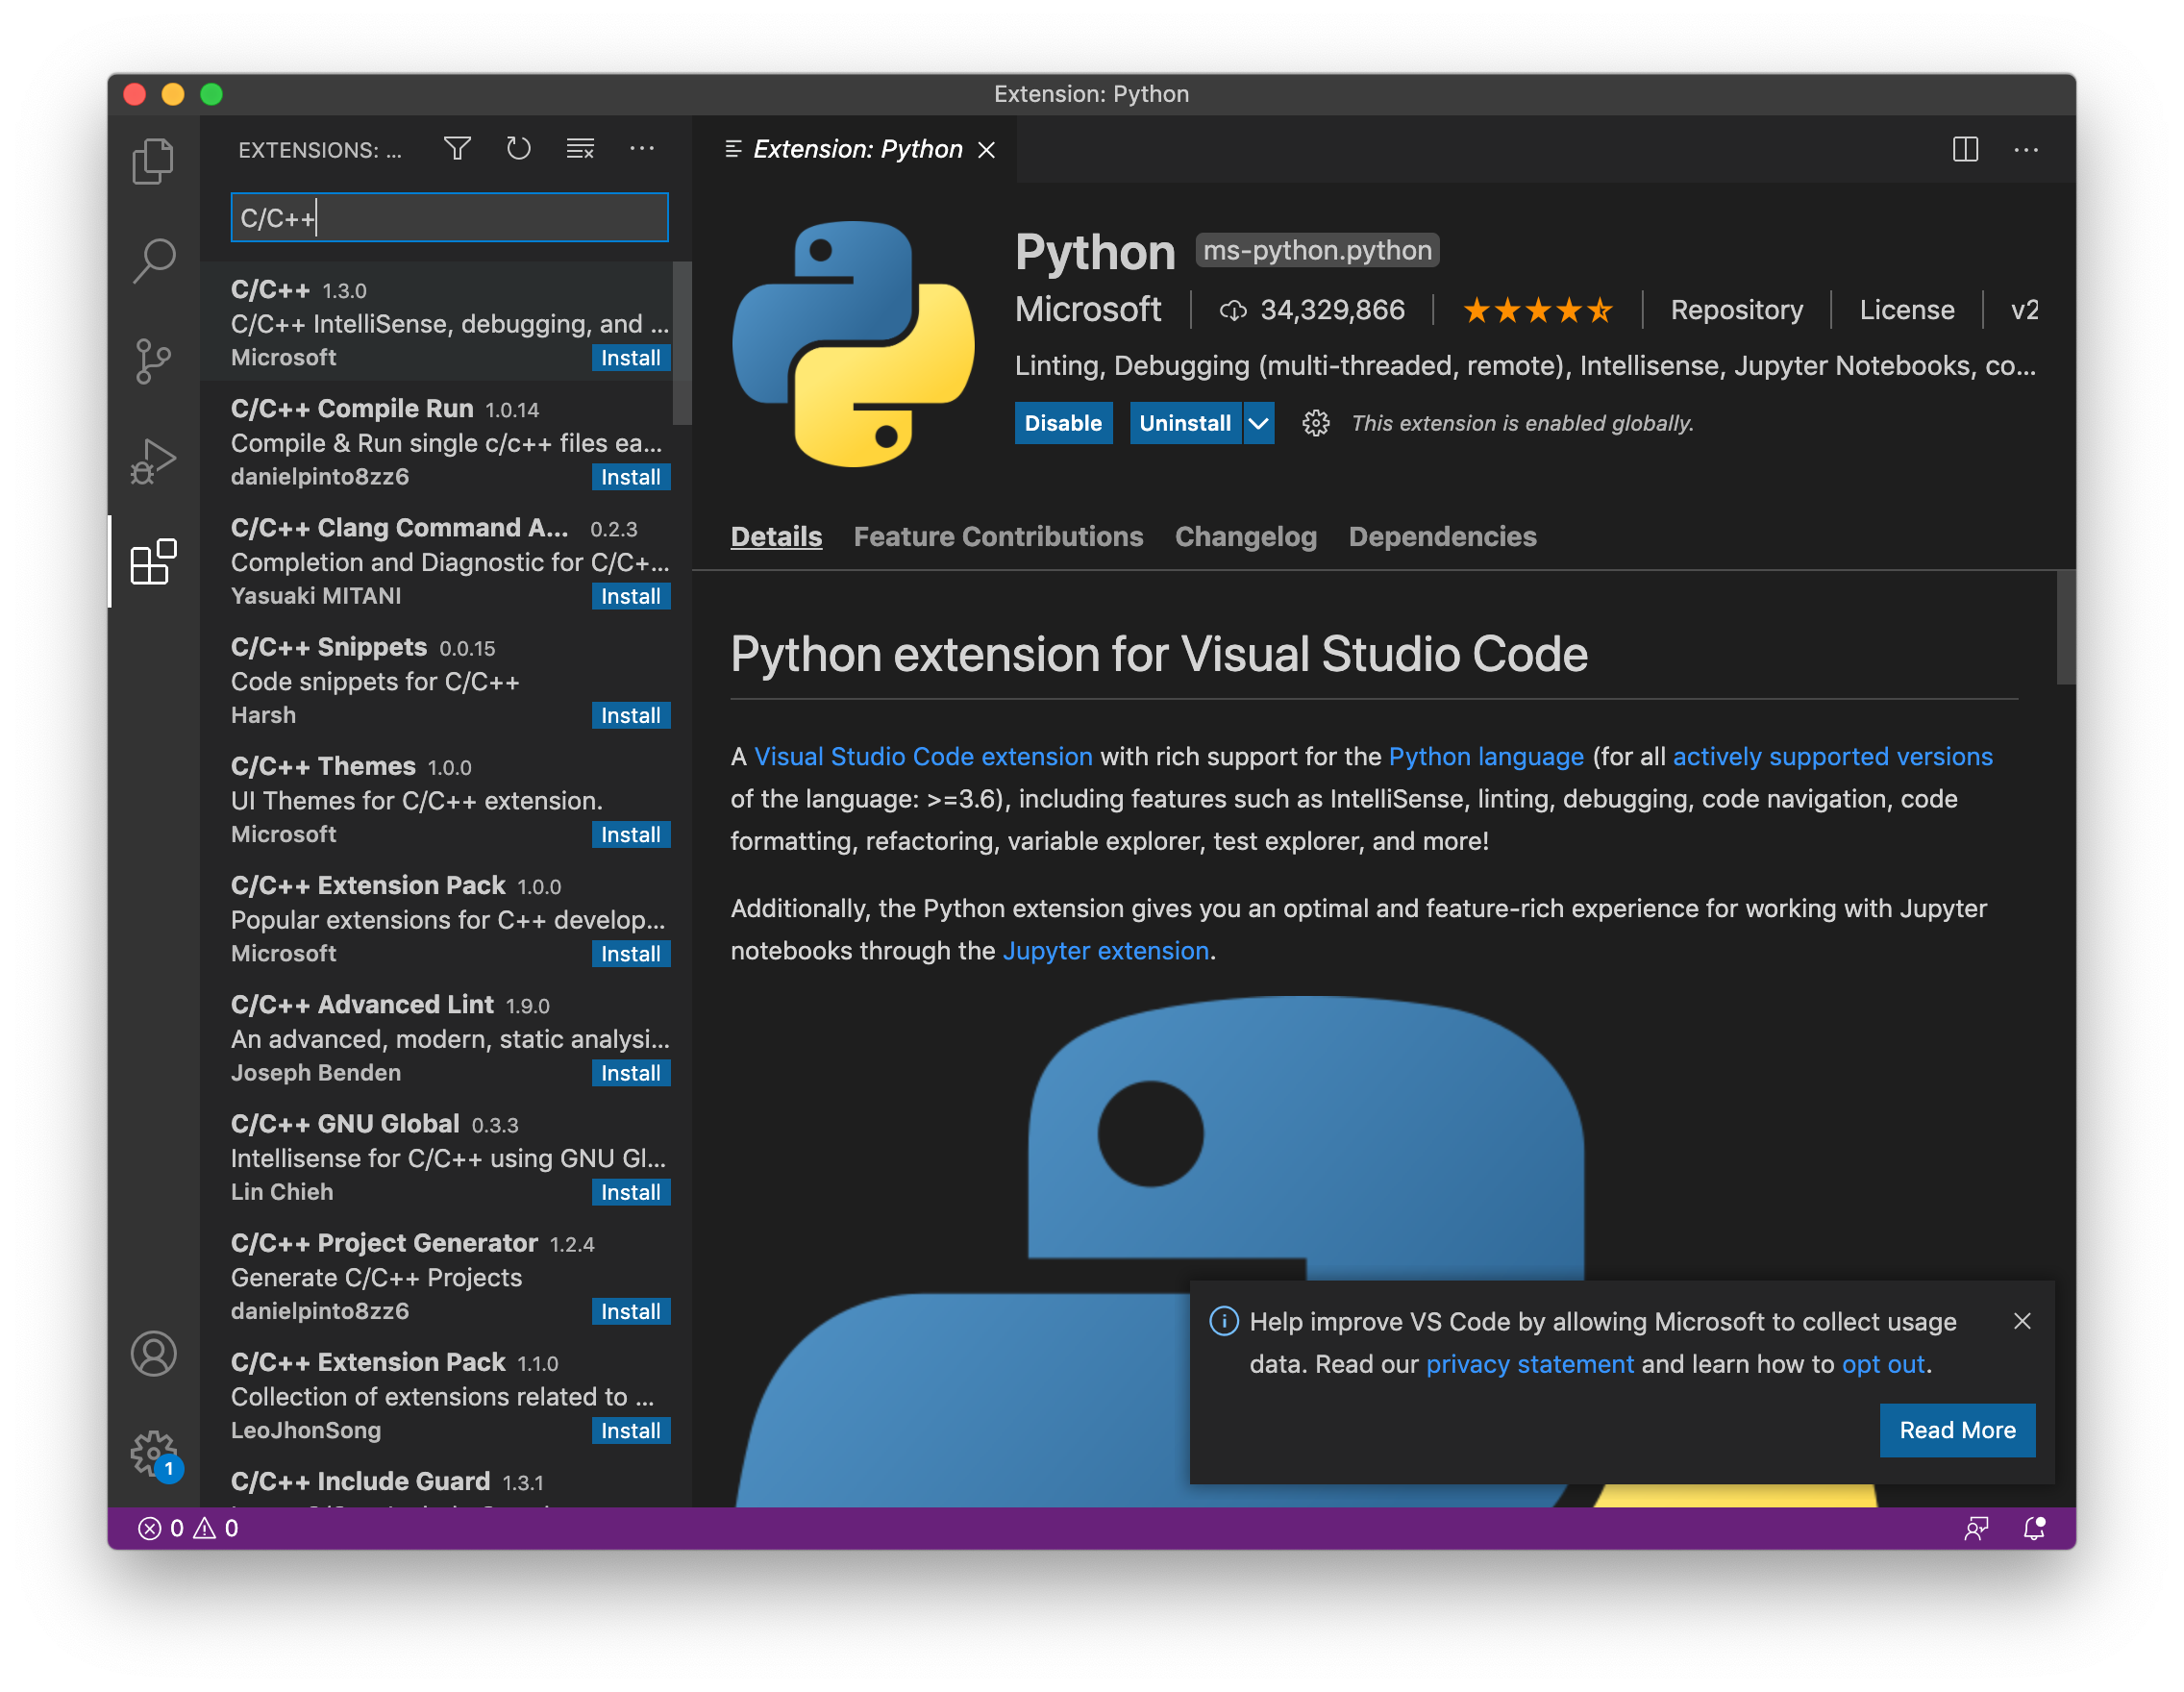
    5. Type “C/C++” in the search field

      VSCode Extensions - C/C++

    6. Click the “Install” button for the C/C++ extension

      VSCode Extensions - C/C++ Install

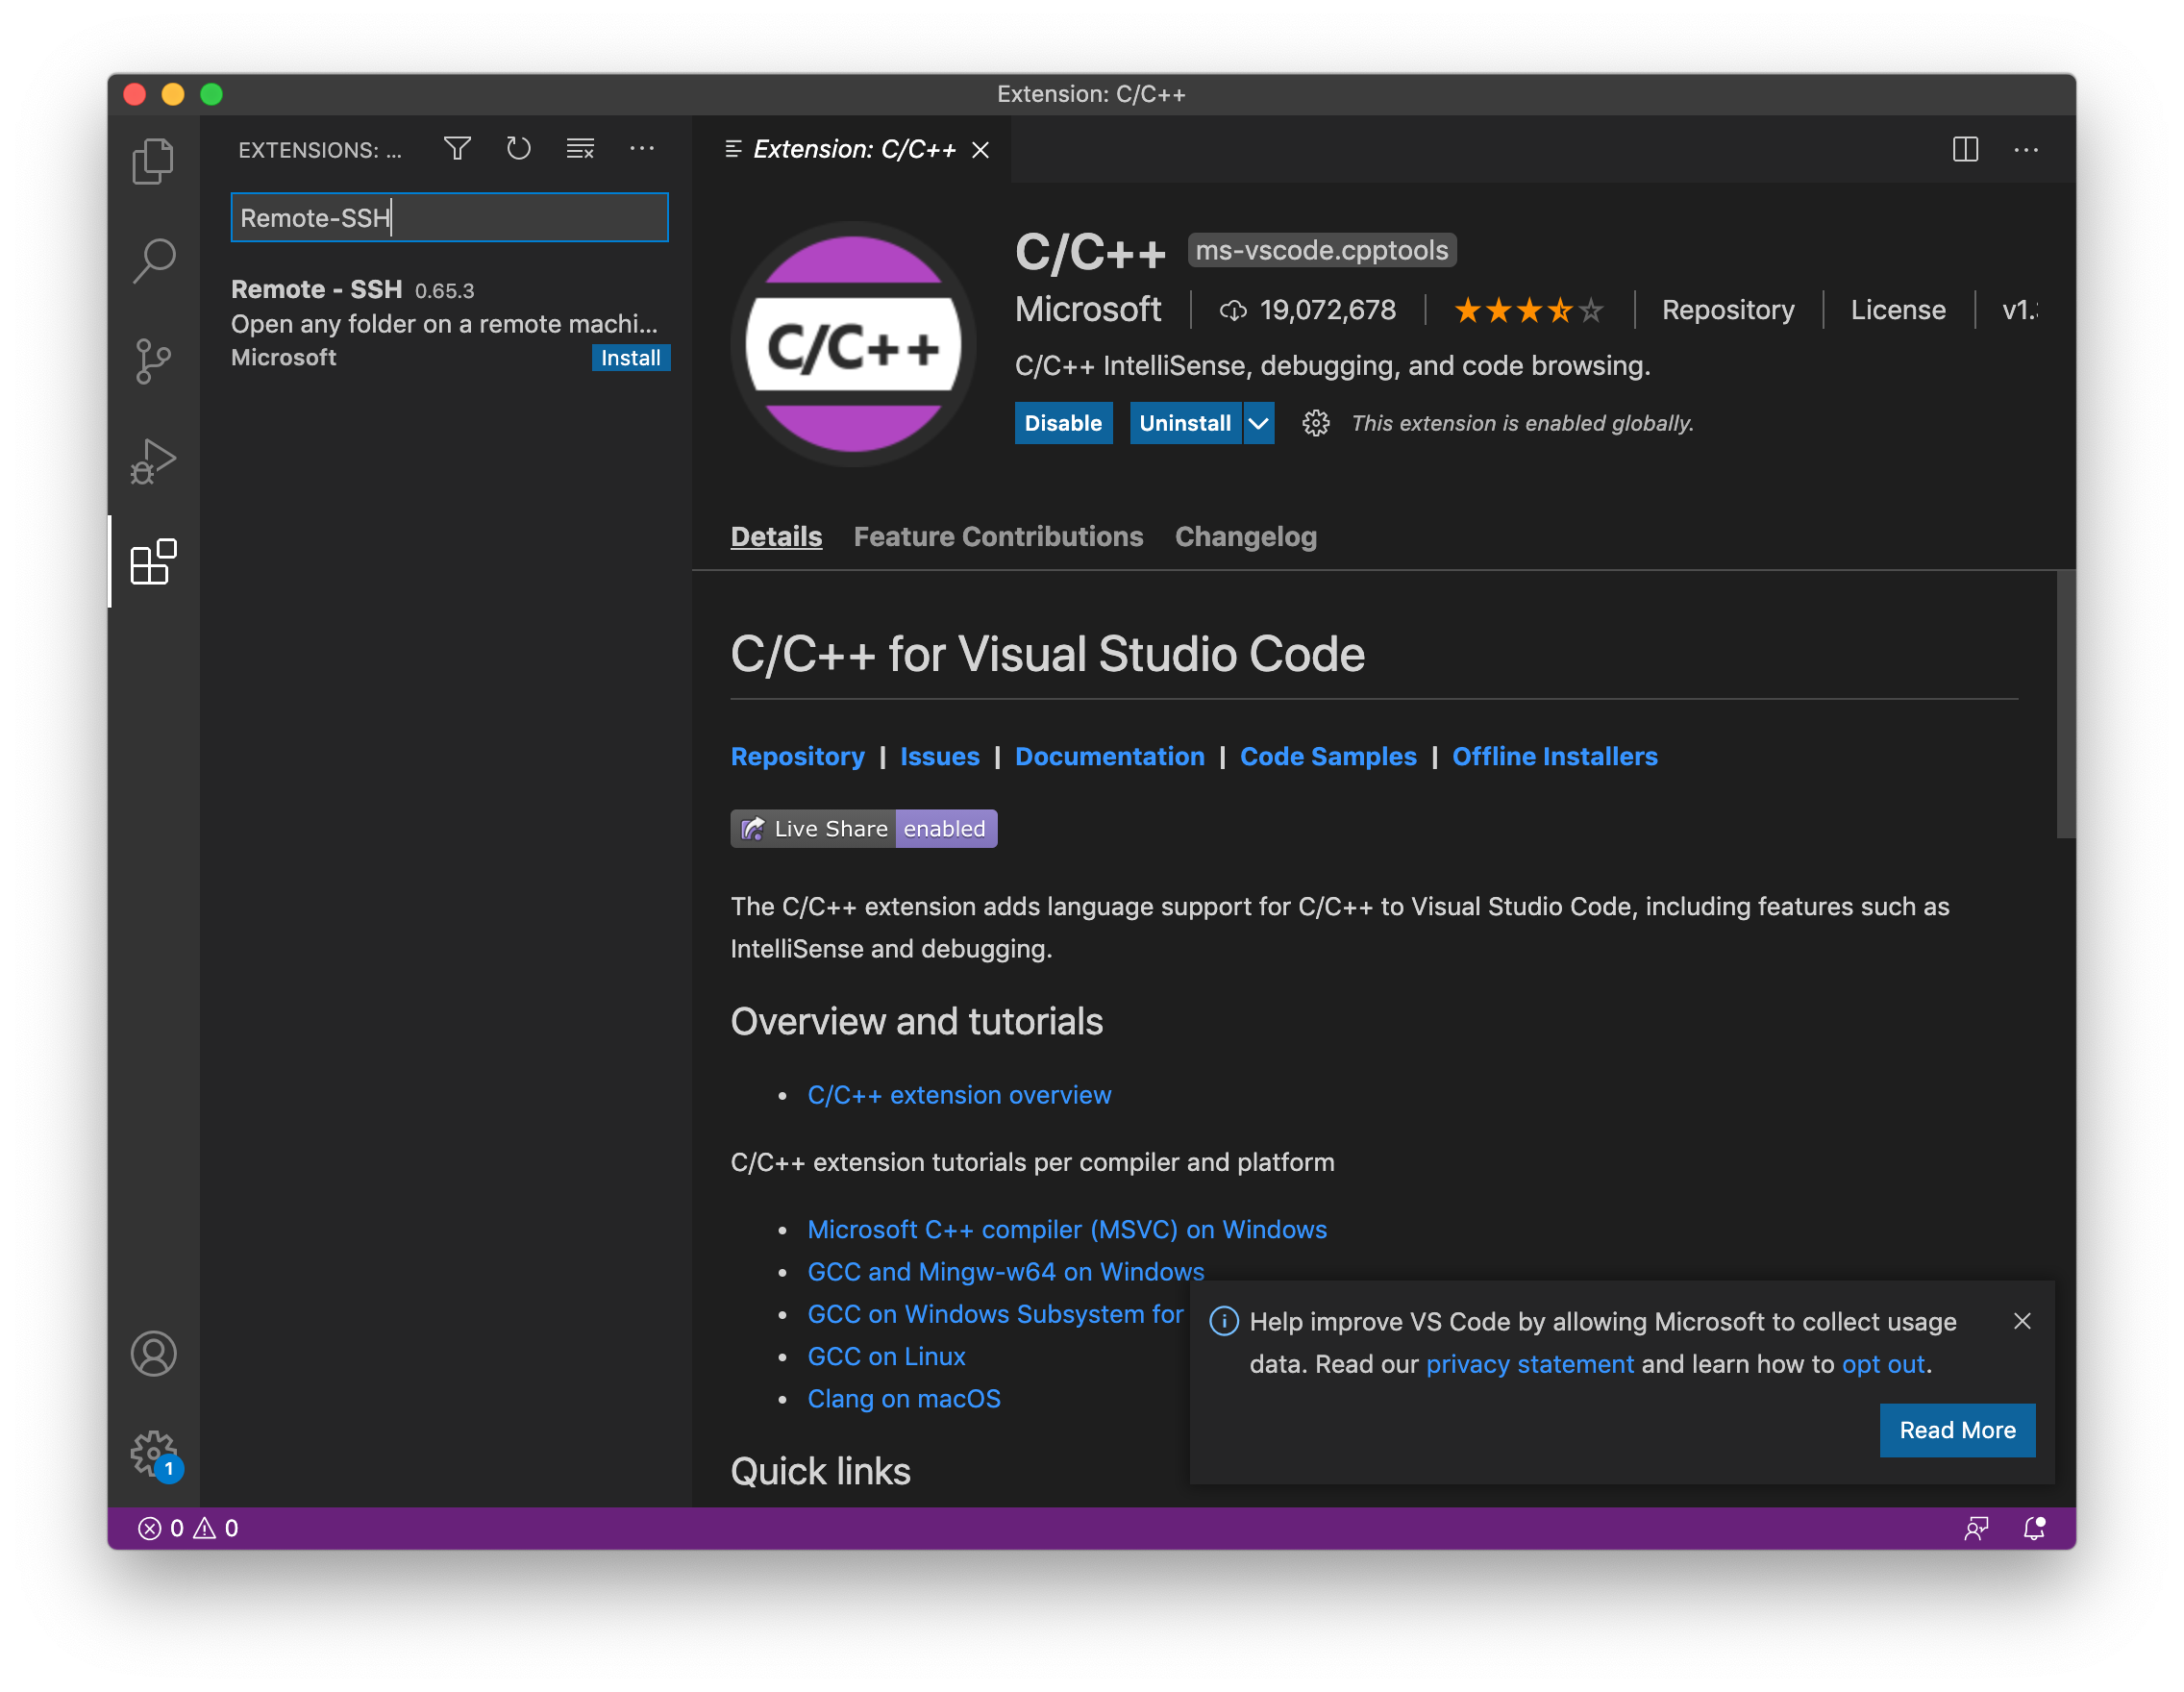
    7. Type “Remote-SSH” in the search field

      VSCode Extensions - Remote-SSH

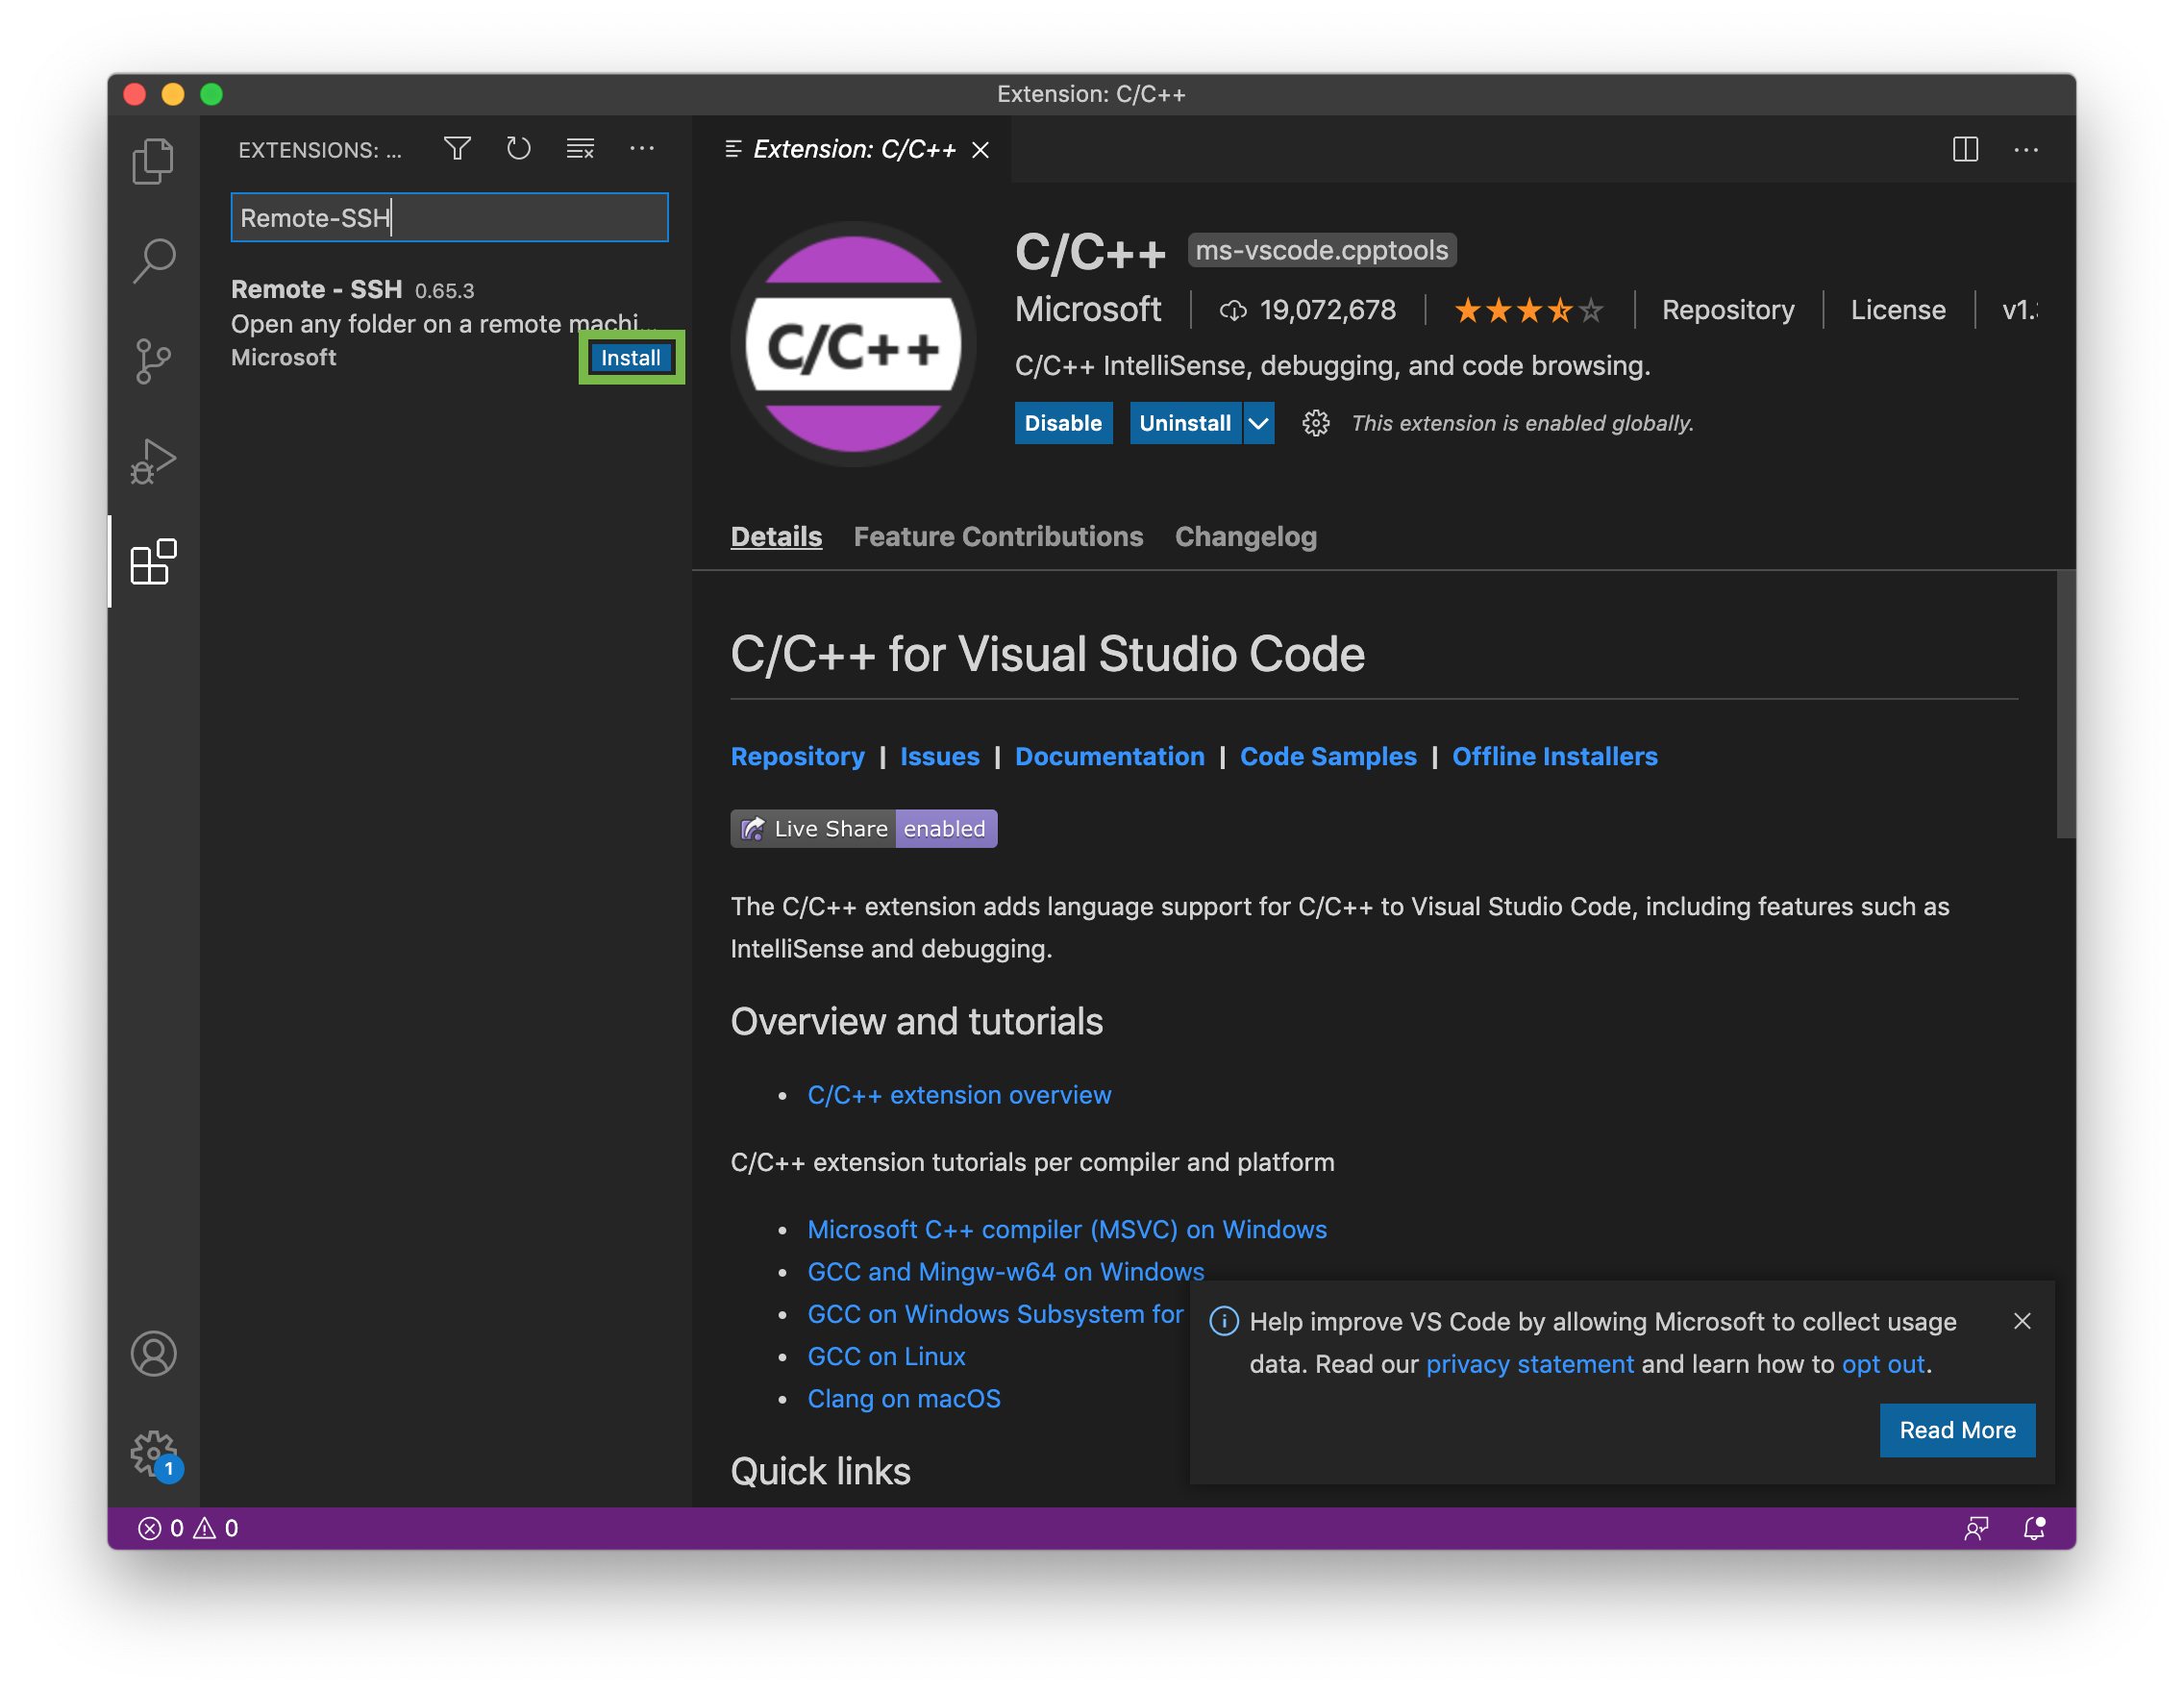
    8. Click the “Install” button for the Remote - SSH extension

      VSCode Extensions - Remote-SSH Install

    9. Close Visual Studio Code

Add Web Link

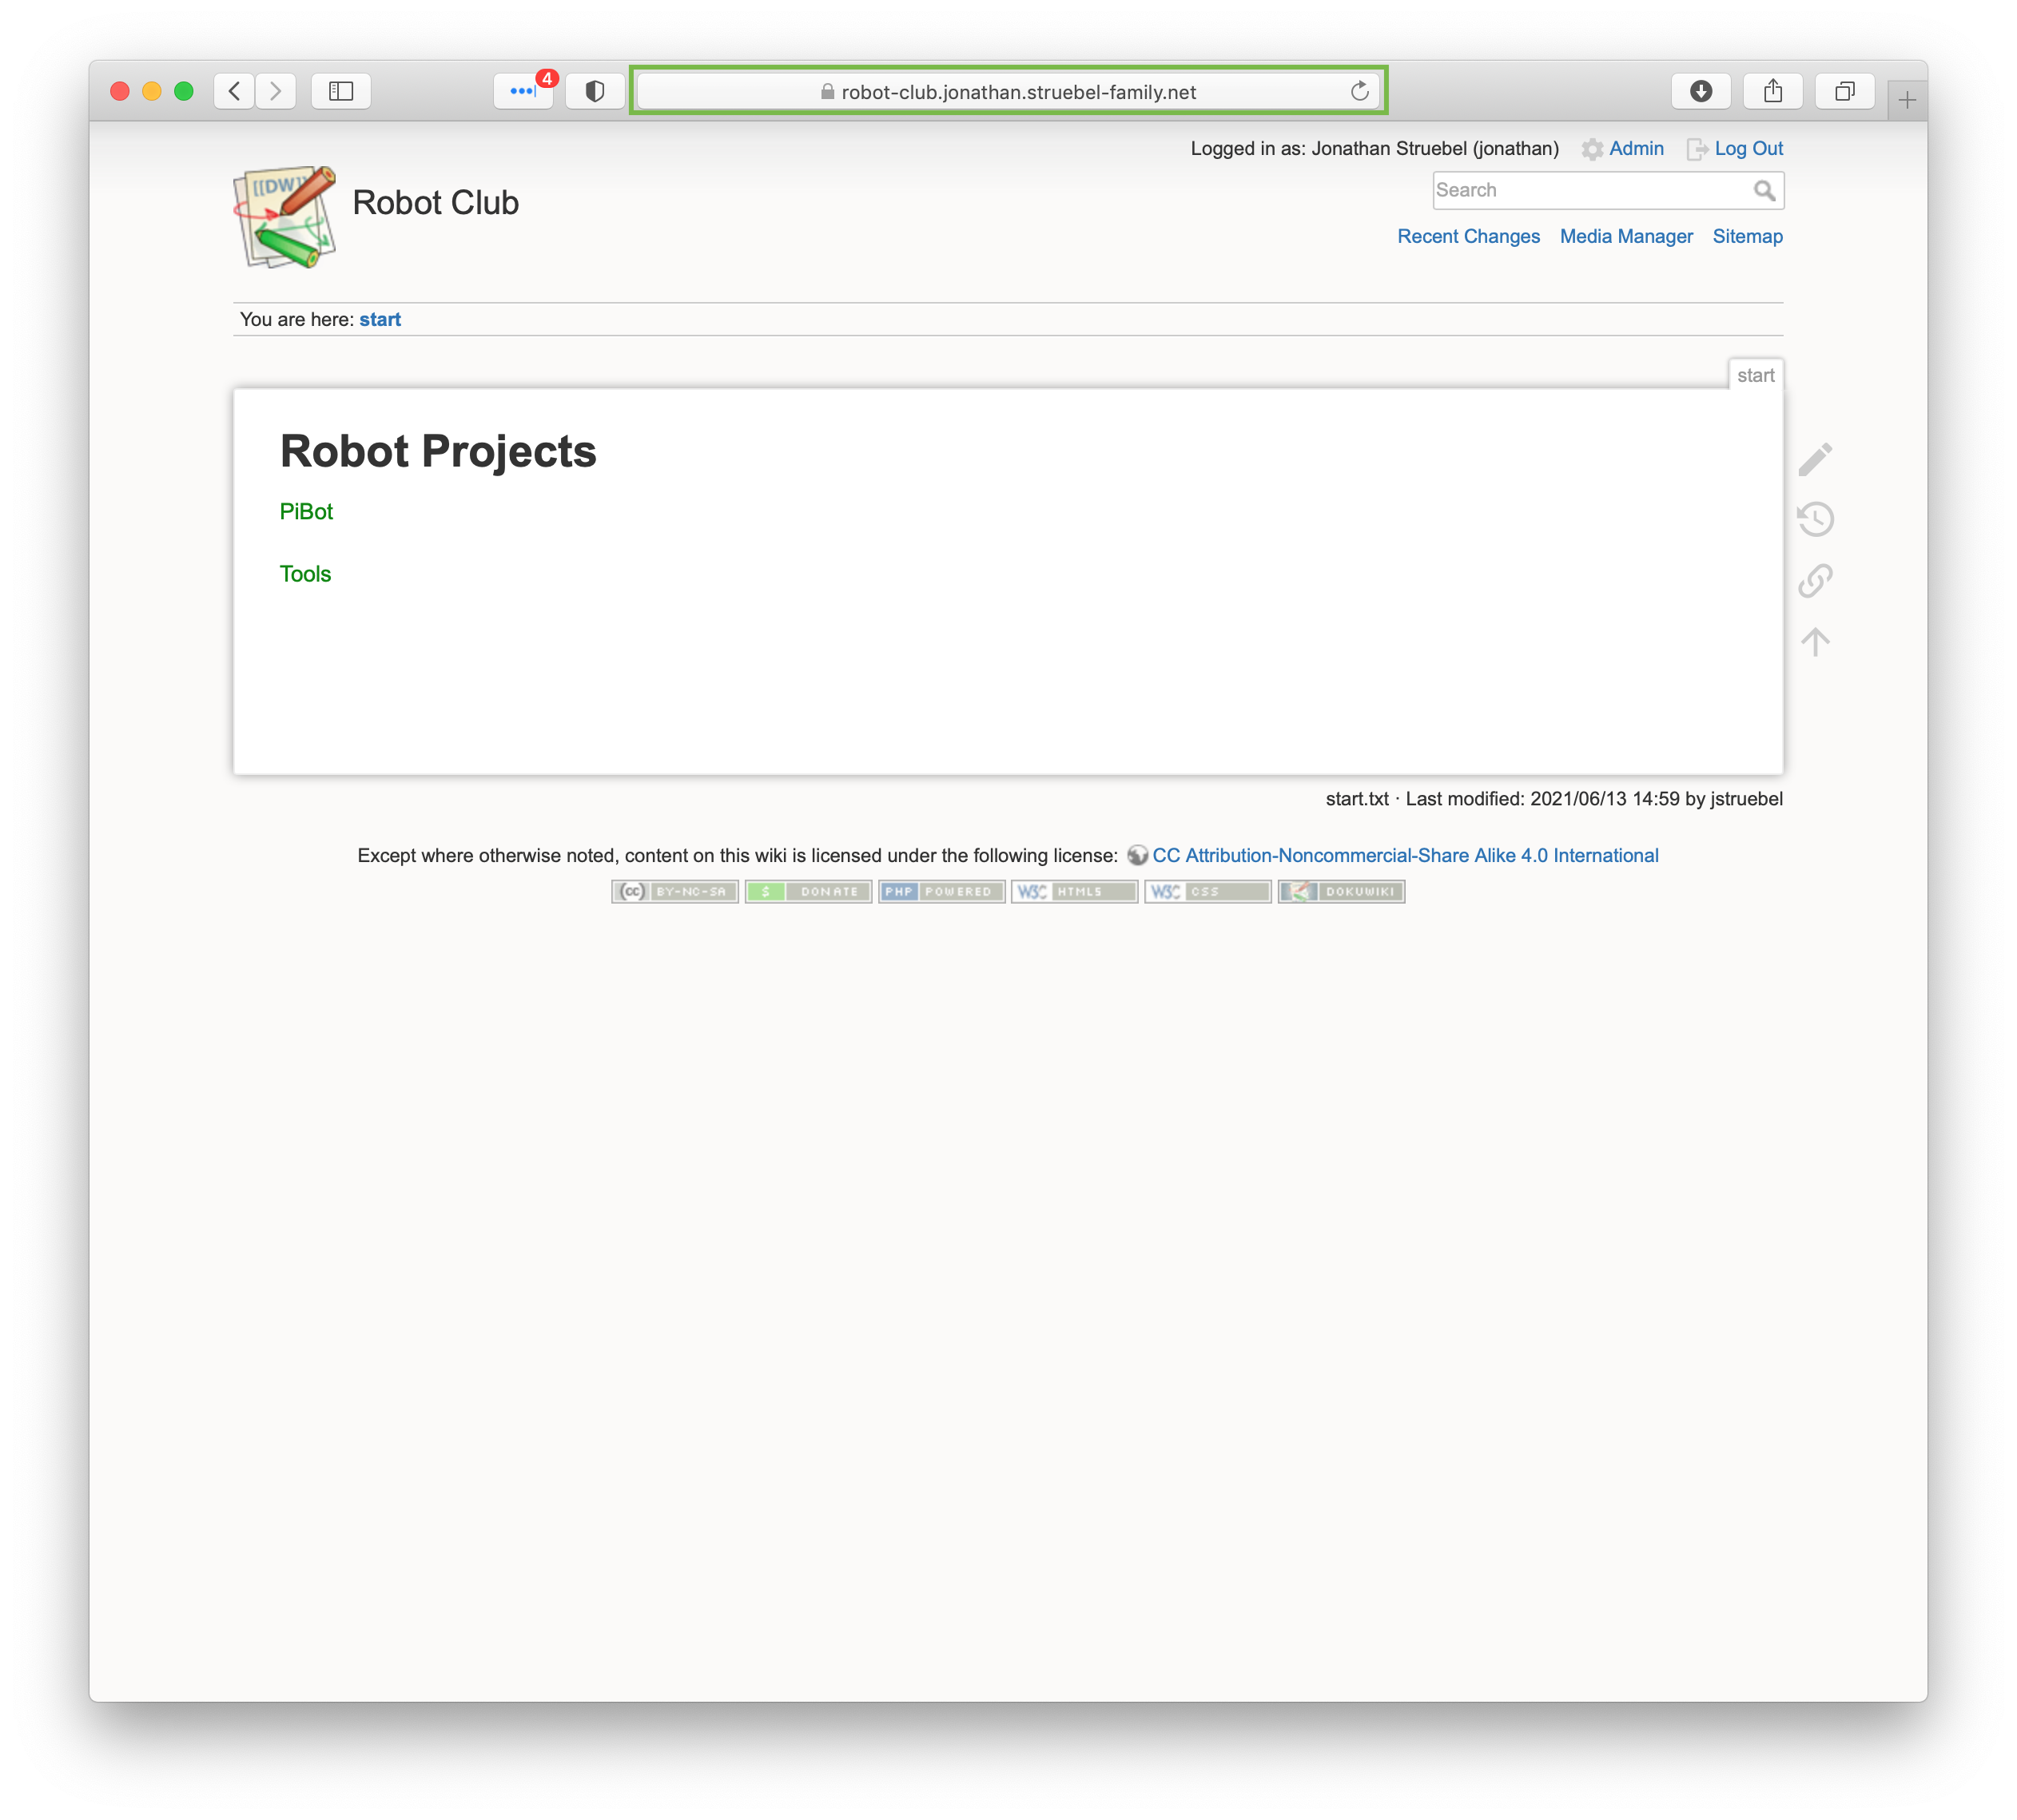
  1. Open Safari and browse to the Robot Club home page
  2. Open a Finder window and select the USB Flash drive

    USB Flash Drive Folder

  3. Select the web address at the top of the Safari window and drag it to the USB Flash drive in the Finder window

    Safari - Robot Club

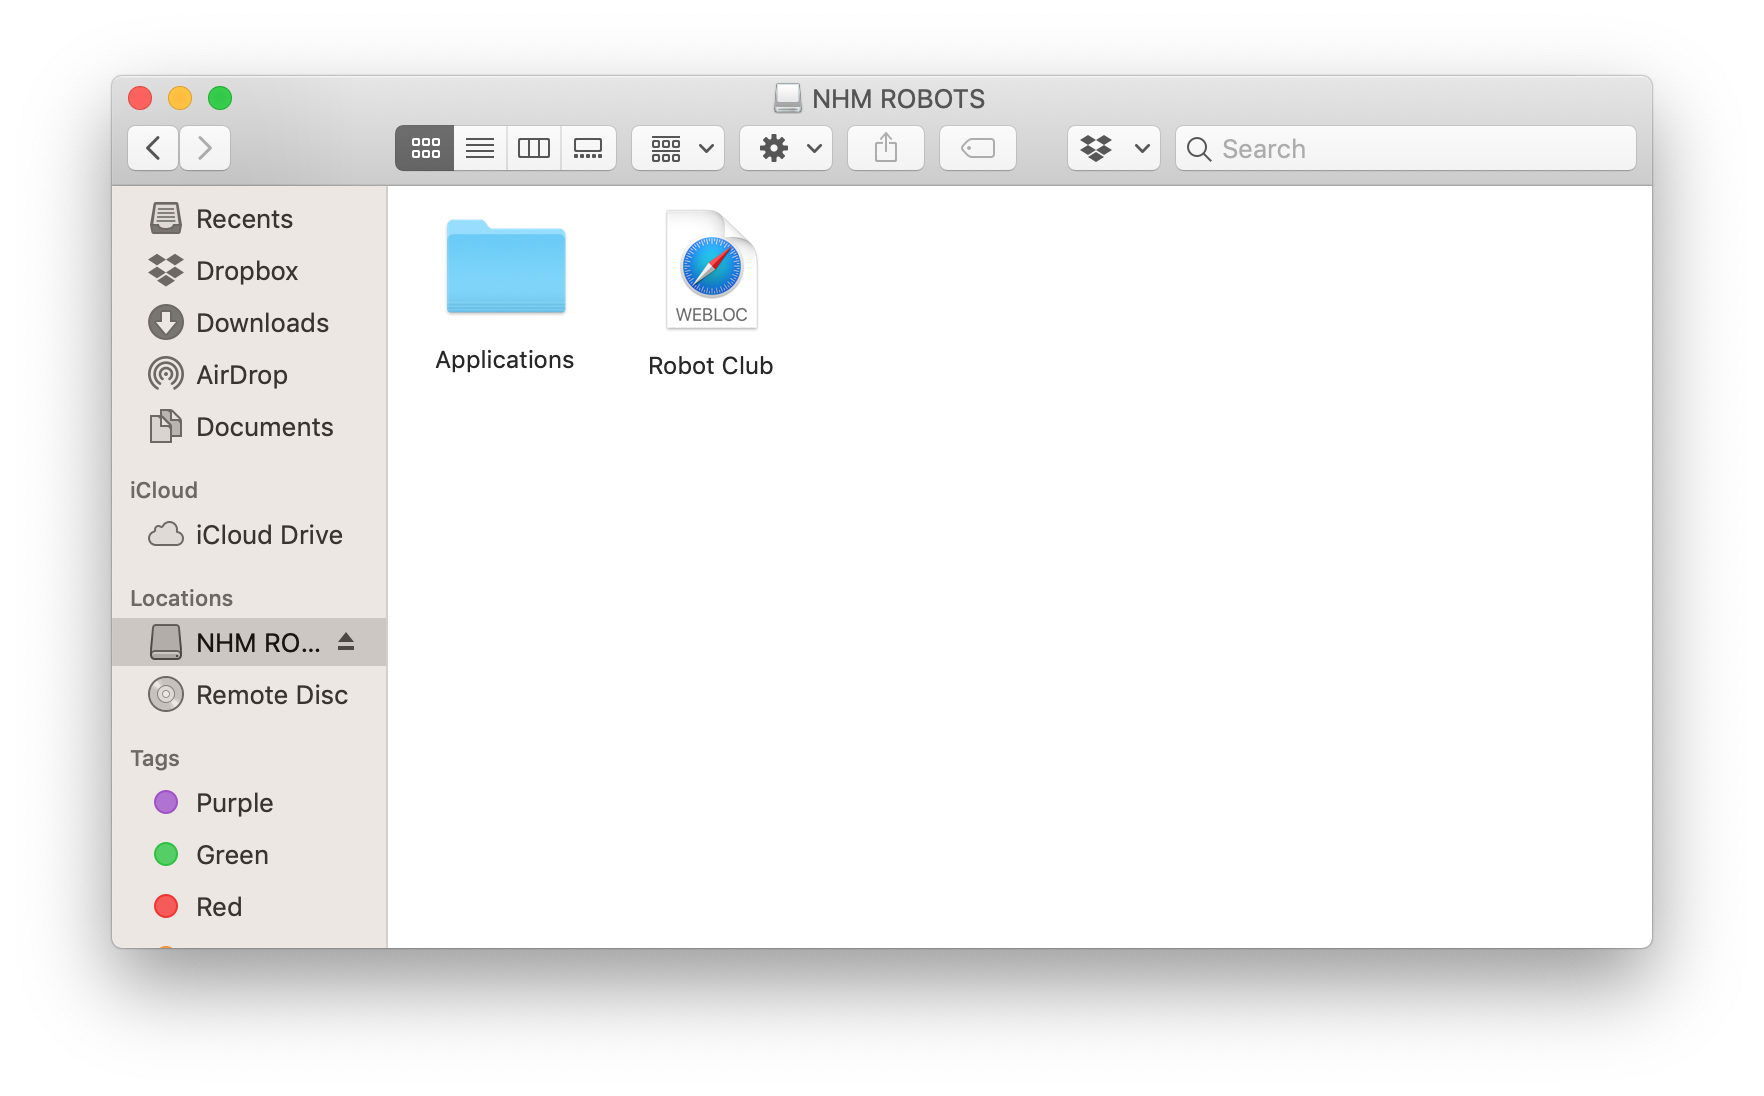
  4. Rename the shortcut to “Robot Club”

    USB Flash Drive Folder

    "For thus says the LORD, who created the heavens, who formed the earth and made it: “I am the LORD, and there is no other. - Isaiah 45:18"
pibot/flashdrive.txt · Last modified: 2022/10/20 21:53 by 127.0.0.1