laserengraver:procedures:inkscape:tracebitmap
Procedure
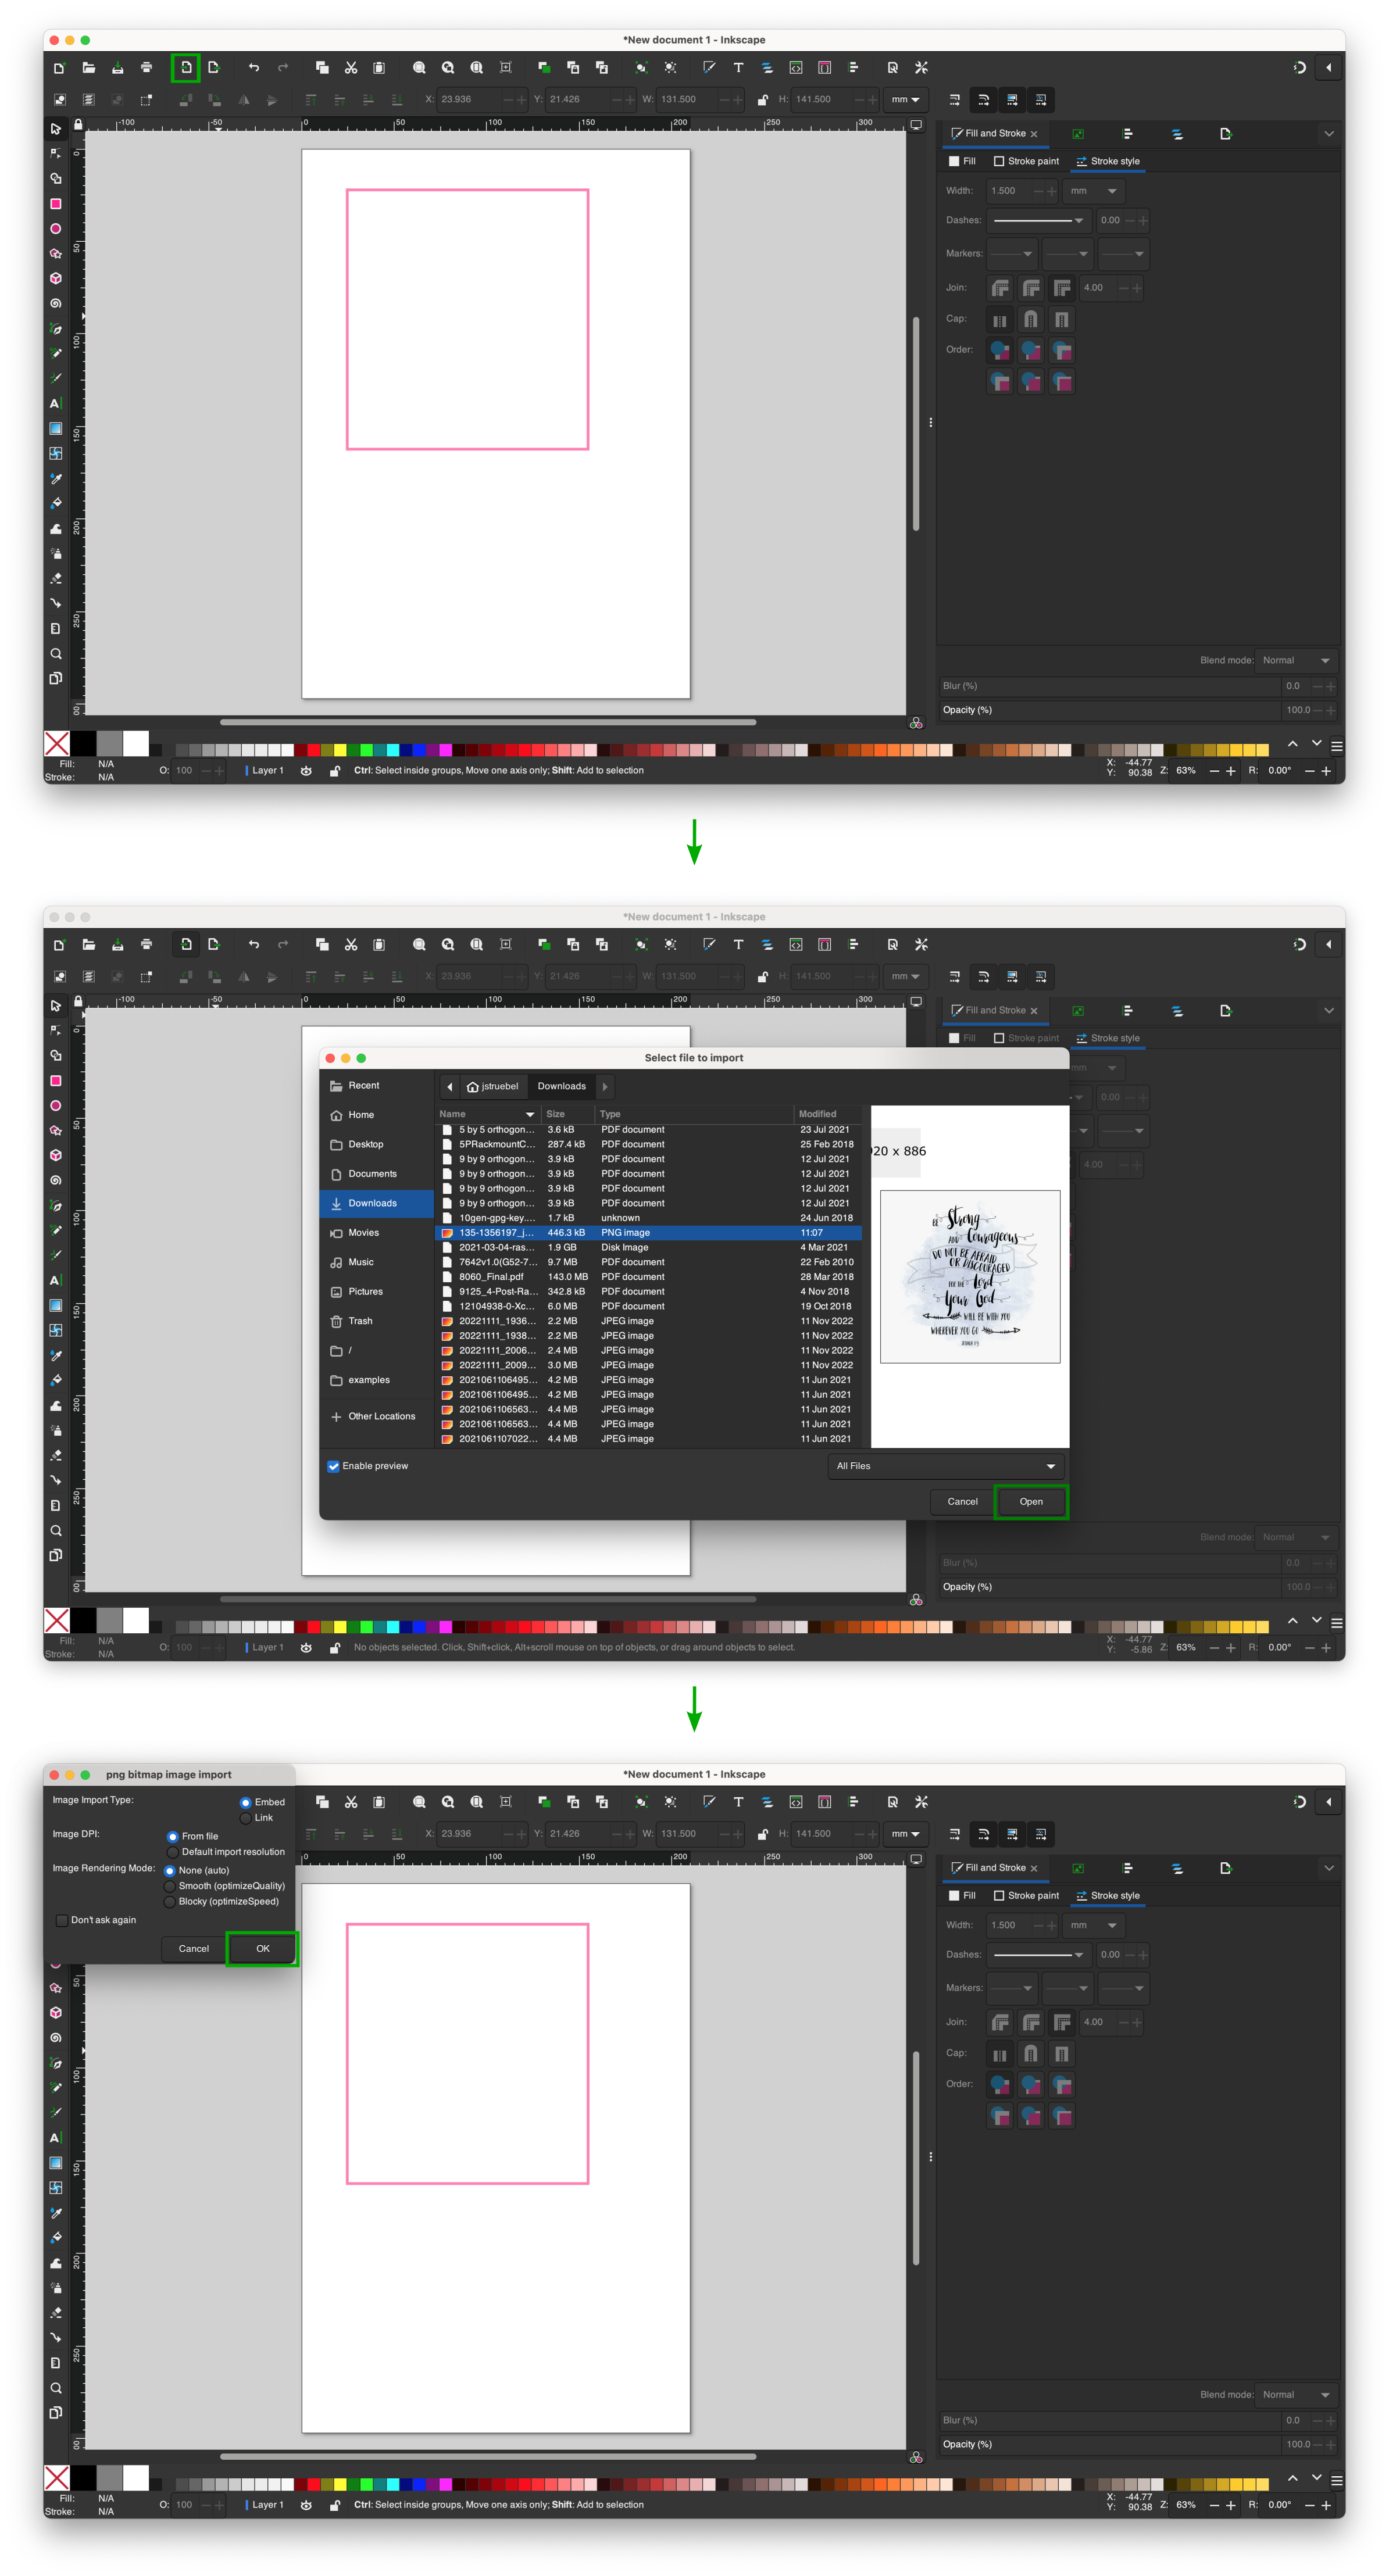
- Import the image file that you downloaded
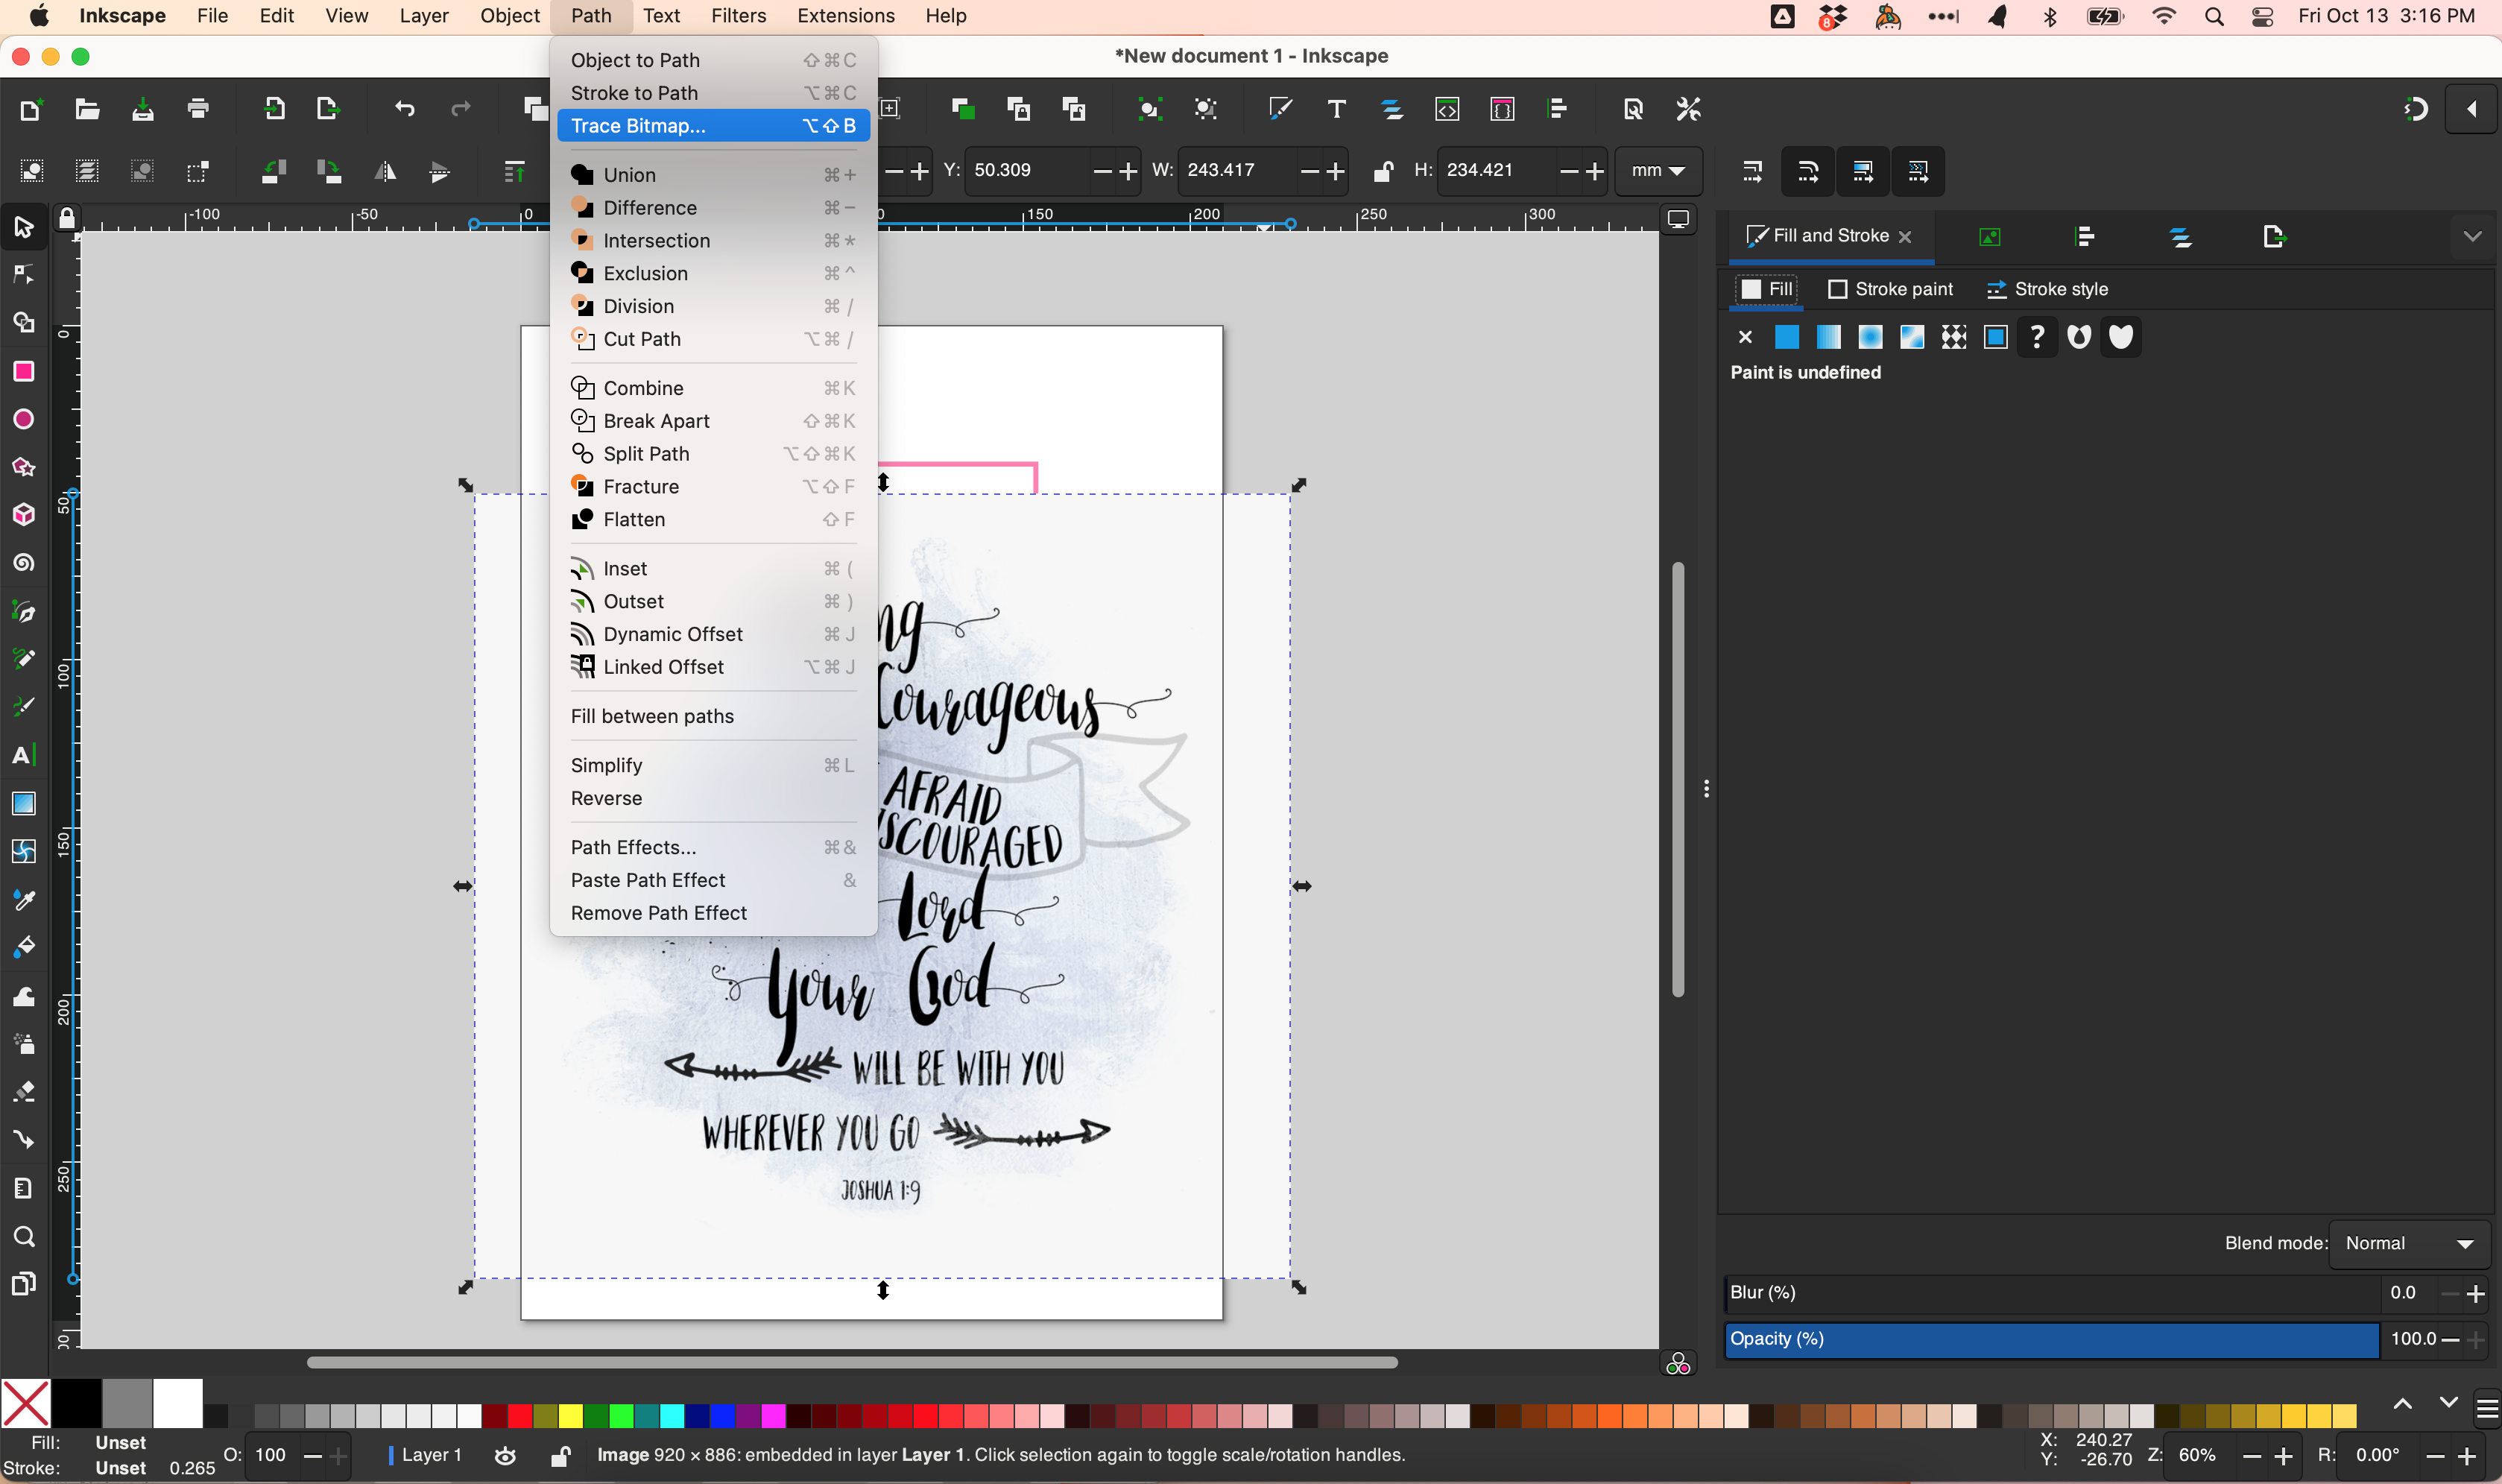
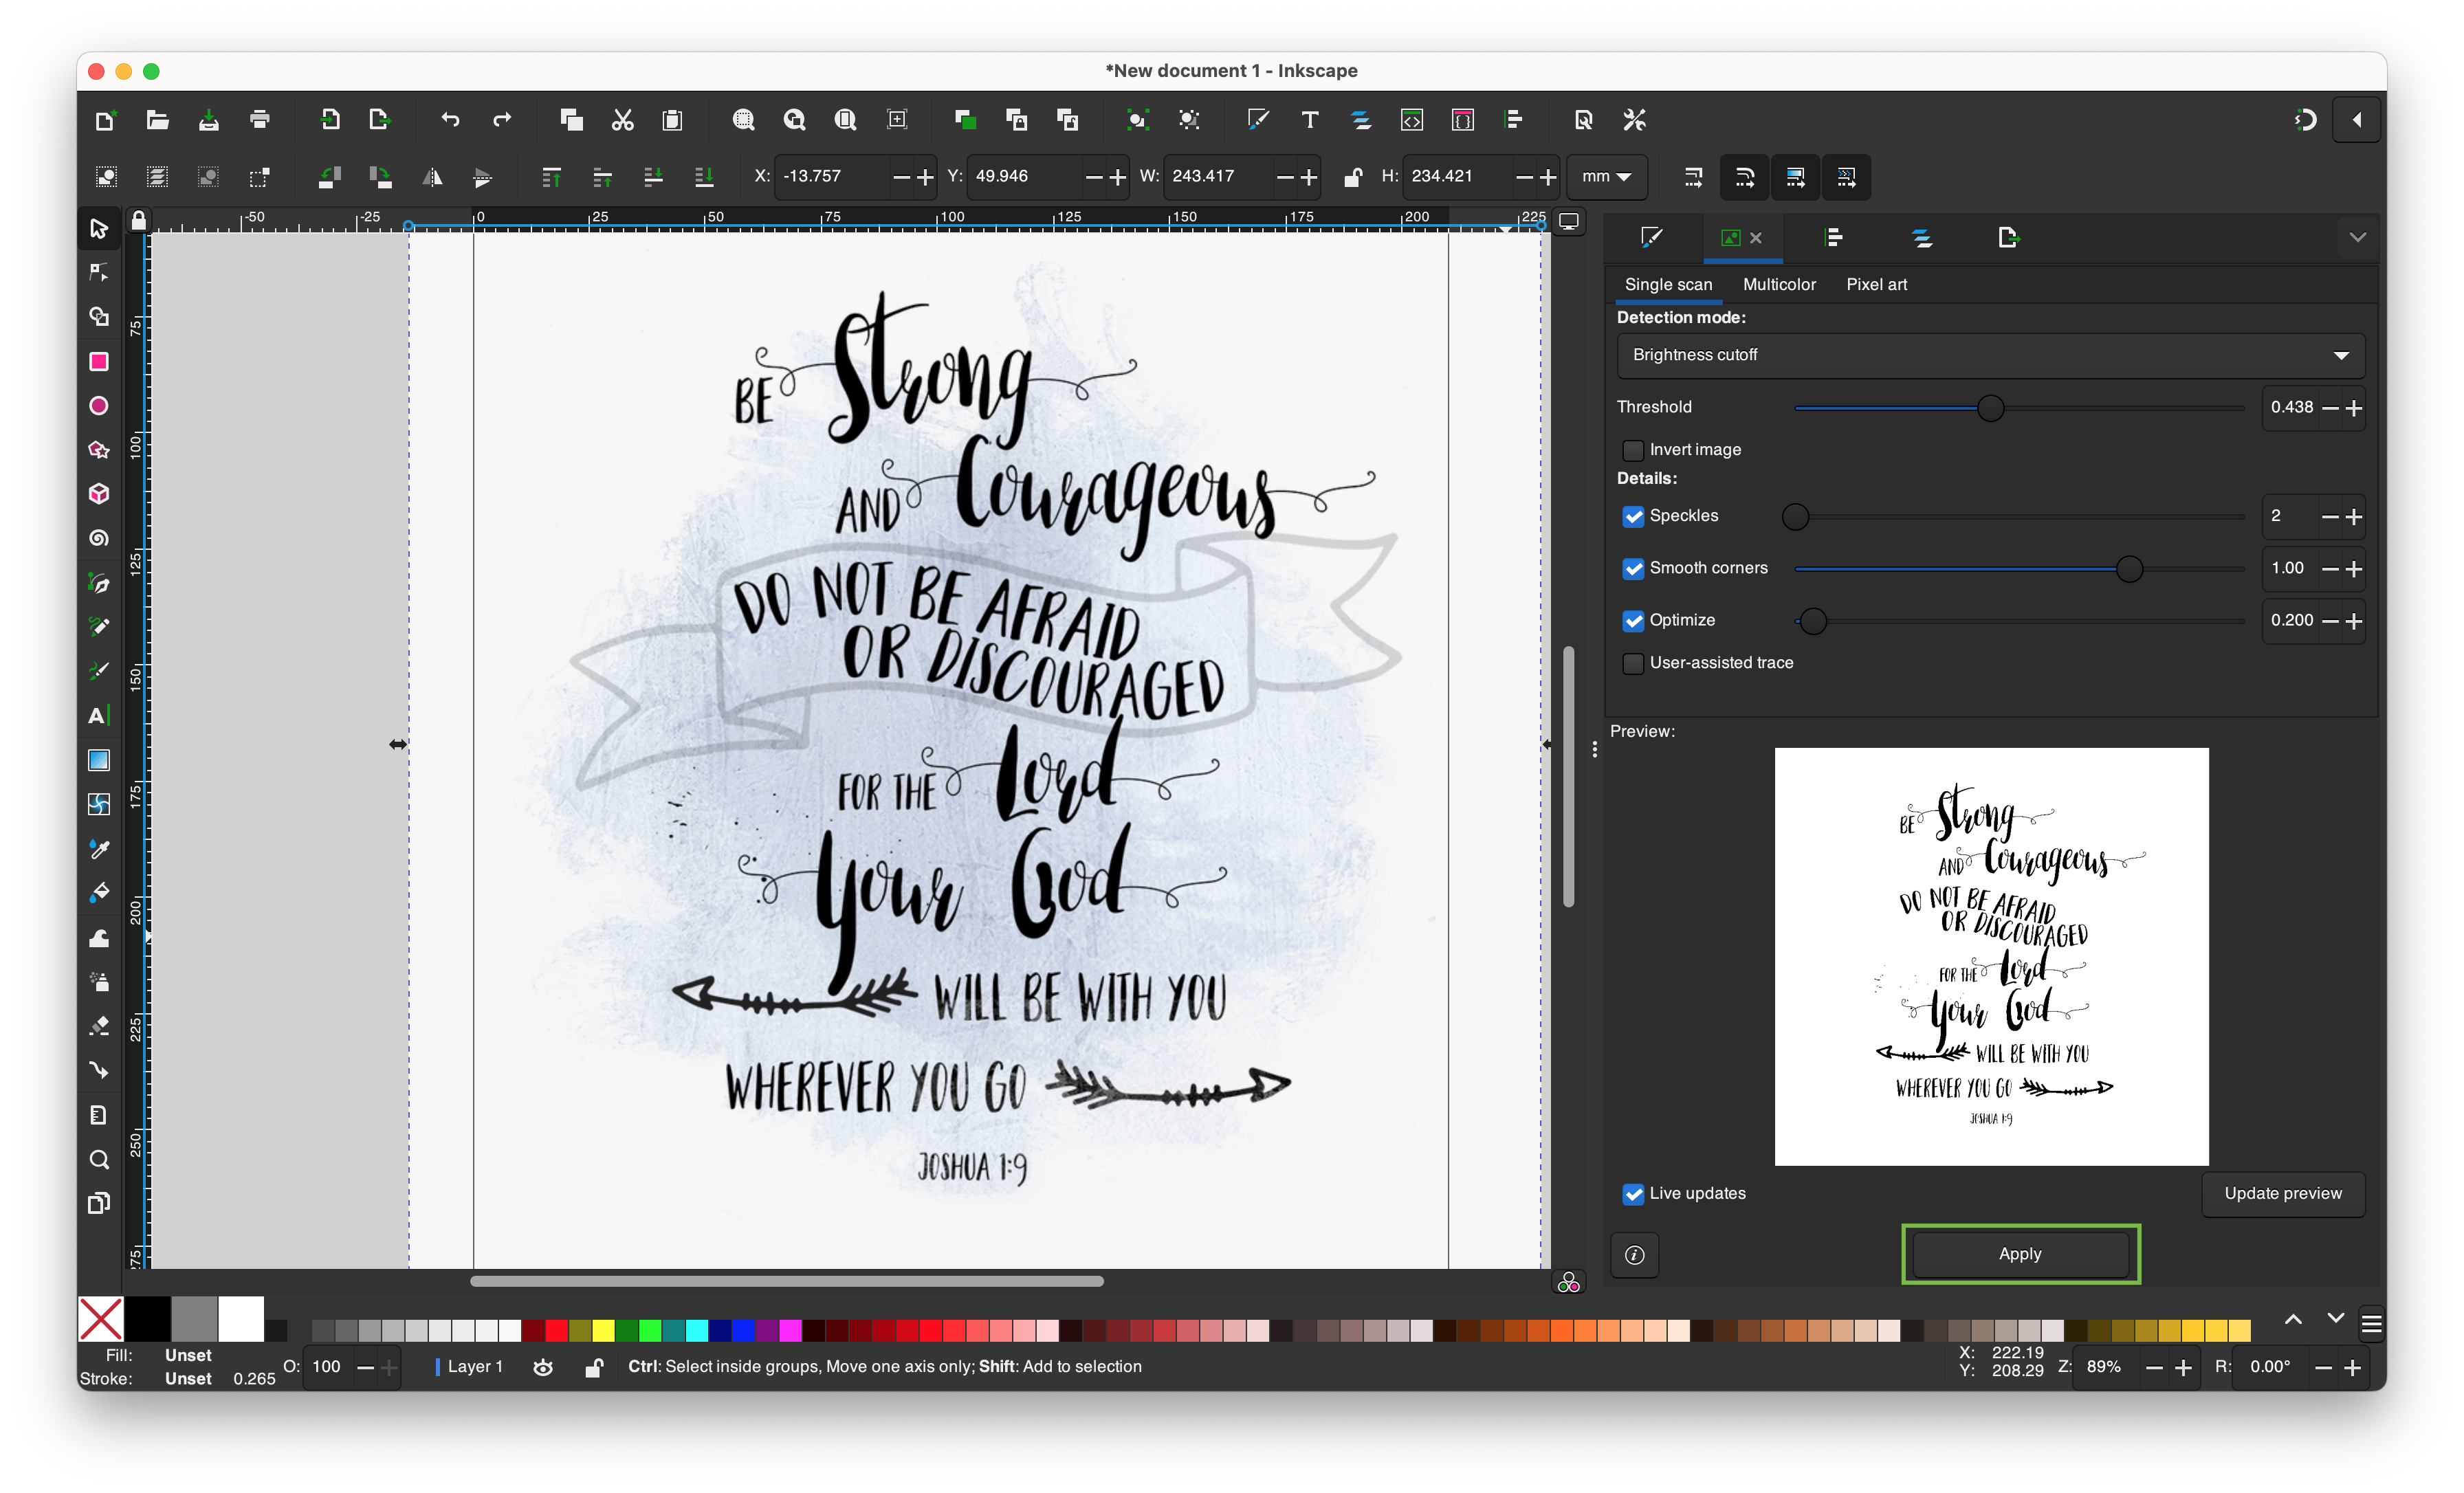
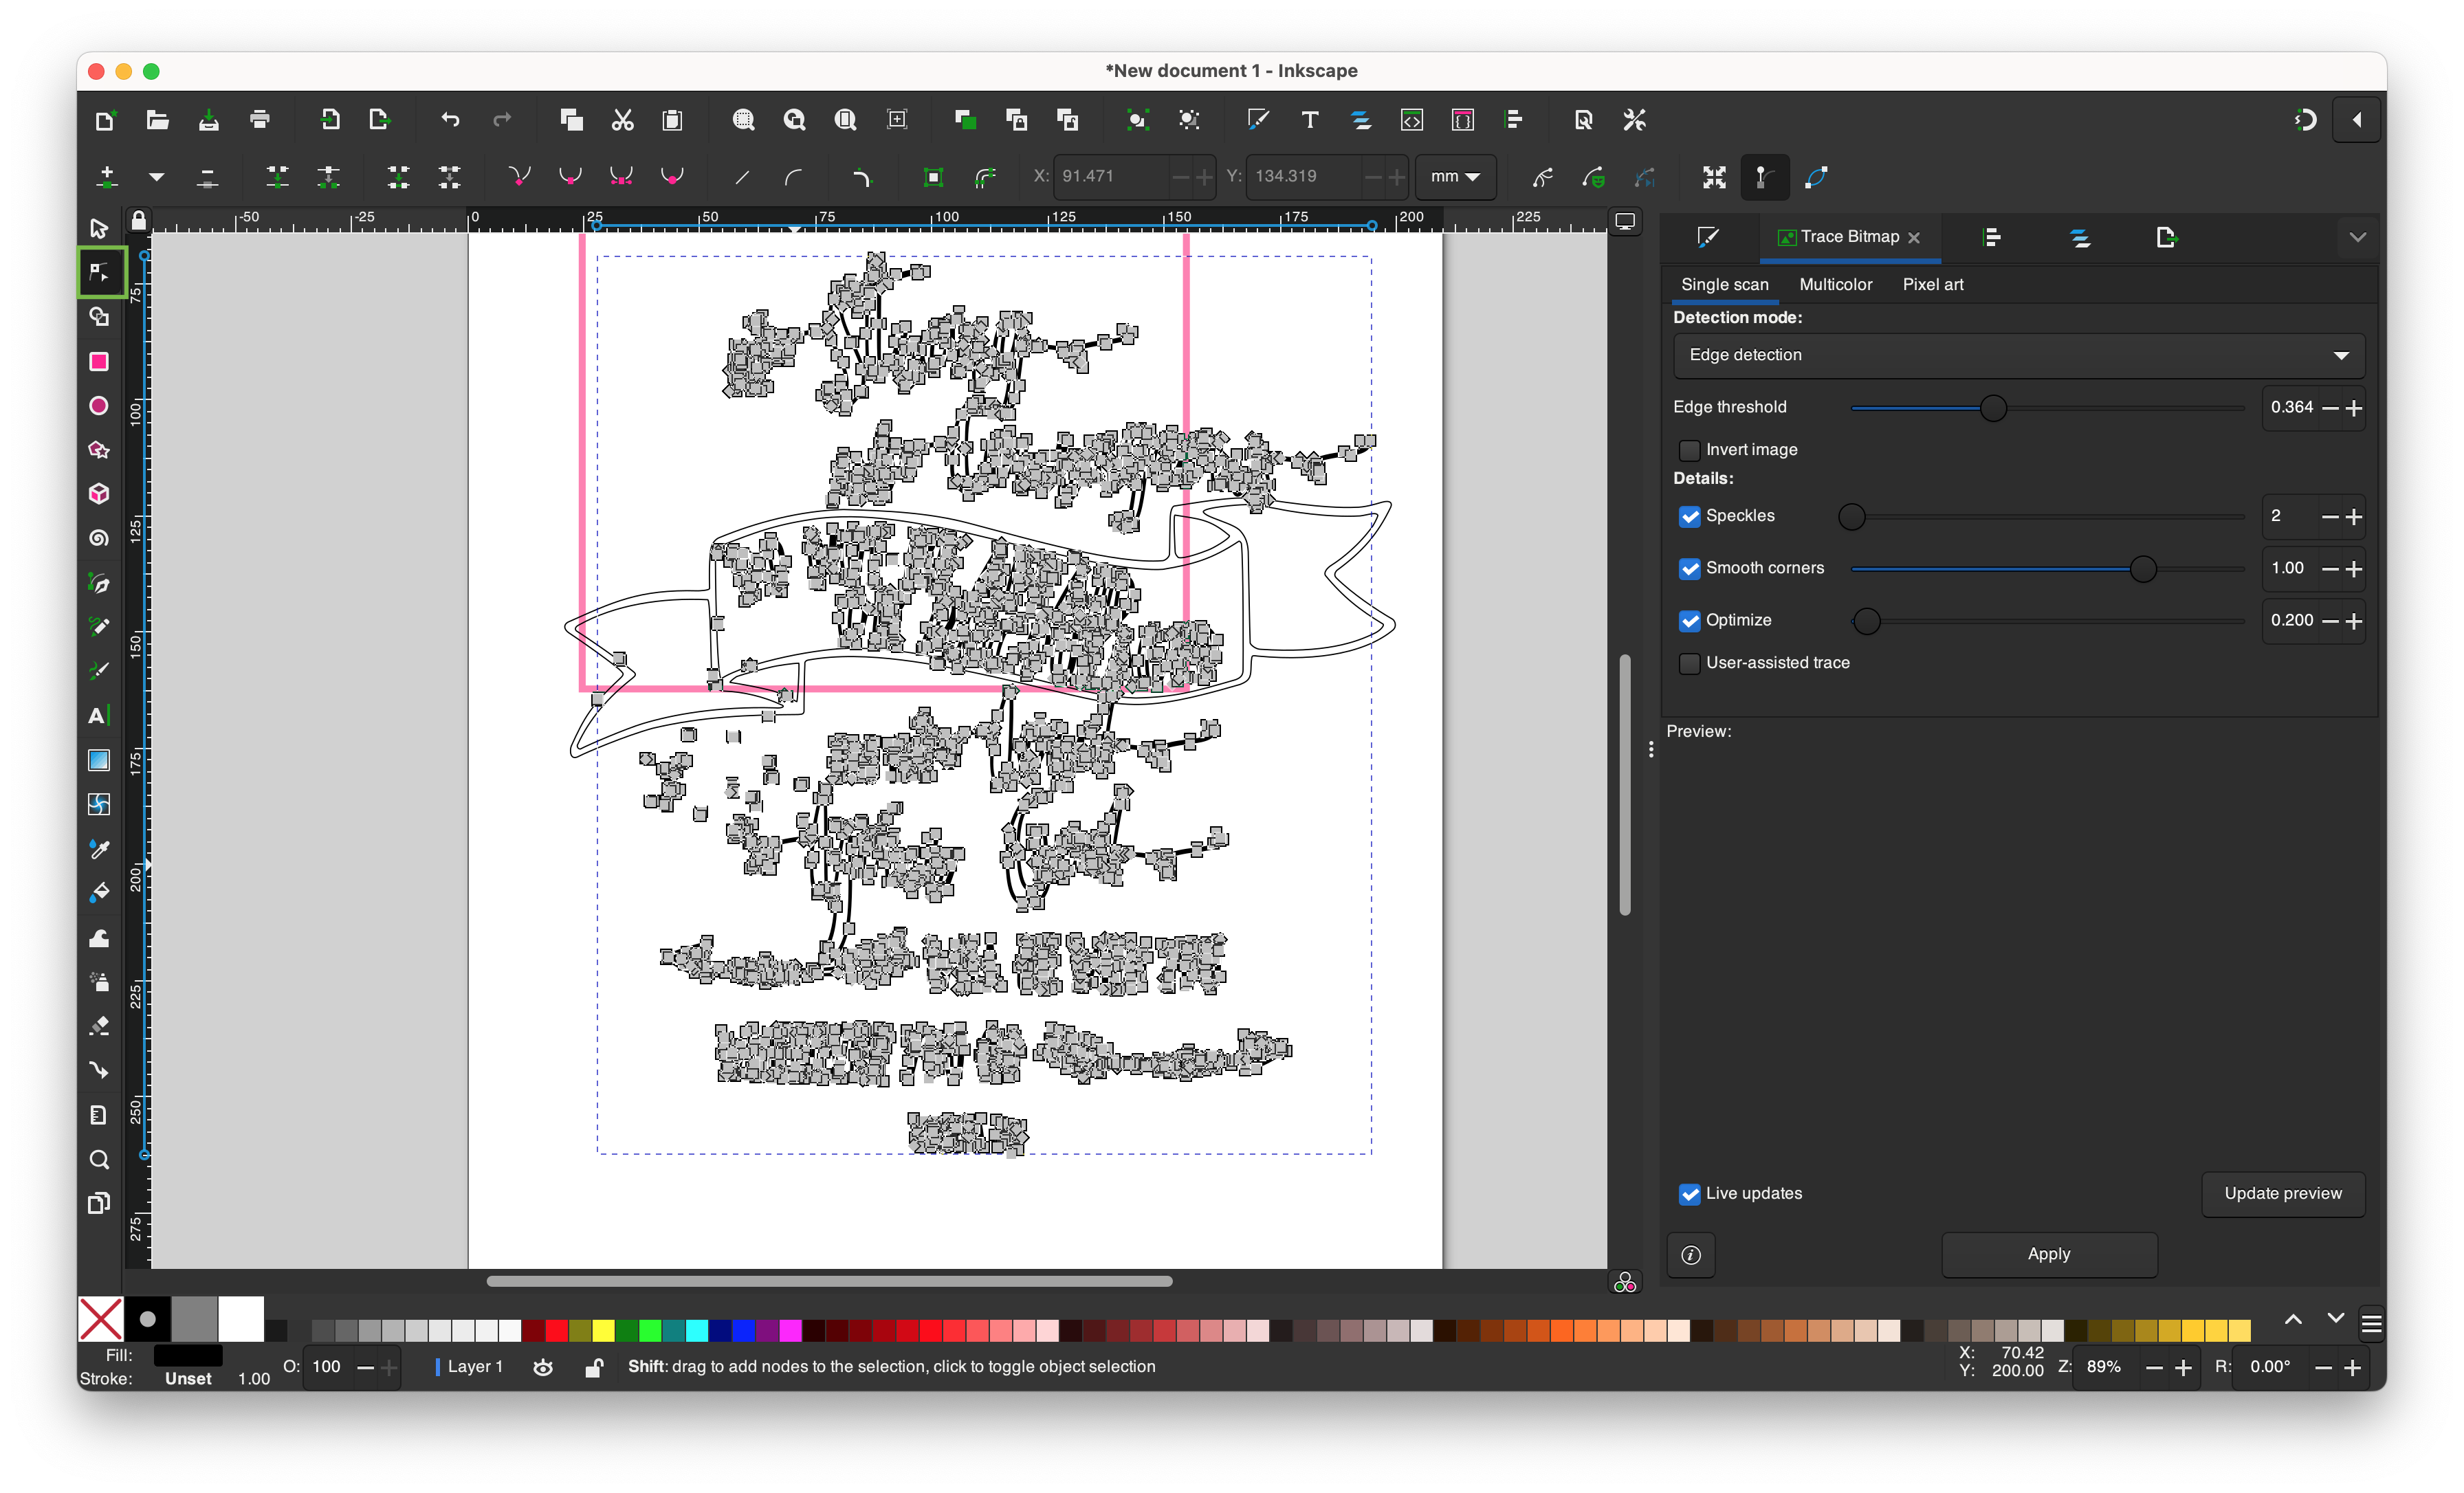
- Adjust the threshold value until the preview looks the way you want and click the Apply button
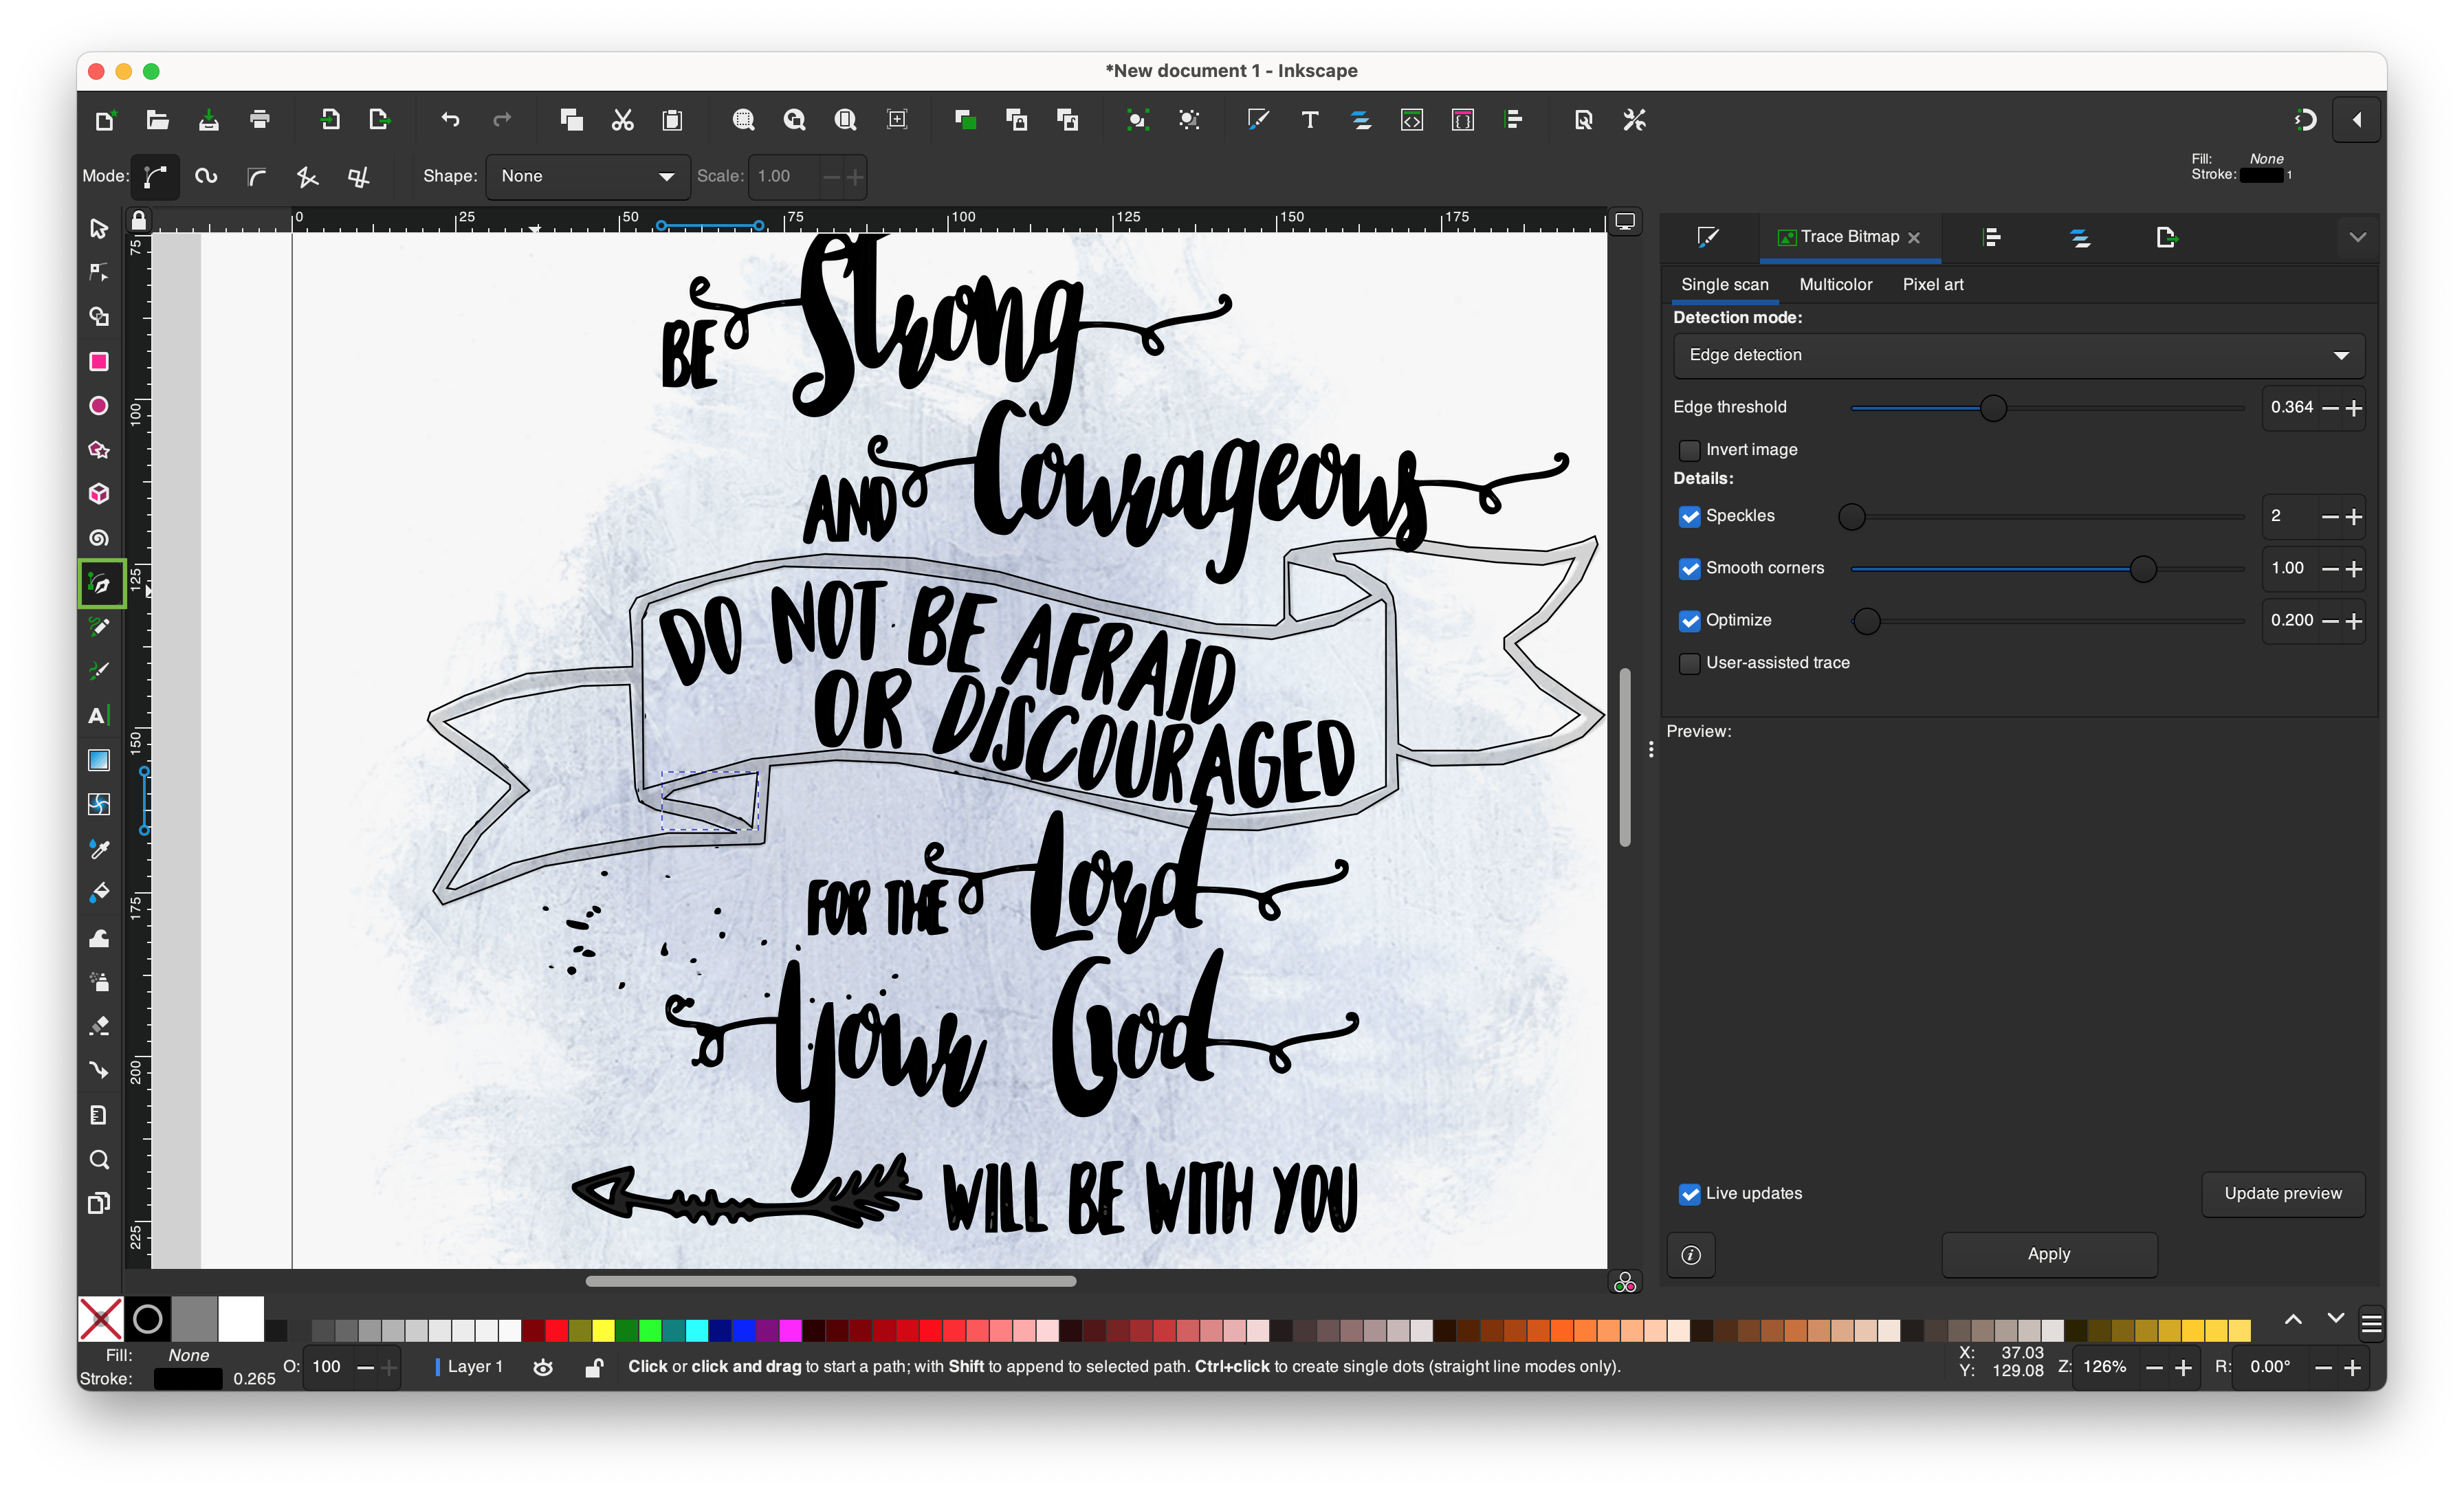
The Brightness cutoff Detection mode is the best for most situations. Changing the Detection mode to Edge detection will give you an outline effect. You can try adjusting other parameters to see how they affect the result
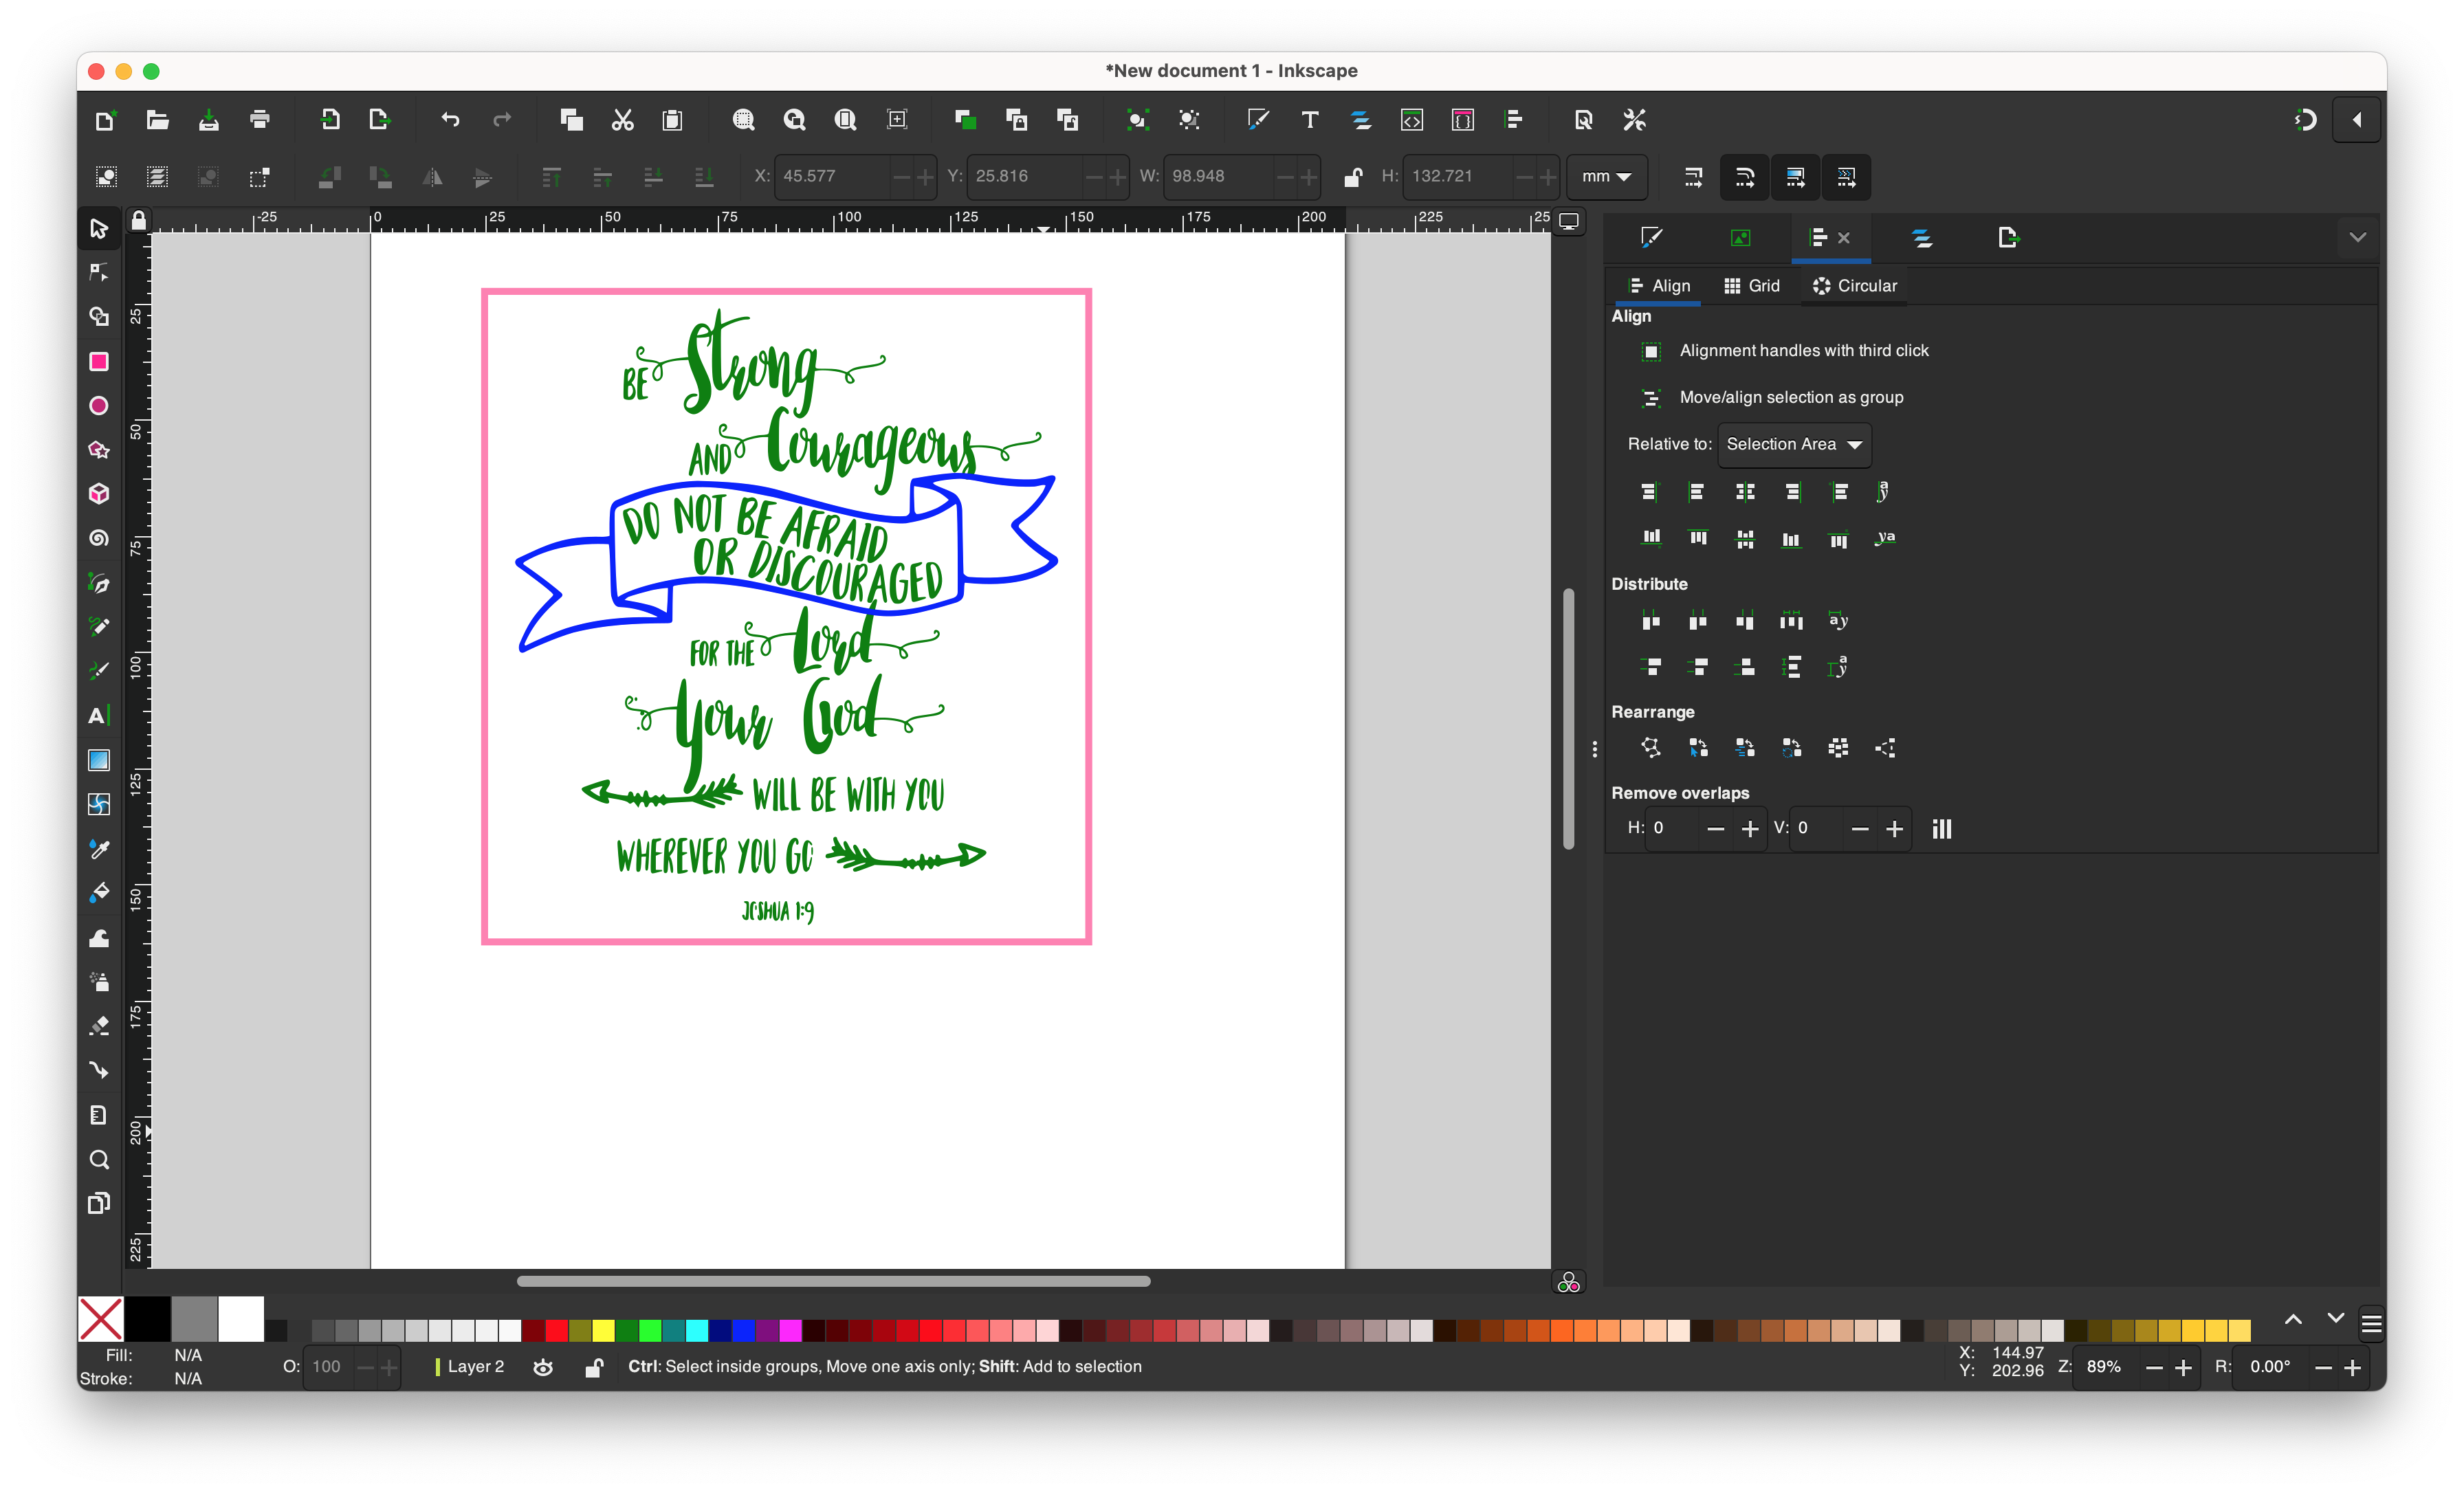
- If some of the details that you want don't come through with the Trace Bitmap tool then you can manually trace them using the Pen tool
Don't worry about getting right on the details that you're tracing at first. After you have traced close all the way around the detail, zoom in and fine tune the path to line up with the image. Holding the shift key while clicking on a point allows you to create a curve handle
- Scale the vector to fit where you want it on the design and change the colors to match the laser settings you want
"He has made everything beautiful in its time. Also, he has put eternity into man’s heart, yet so that he cannot find out what God has done from the beginning to the end. - Ecclesiastes 3:11"
laserengraver/procedures/inkscape/tracebitmap.txt · Last modified: by jstruebel

