Table of Contents
Prepare Windows Flash Drive
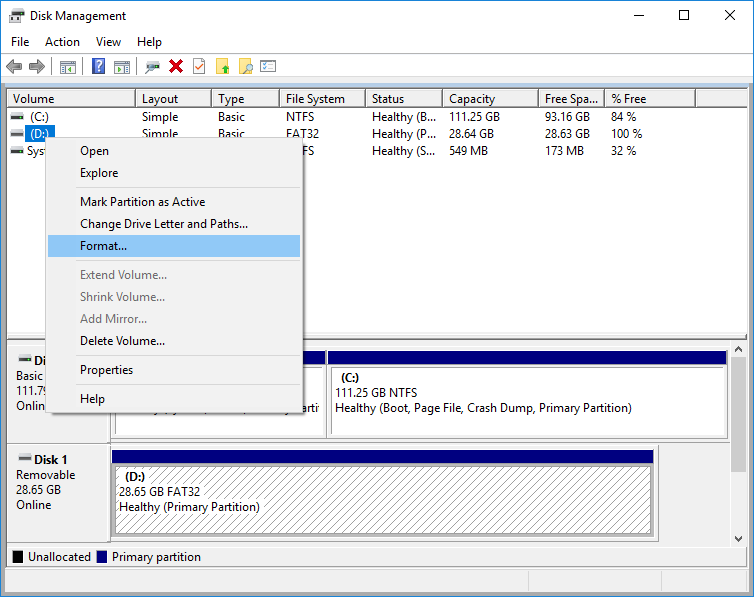
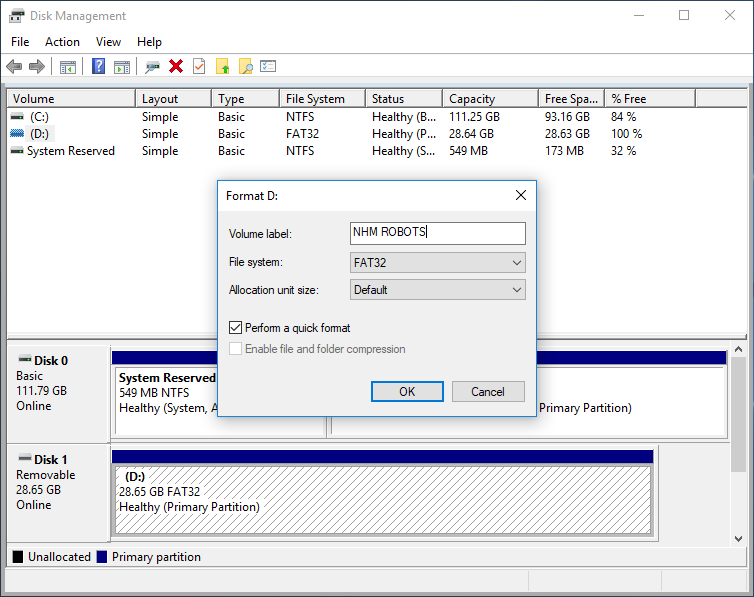
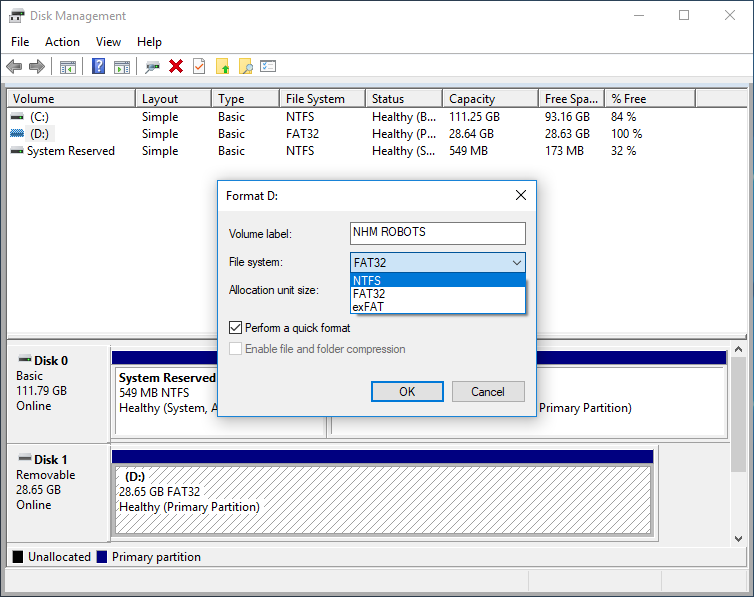
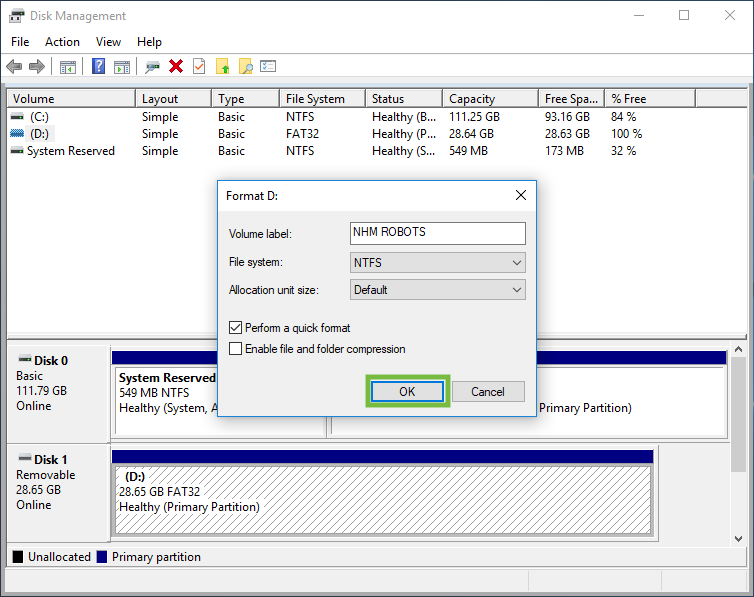
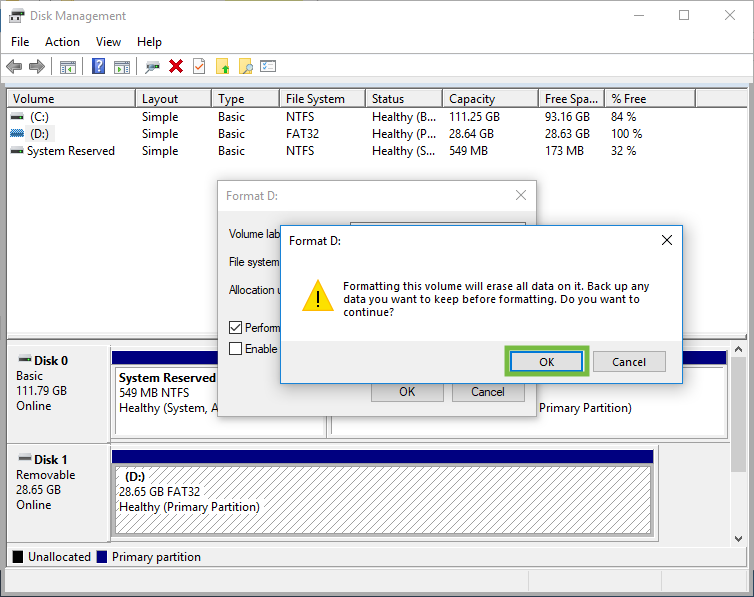
The first step required is to format the USB Flash drive for the native OS. On Windows 10 follow the steps below.
- Insert the USB Flash drive into the computer
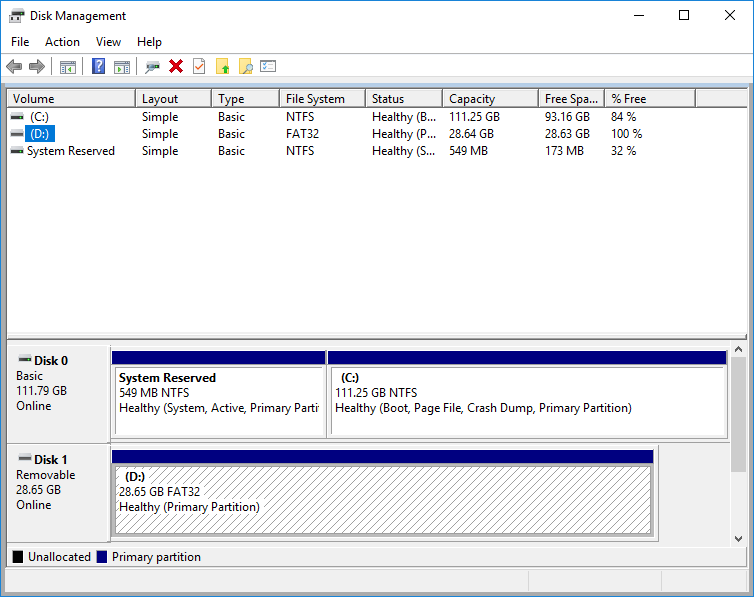
- Launch the Disk Management tool
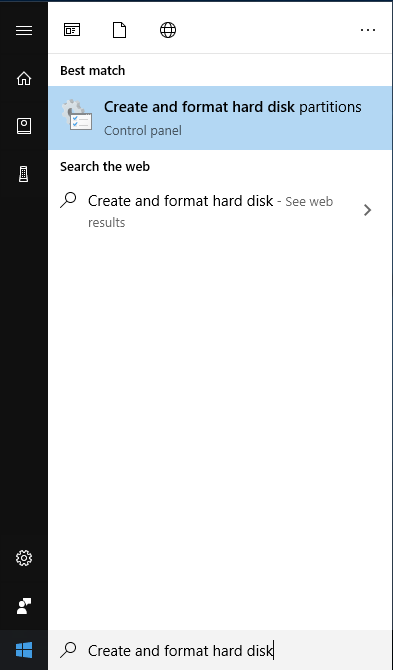
- Open the Start Menu
- Type in “Create and format hard disk”
- When it's finished close the Disk Management window
Add Windows Applications
The next step is to add the applications that are needed.
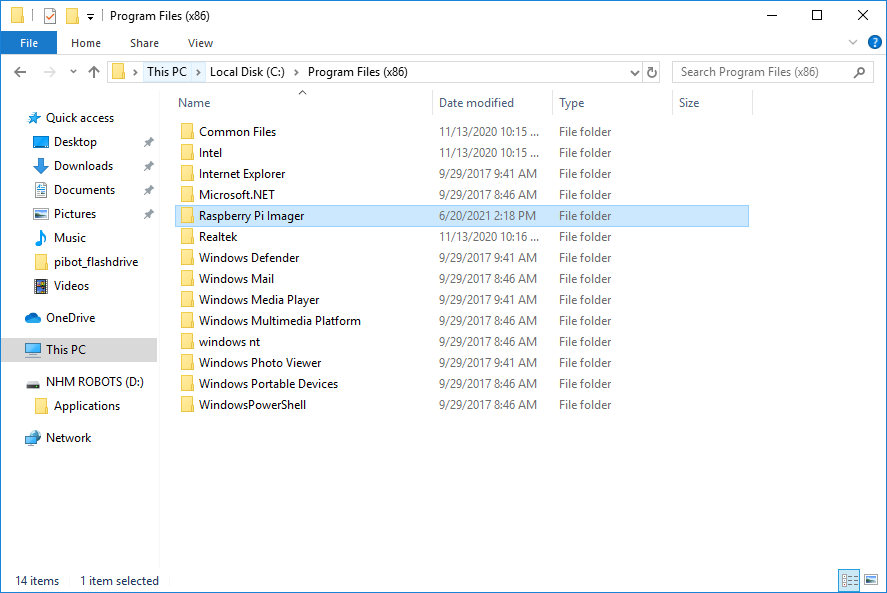
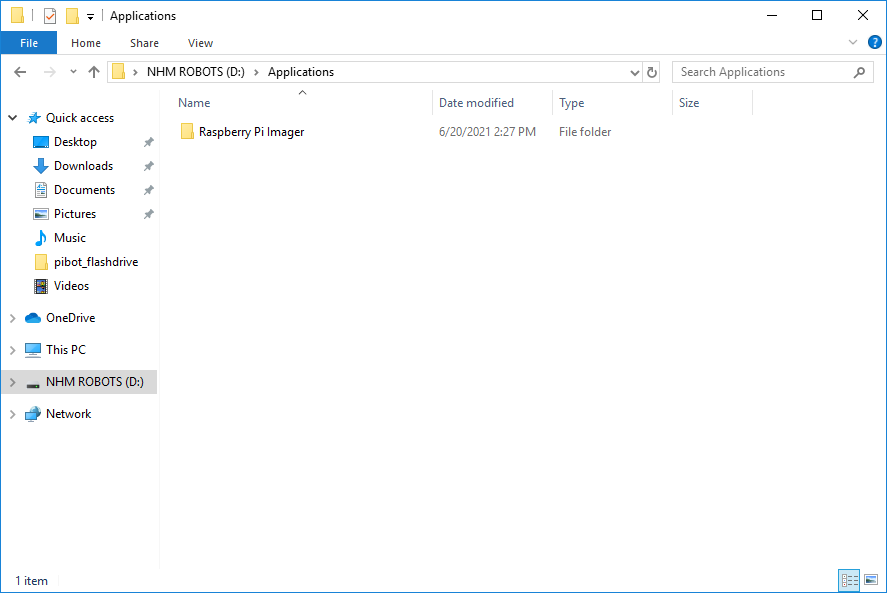
- Download and install the Raspberry Pi Imager app
- Browse to https://www.raspberrypi.org/software/ and download the latest version
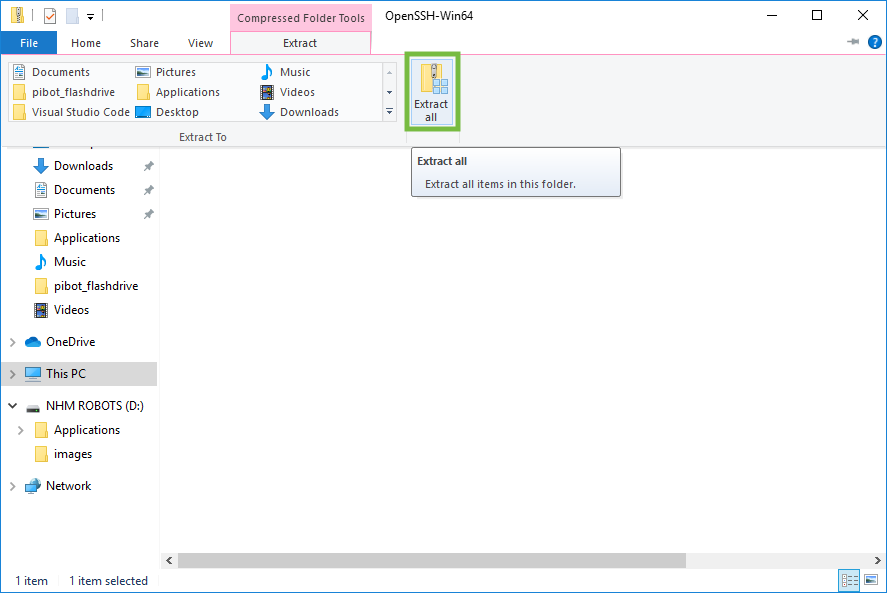
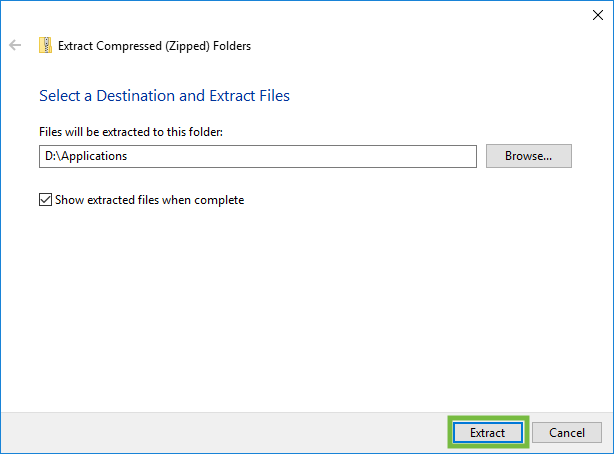
- Download and install the Win32-OpenSSH app
- Browse to https://github.com/PowerShell/Win32-OpenSSH and download the latest version zip file under the “Releases” heading on the right side
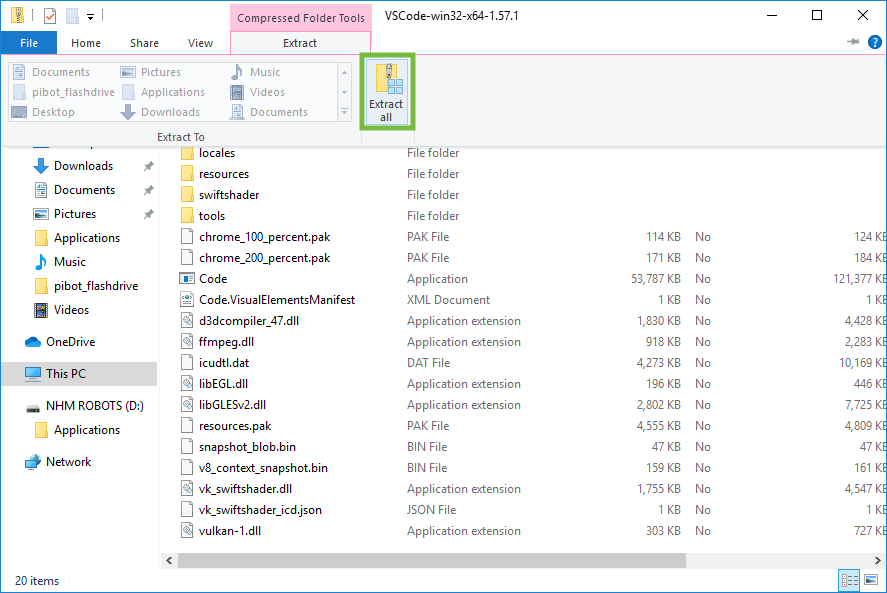
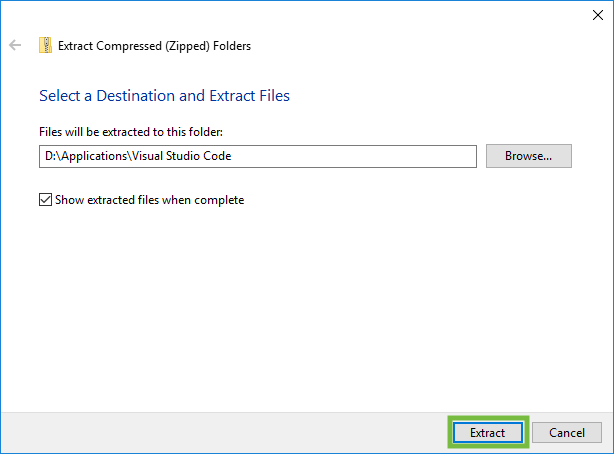
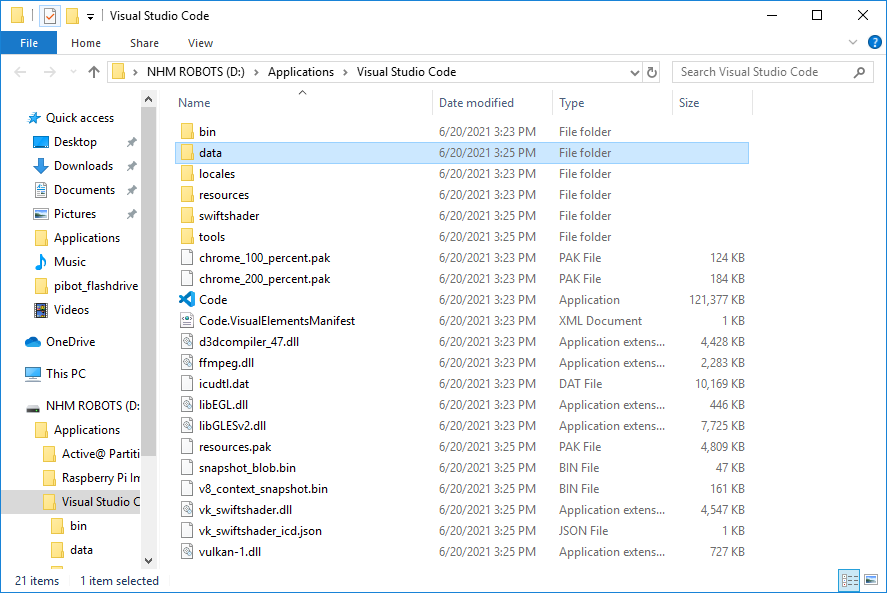
- Download and install the Visual Studio Code app
- Browse to https://code.visualstudio.com and download the latest version zip file under the “Other platforms” link
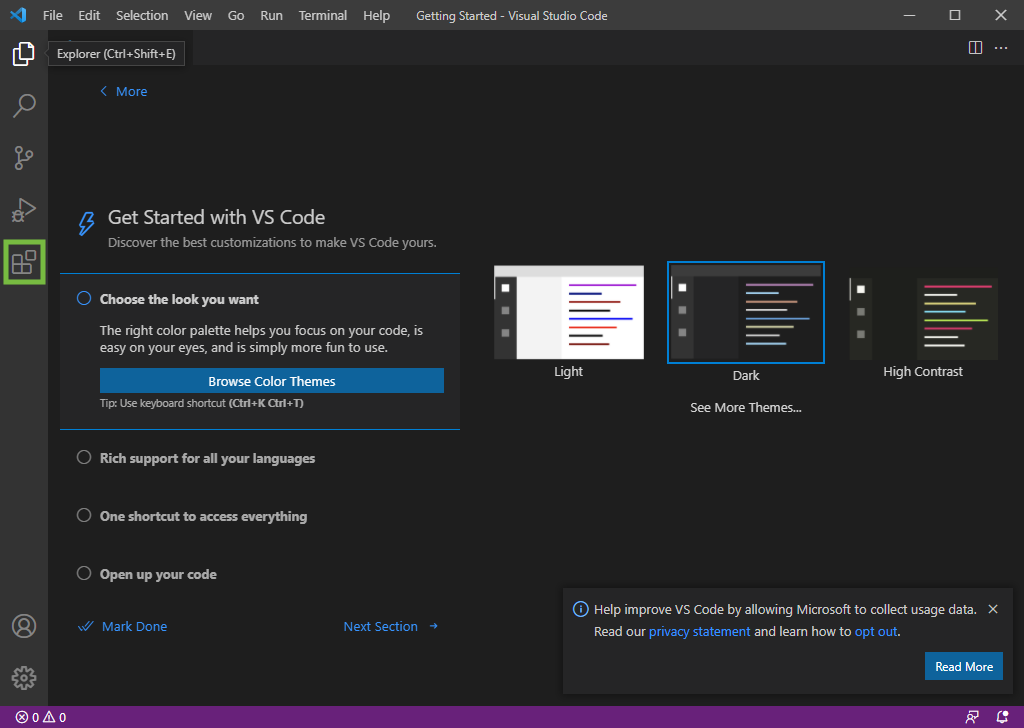
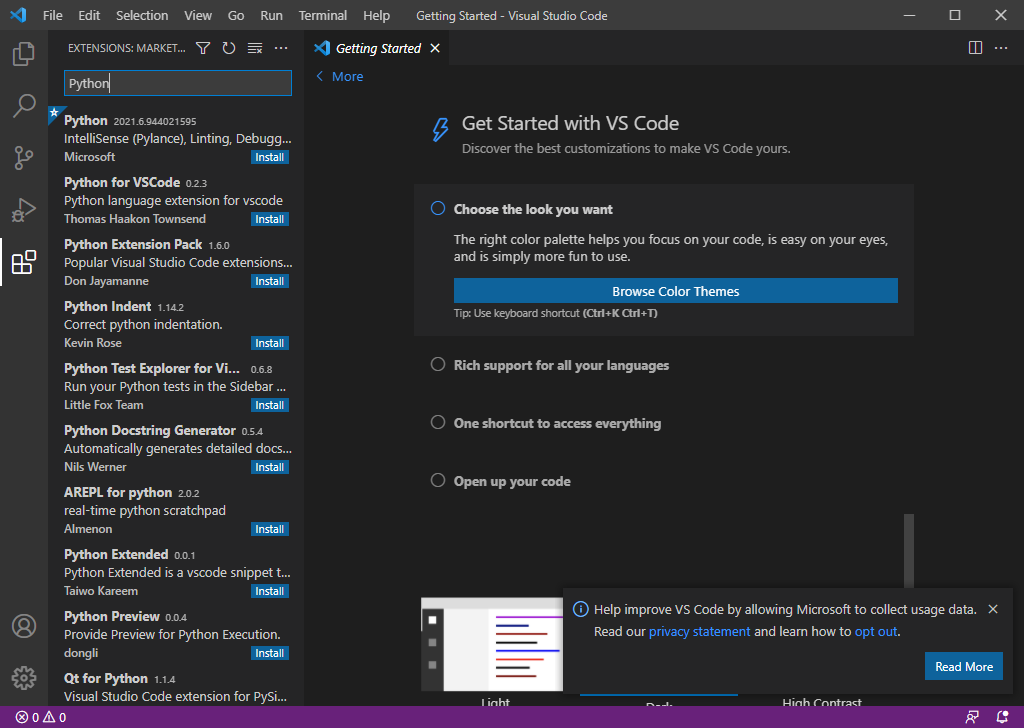
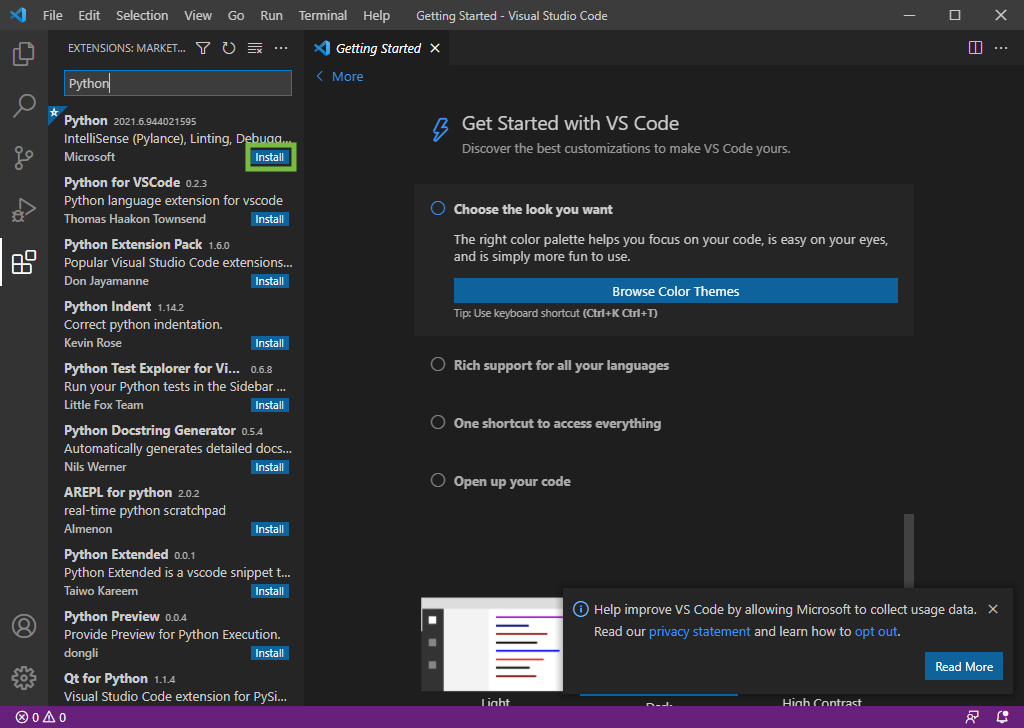
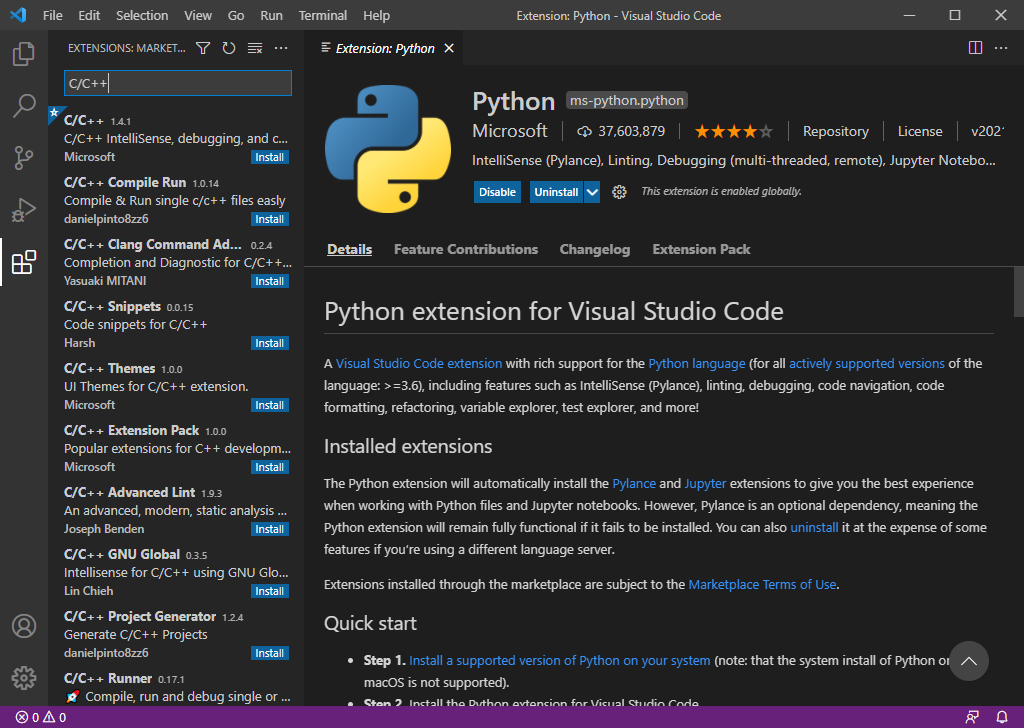
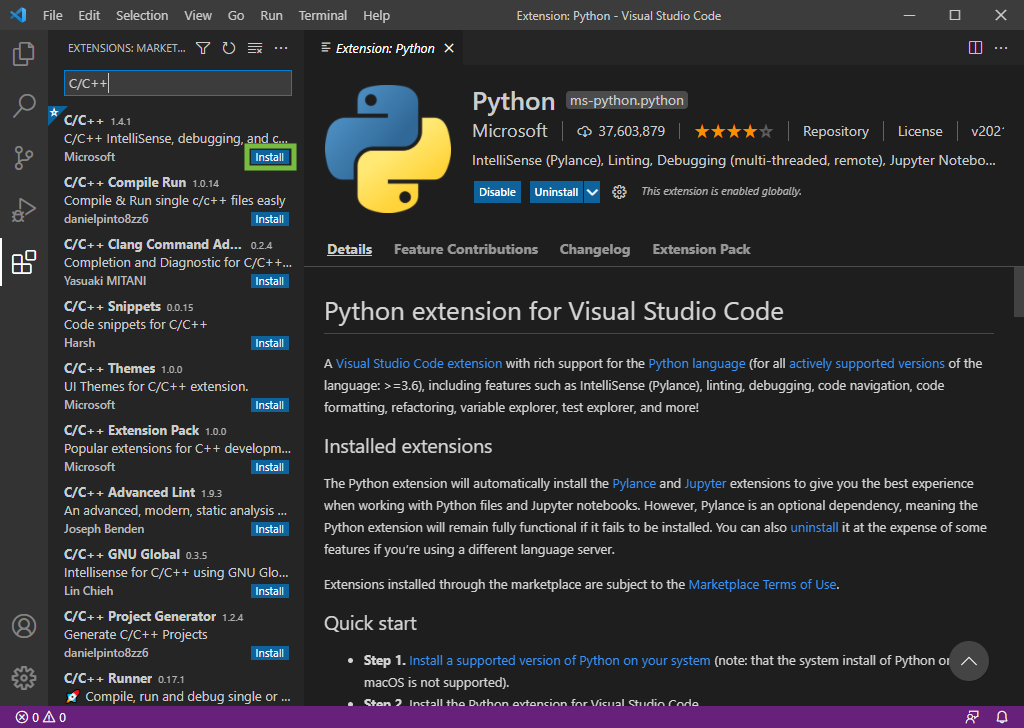
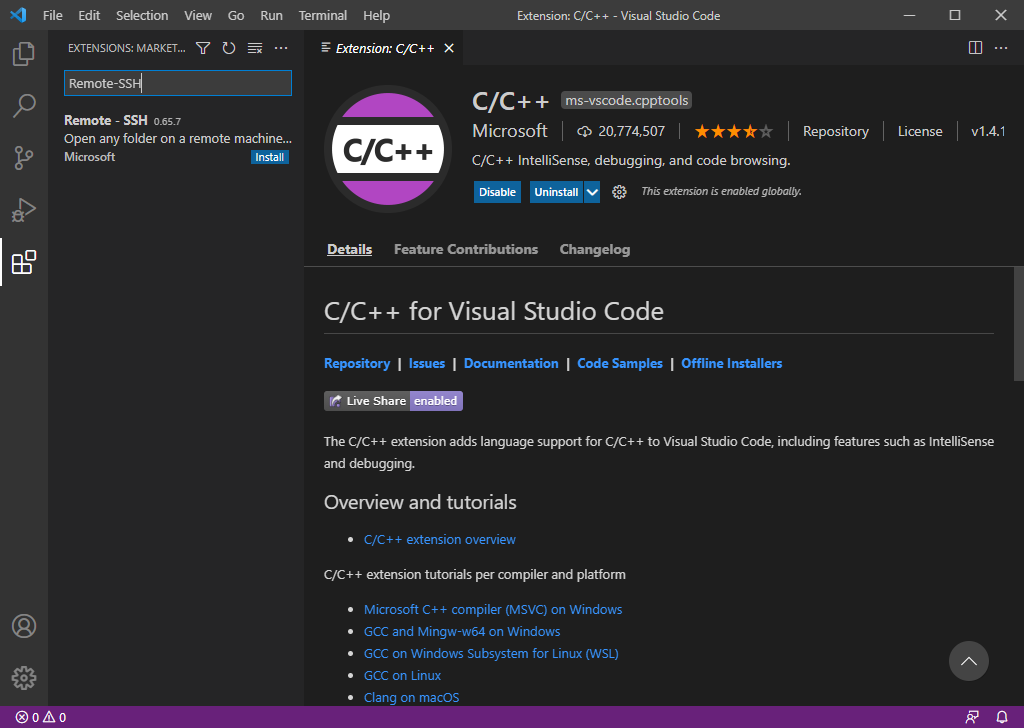
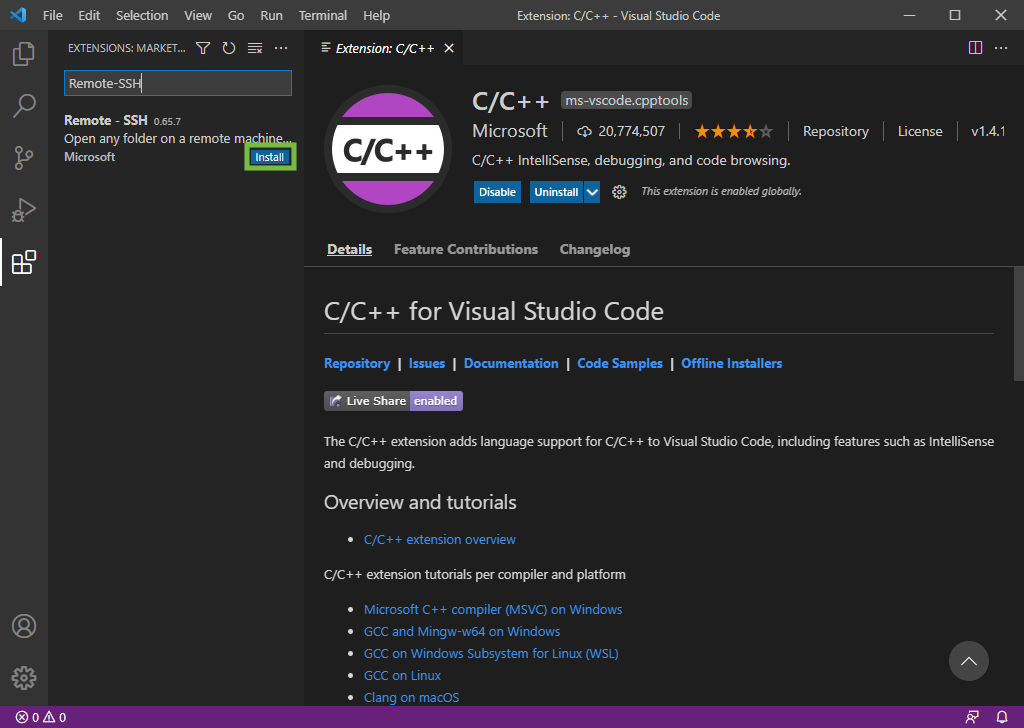
- Install required extensions in Visual Studio Code
- Open the Code app from the Visual Studio Code folder on the USB Flash drive
- Close Visual Studio Code
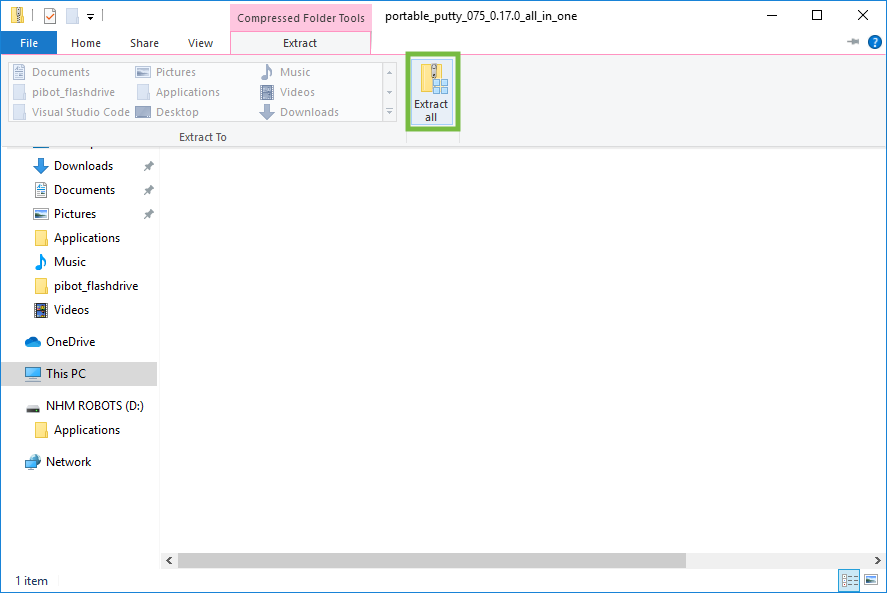
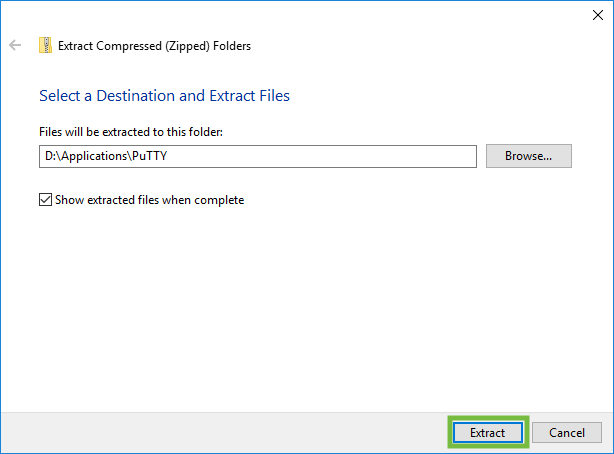
- Download and install the PuTTY app
- Browse to https://jakub.kotrla.net/putty/ and download the latest version zip file at the bottom of the page
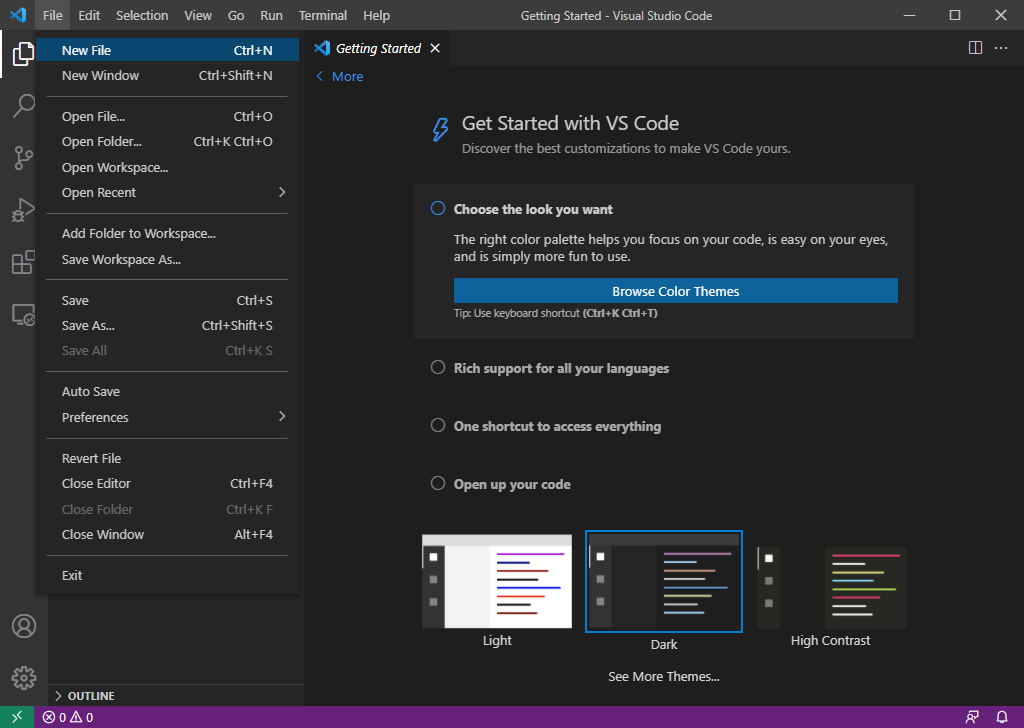
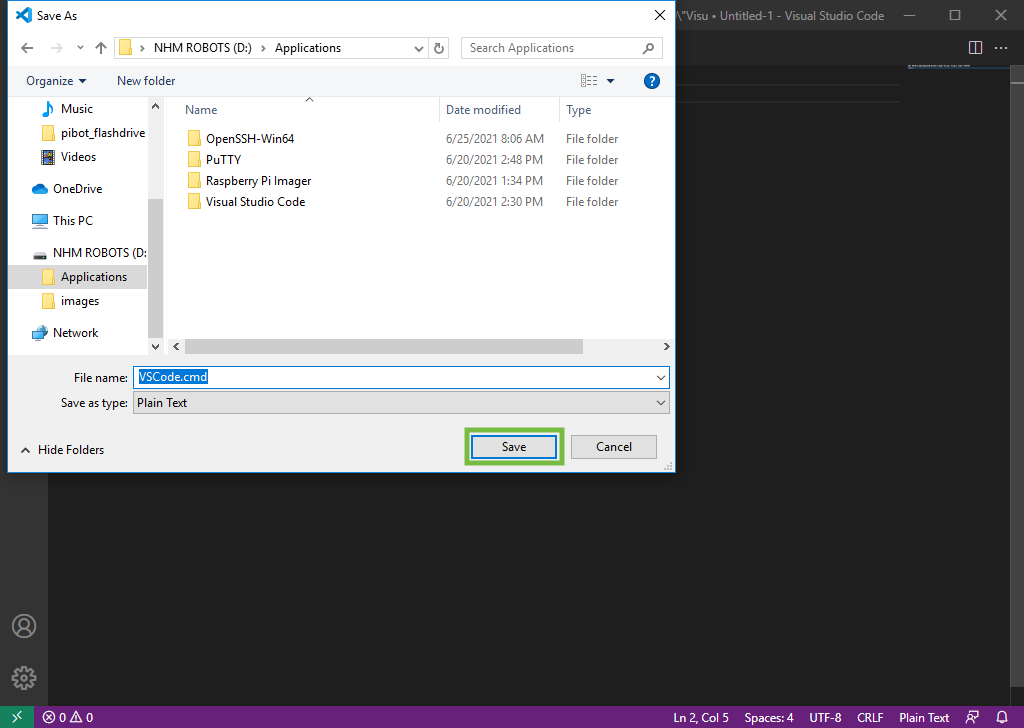
- Create a batch file to setup paths for Visual Studio Code
- Open the Code app from the Visual Studio Code folder on the USB Flash drive
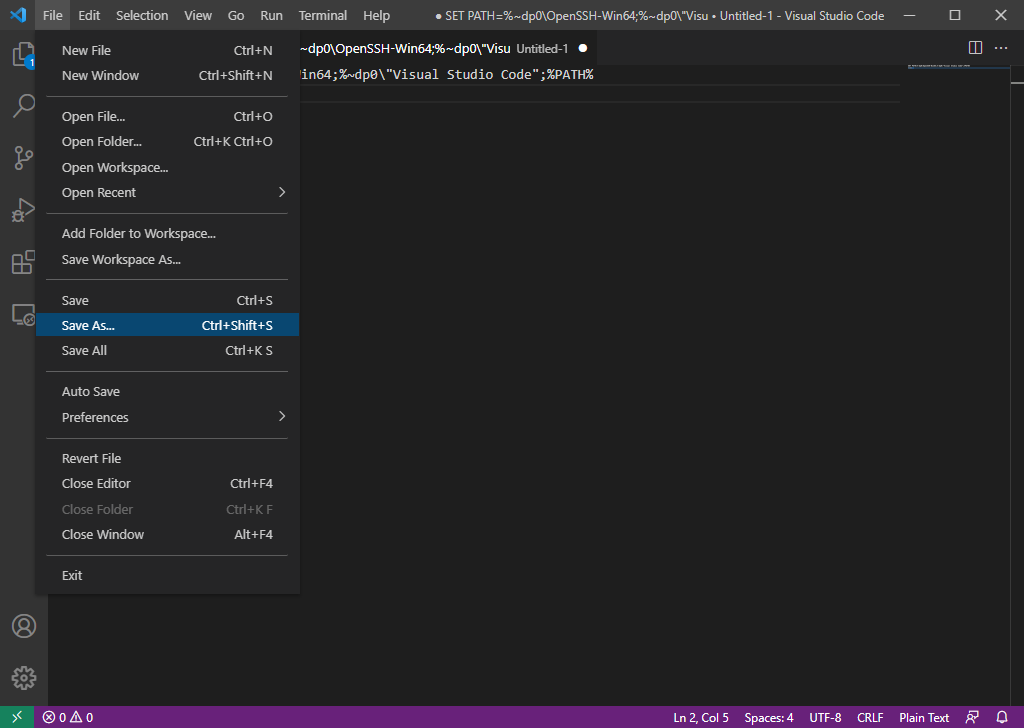
- Enter the following text
SET PATH=%~dp0\OpenSSH-Win64;%~dp0\"Visual Studio Code";%PATH%
Code
- Close Visual Studio Code
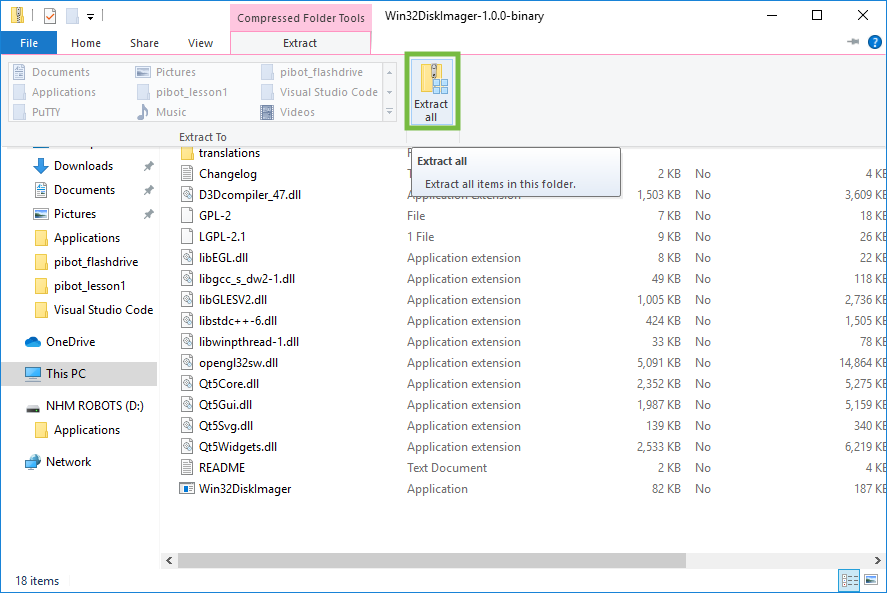
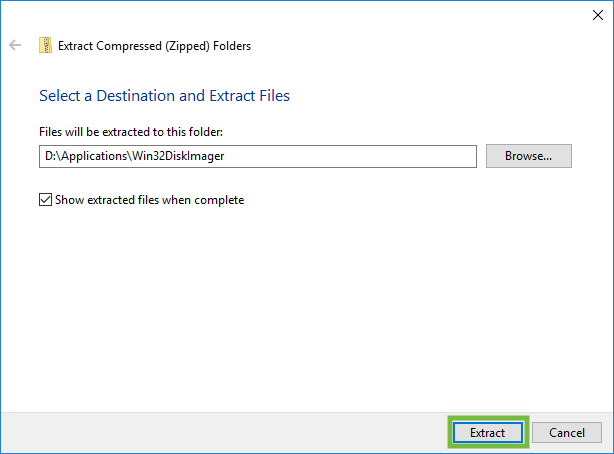
- Download and install the Win32DiskImager app
- Browse to https://sourceforge.net/projects/win32diskimager/files/Archive/ and download the latest version binary zip file
Add Web Link
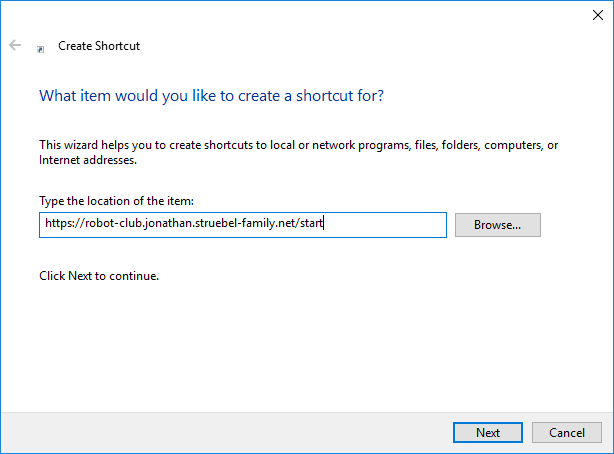
- Open Edge and browse to the Robot Club home page
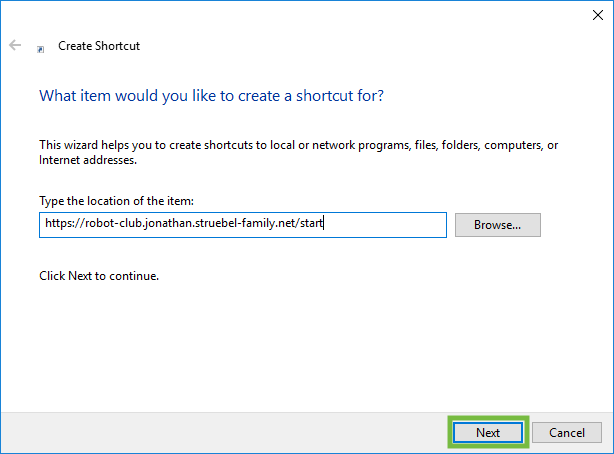
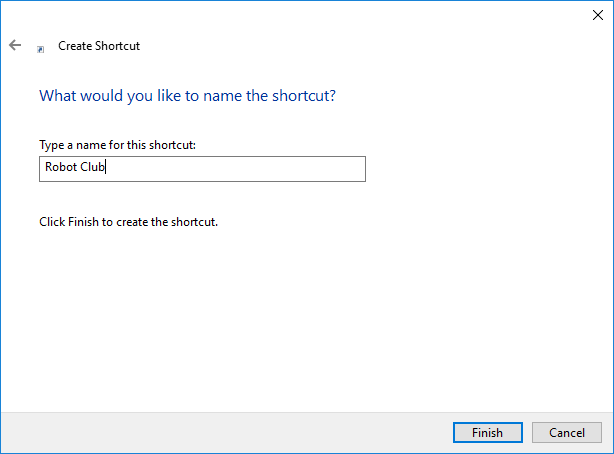
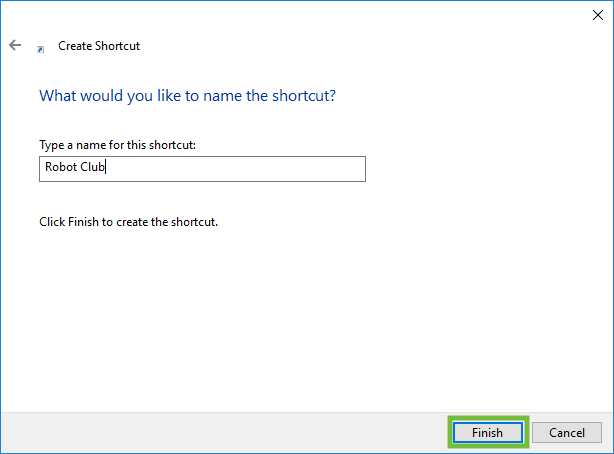
- Right click in the Explorer window and select New→Shortcut
"So God created man in his own image, in the image of God he created him; male and female he created them. - Genesis 1:27"
